Enemy Front: Mission 14 - Fire from the Sky
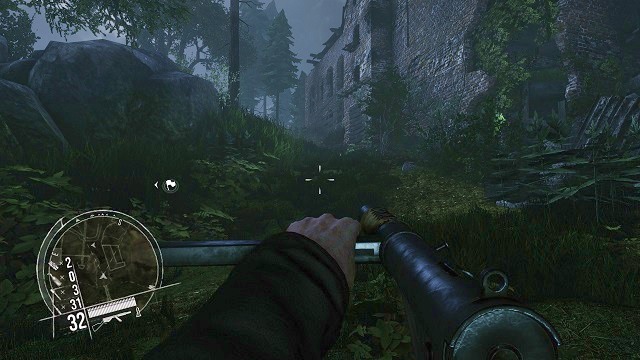
The 14th mission of single player campaign begins behind the gate you managed to reach before the end of the previous chapter. Together with Dietrich, embark in the direction of the marker on the map, to soon be able to see a vast terrain around the rocket facility, where the rockets sought by you are located.
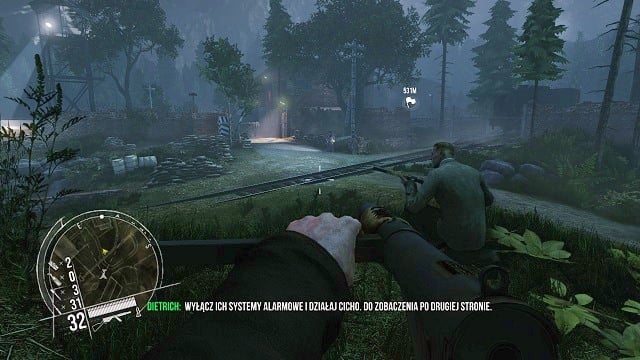
After arriving on a small elevation on a hill, near the entrance to the complex, get your orders from you companion before you split up, so that you can get inside the facility from two different sides.
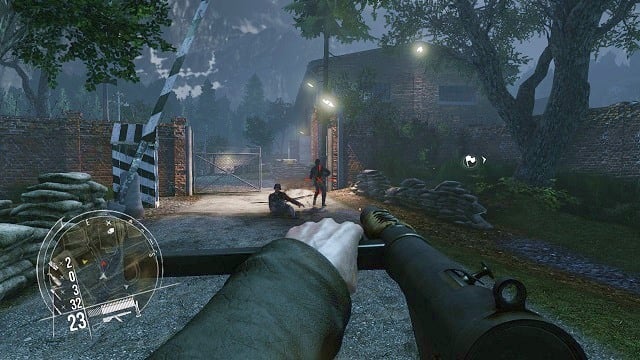
First things first, get down from the hill and carefully, from a safe distance, close on the two watchmen near the gate. Due to the loud sounds in the surrounding area, you should have no problems with executing them from behind - do so quickly, however, as they can still scream and attract reinforcements if you're not quick enough.
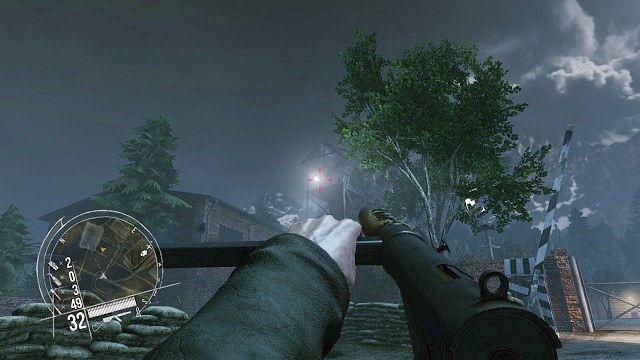
Afterwards, do the same thing with the delinquent located on the watchtower, who didn't hear or see your previous assassination. It seems that there's no difference if the watchtower is manned or not...
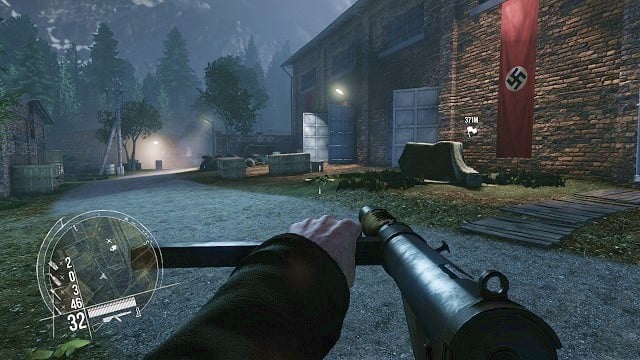
After the three watchmen are already dead, enter the facility grounds, and immediately head towards the first building in the area (the one with the flags with a swastika on it).
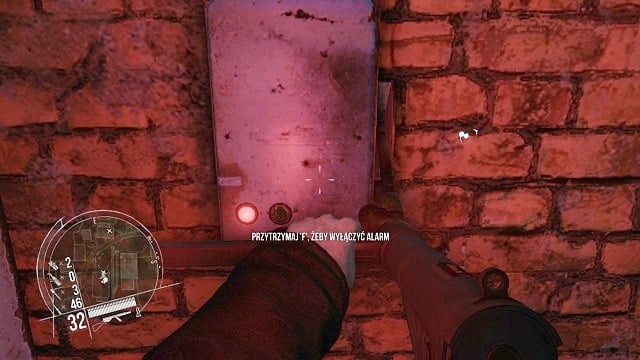
Go towards the second exit from the building, near which an alarm system of the facility is located. Turn it off as soon as possible (by pressing and holding the interaction button), to ease yourself further in the future, as well as do an additional task of the mission. There's a supply of bazookas nearby - it would be wise to swap out one of your weapons (shotgun or a machinegun) for one of those wonders, as it may come in handy.
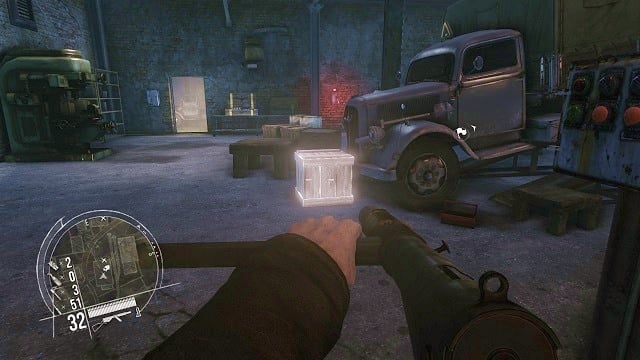
Afterwards, approach a blocked truck, which can be released by shooting and destroying the box standing in front of the vehicle. After doing that, the truck will automatically drive out of the building, hitting the wall of a nearby building in the process. This happening will attract the attention of a few guards located outside, diverting them from you. After that run as quickly as possible to the second floor of the building, and approach the stairs with a metal railing, which leads to the facility.
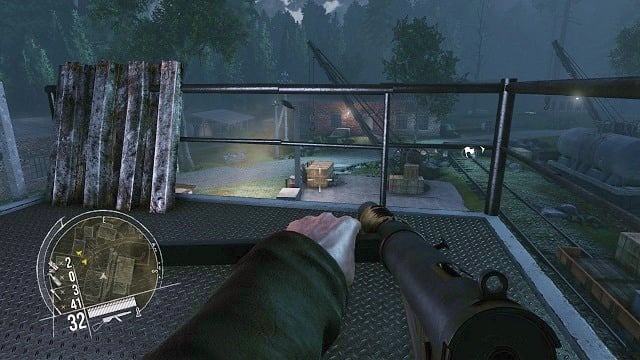
Careful stand on the platform near the descent and pay attention to the crane, located in front of you. Shoot at the hook holding a huge box in midair - do so when a nearby guard will be located just below it. Doing so, you will eliminate another enemy without anyone noticing what happened. It's time to leave the construction for good and take care of the rest of the soldiers in the area. Before you do so, however, you should visit a small room on the same floor you're currently on - inside one of the lockers, you will find a secret (1 out of 4).
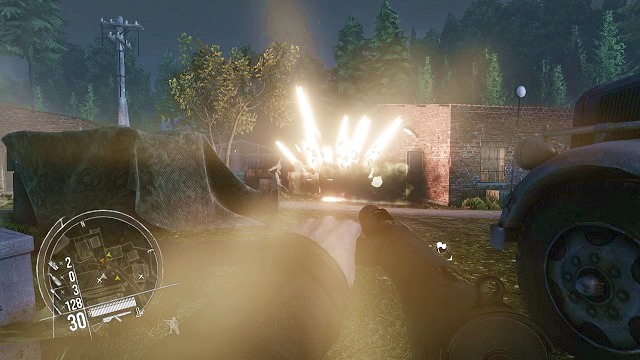
Go in the direction of the building, which was hit by the truck a little while ago, to find a few confused watchmen near it. Don't waste any time and eliminate them. An explosive barrel located nearby can also be used to do the job.
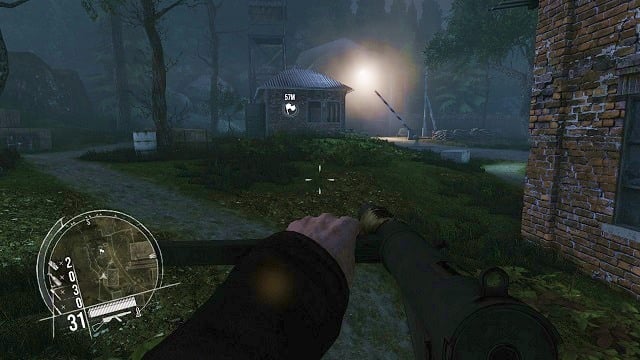
After dealing with all of the factory guards, continue towards the marker on the map. After a short journey, you will arrive at a small building, inside of which there's a switch controlling the main gate of the main facility complex. Unfortunately, there's an machinegun emplacement located near that entrance - if you want to get inside, you will first have to deal with the MG crew.
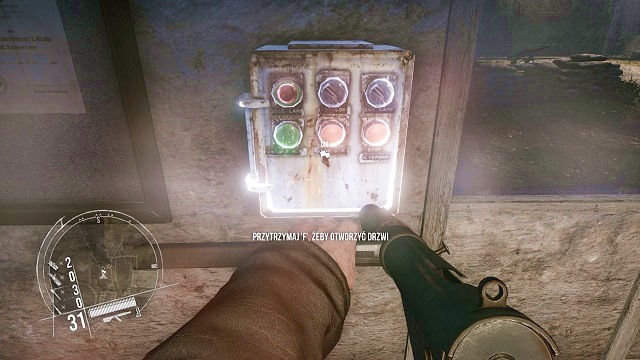
While being inside of the small hut, approach the highlighted panel and hold the appropriate button (interaction button). It's done. It's time to enter the very heart of the German base.
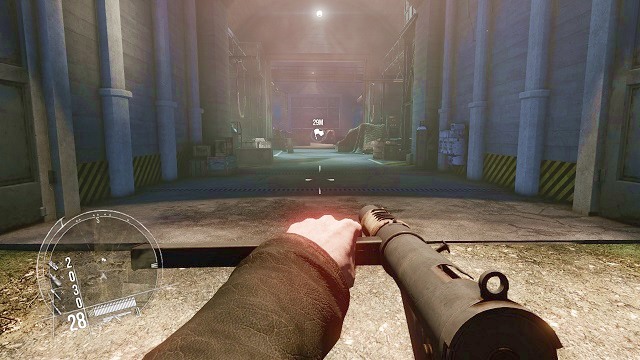
Move further in the facility, without worrying about any enemy resistance, as you won't meet any German soldiers on your way, at least for a couple of moments.
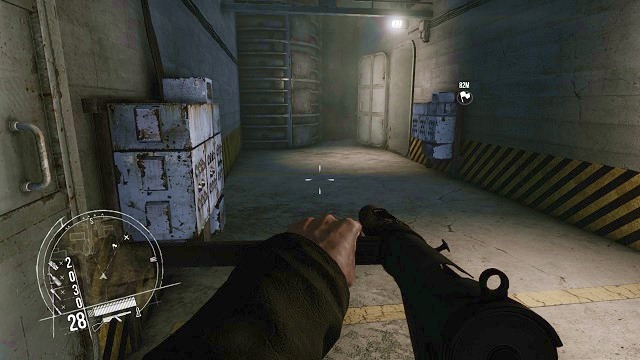
After you've arrived at a broad corridor, turn to the right, to get past a pair of closed doors - after then there's another pair of doors, behind which a clear sounds of rocket testing can be heard.
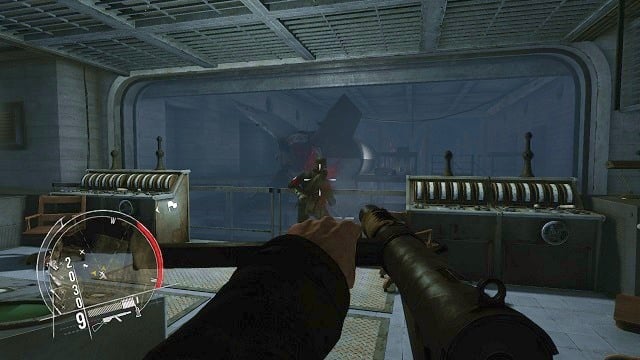
Get inside, where you will encounter a small group of enemy soldiers, testing the efficiency of the rockets produced at the facility. Kill them all without much effort, because will all the ruckus no one will hear a thing, not even you shooting all over the place
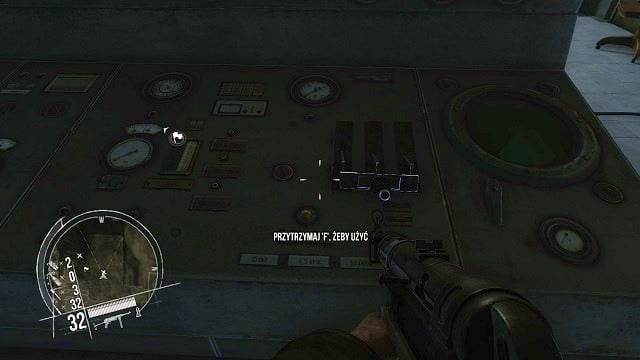
After dealing with the Nazis, approach the control panel and hold the interaction button, to blow up the whole machinery, completing an additional task in the process as well. Afterwards, continue with your journey, by going through the next doors.
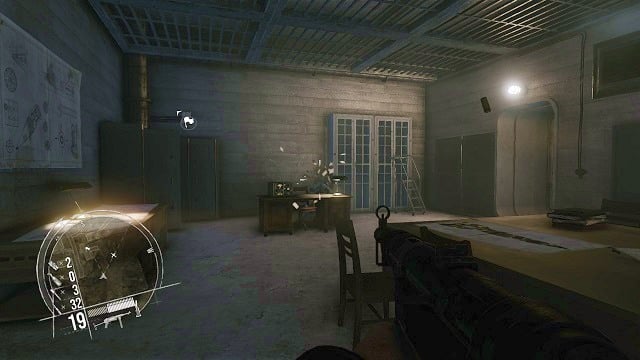
In the next room get rid of an officer occupied with checking on his notes. There's nothing of interest in this room, so all you can do now is to follow the marker on your map.
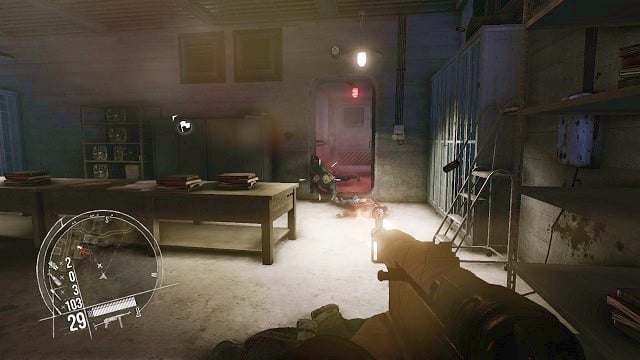
In the further part, you will stumble upon a few more enemy soldiers. Kill them all and continue your journey in the deeper parts of the bunker.
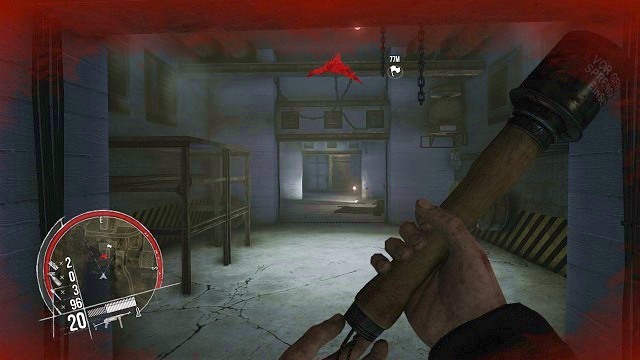
There are two enemy soldiers hiding at the very end of a long corridor, who, as soon as you get closer to them, will start flooding you with bullets. The easiest way to smoke them out of their safe positions is to use grenades. One accurate throw will be enough to get stupid ideas like opposing a stronger opponent out of their heads.
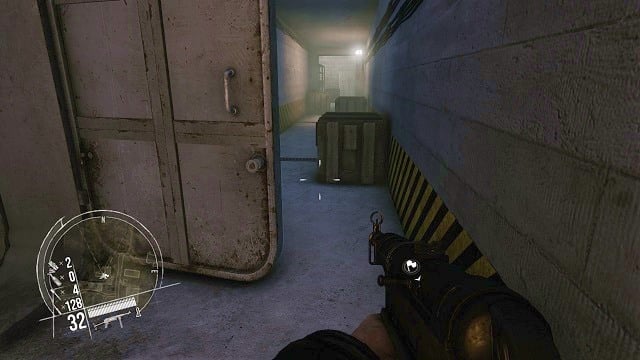
After eliminating the threat, you will arrive at the crossing of roads. Start with the left one, to get to a dead end - there's a secret (2 out of 4) lying on one of the boxes there.
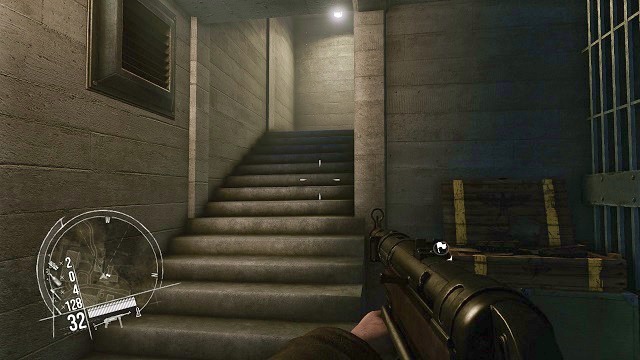
After collecting the secret, get back to the crossing and go along the right route this time - soon you will see stairs leading to the surface. And that's how you crossed the whole bunker.
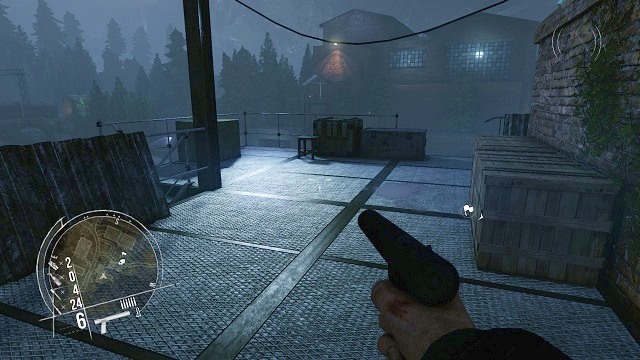
After emerging outside, you will see a vast number of buildings all around your current position. Approach carefully to the edge of the railing and pick the sniper rifle, leaning on one of the boxes. At the very same moment you pick up the weapon, a short cutscene should start, during which Hawkins, by using binoculars, notices Dietrich entering the further part of the enemy factory.
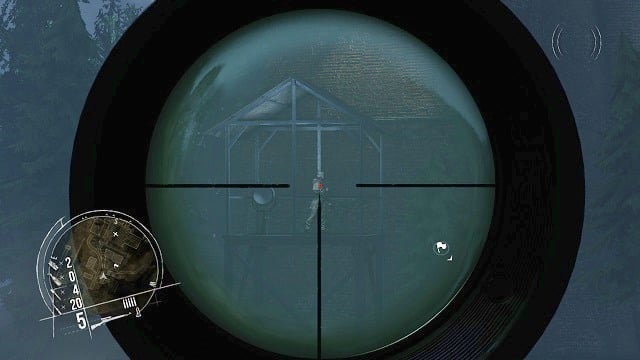
Take up a convenient firing position and look for all the targets in the area by using your rifle scope. There are several enemy soldiers patrolling the encampment, as well as two watchmen on top of watchtowers. You should only make your shots when a volume icon appears in the upper right corner of the screens (the noises are made by a truck).
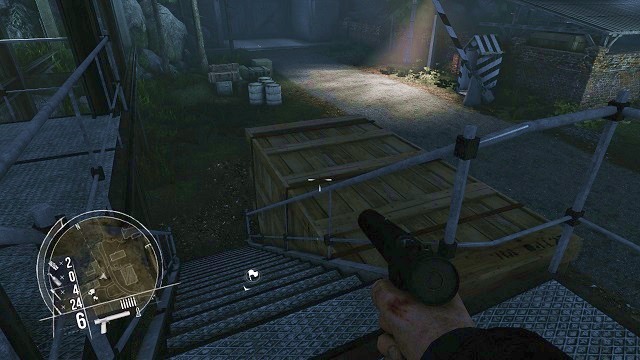
After finishing all the enemies off, run down the stairs and head in the direction of the mission mark - in this case, the huge reservoirs, to which you must attach the transmitter you recovered earlier.
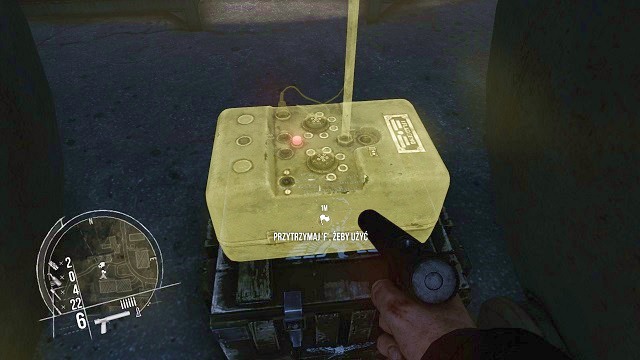
When you reach the containers, press and hold the interaction button in the specified place and it should do the trick. Now it's time to find where Dietrich is. You better hope that he didn't get himself into some trouble again.
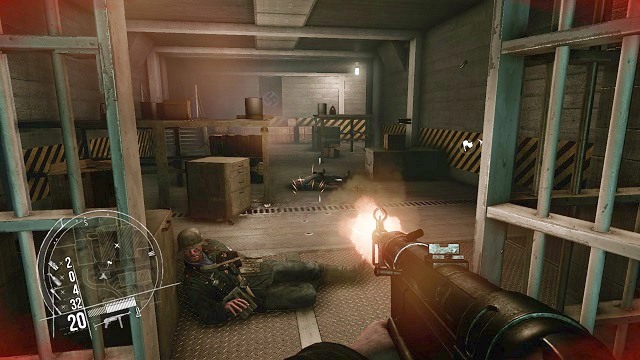
According to the guidelines, you should arrive at a passage, which was just opened by the German soldiers. Cross the gate as quickly as possible and kill of the unfortunate Nazis, who weren't aware of what they are doing.
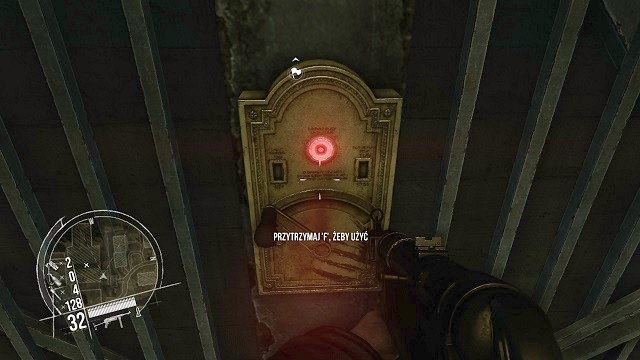
At the end of the room there's an elevator, which can get you to the upper floor of the facility. After getting inside, your character will automatically close the doors. All you have to do now is to use the interaction button on the panel located on the wall. to make the elevator move.
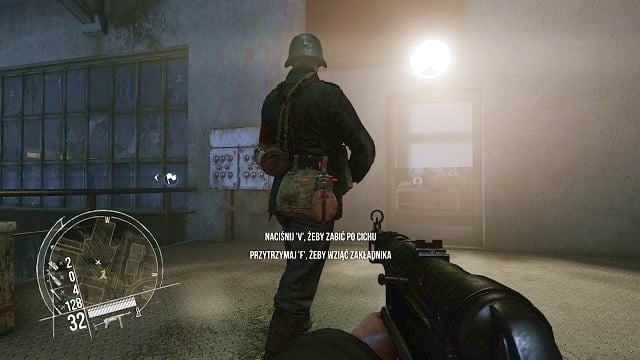
After reaching the top, the doors of the elevator will open - sneak on the enemy standing with his back turned on you. Slit his throat and continue on with your journey.
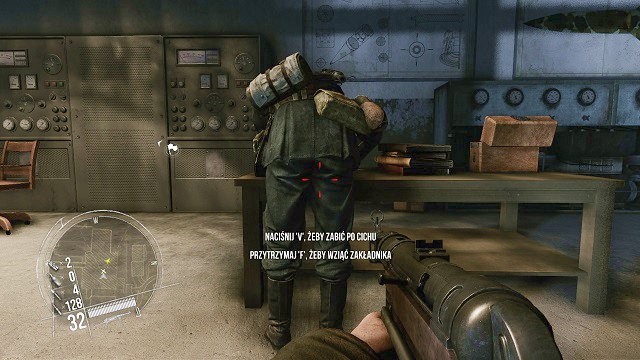
In the room, in which you enter by going towards the marker on the map, you will notice another soldier, bending down near the table. Just like you did before - sneak up on him and eliminate him quietly.
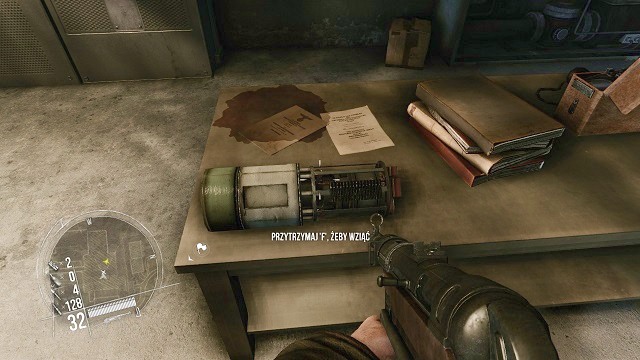
As it turns out in a moment (or, to be more exact, as the Nazi's body disappears from the desk) he was tempering with the second part of the device you are looking for - finding it determines the completion of the additional task in this chapter. After you've collected the item to your inventory, go to the end of the room, where, lying by a chest of drawers, a secret is located (3 out of 4).
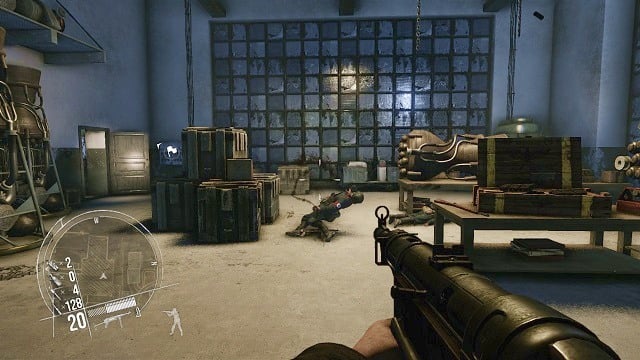
In the next room you don't have to be playing a stealthy assassin role anymore - because there's really no point in doing this at the moment - so take up your machinegun and eliminate all the resistance.
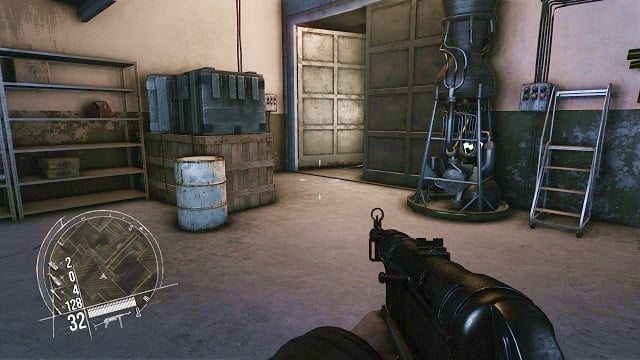
Afterwards, exit through the door to the long corridor - after a short while you will witness an unexpected cutscene.
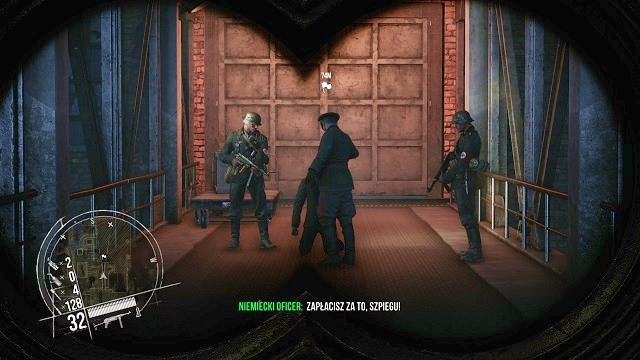
Before your eyes a German officer will be interrogating your companion, and after a short while, will hit him and command his soldiers to drag him into prison. This Dietrich is really unfortunate. He got himself caught again, like some greenhorn...
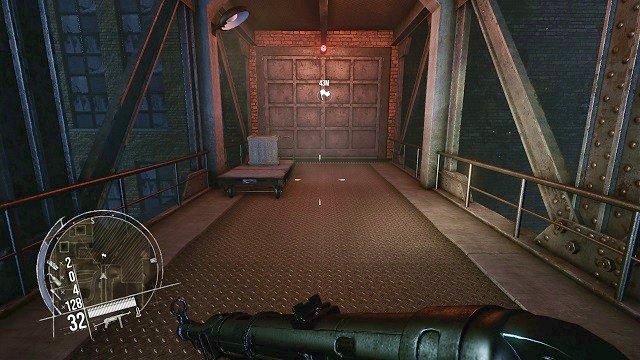
After regaining control over your character, immediately head to the part of the complex, in which the German patrol took your companion.
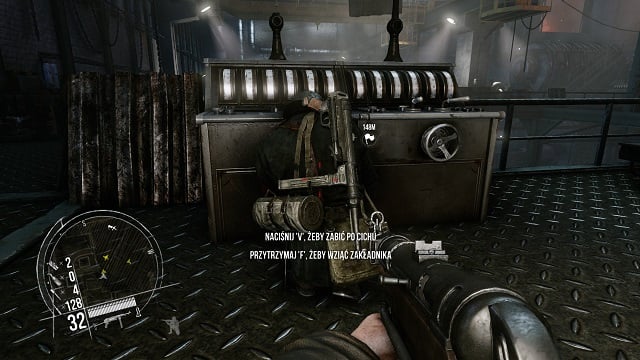
Crouch immediately after opening the door, as there's the first watchman standing there. Sneak on him and take him out silently.
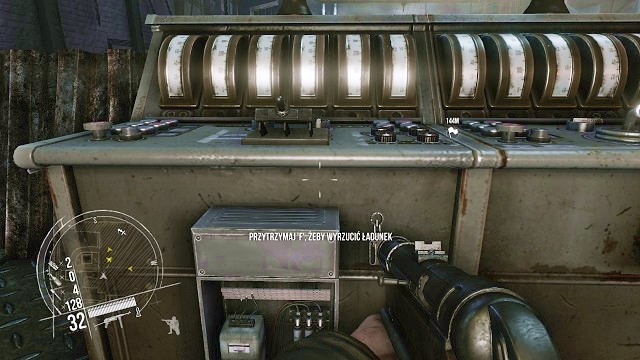
I wouldn't want to be the one to be hit by this huge load...
Afterwards, approach the machinery the soldier was tempering with and press and hold the interaction button, to drop the heavy load on the heads of German soldiers, located below your position. By doing this, you will take care of several enemy soldiers, but you will make some ruckus and attract attention all the soldiers on the production hall.
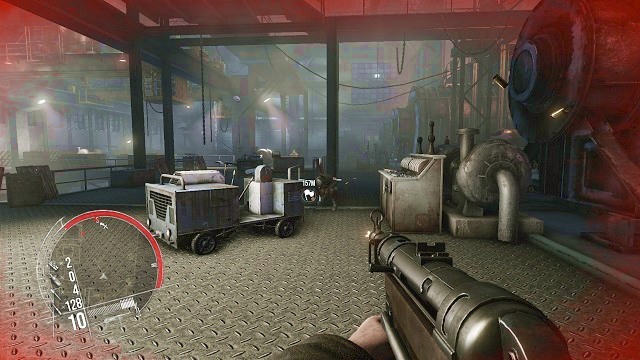
This means, that you have to jump out of your hiding spot and immediately take out the soldiers standing the closest to you - after a short while you will be fighting with practically the whole enemy garrison. Kill a group of enemies located on the floor - after that, go down the stairs and eliminate the enemies standing on the ground floor. Note, that on the ground floor, near the stairs located by the entrance to the complex, there's a table with a secret on it (4 out of 4).
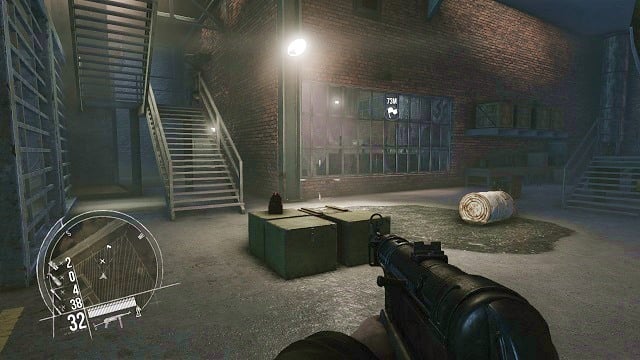
After eliminating all the enemies in the whole engine room, go down, in the direction of the marker on the map, to finally arrive near a small building. Get inside as soon as possible, as that's the place in which your companion is held.
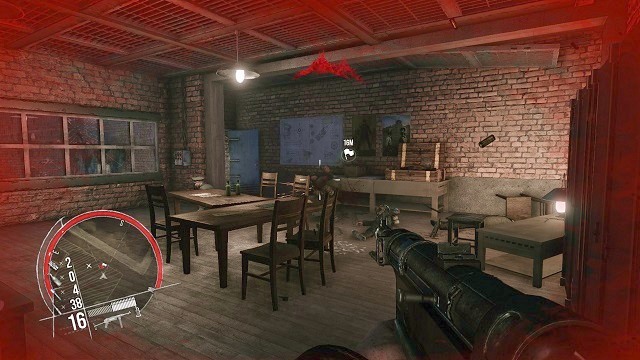
First things first, direct your steps to the upper floor of the building - charge inside, killing several of the enemy grunts and their commander. Kill all of them and wait for a cutscene which should soon appear.
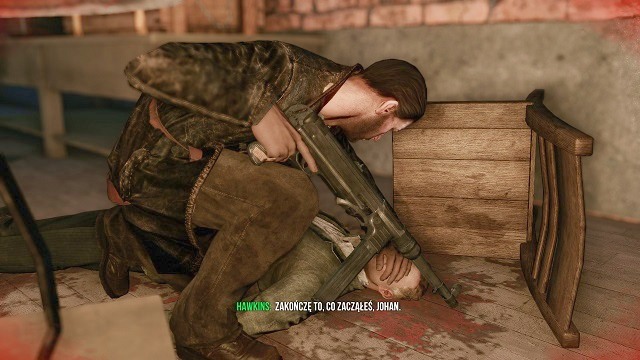
Unfortunately, Dietrich was killed in action, that's why, after a short farewell, you have to continue with your mission, so that his sacrifice wasn't in vain.
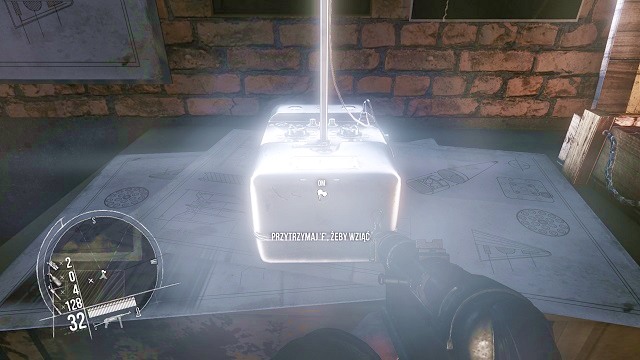
I'll take that transmitter - you won't have any use of it anymore.
Before you leave the building, however, you must take care of two things. The first one is the transmitter of the deceased, located on one of the tables in the same room, which will be used in the further part of this chapter.
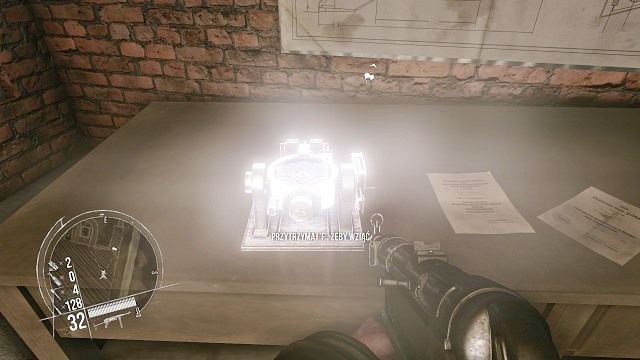
Next, on the ground floor, look for the third and the final part of the machinery, which you must take into your inventory, so that the additional task is completed. This item can also be found on a table.
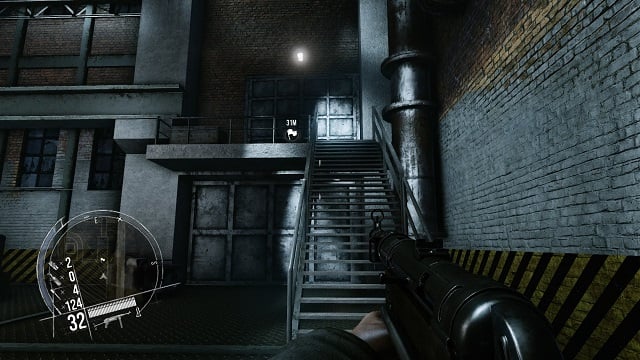
After completing all your tasks, go towards the marker on your map, which will guide you to the stairs, leading to the surface. Finally!
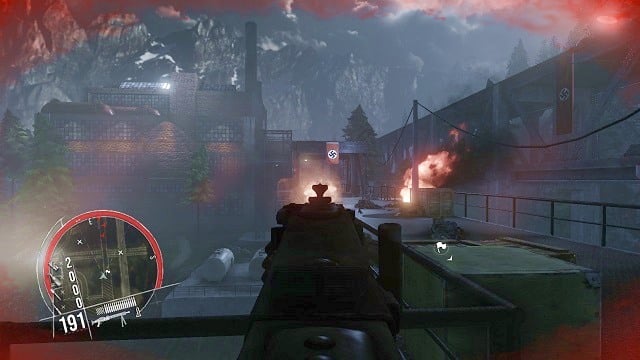
Immediately after emerging on the surface, you will notice a very long bridge - from its other side, a large squad of German soldiers is closing on your position. Immediately grab your grenades and throw them on your enemies - after that, mount a powerful machine gun which is located nearby. With its help, take out all the enemies trying to get through, towards your position - finally, finish of the survivors hiding behind crates and boxes by using your sniper rifle.
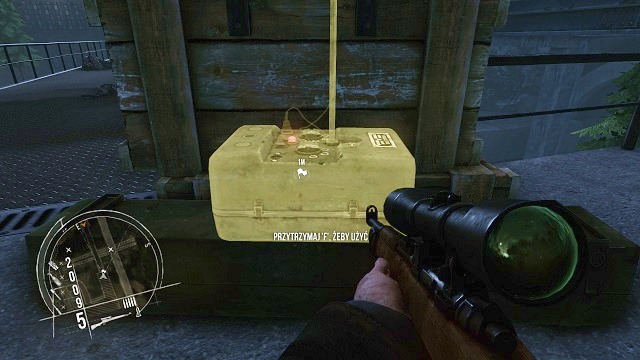
After the situation calms down, approach the highlighter place, near the MG turret and install the transmitter of your deceased companion on it.
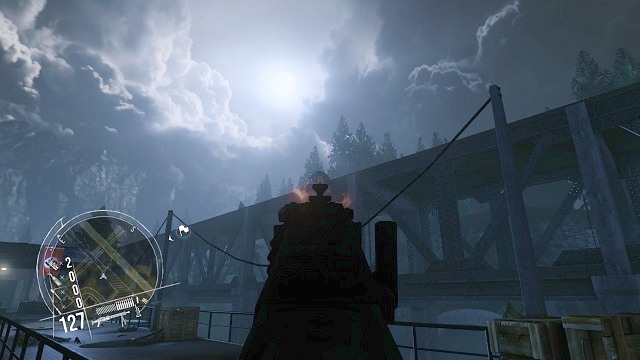
After embarking on a further journey, it's good to complete a secondary objective, which should activate just now. You have to destroy two enemy spotlights located in the area. It's best to do it with the help of your machinegun. The first spotlight is located on the right side, on top of an iron construction.
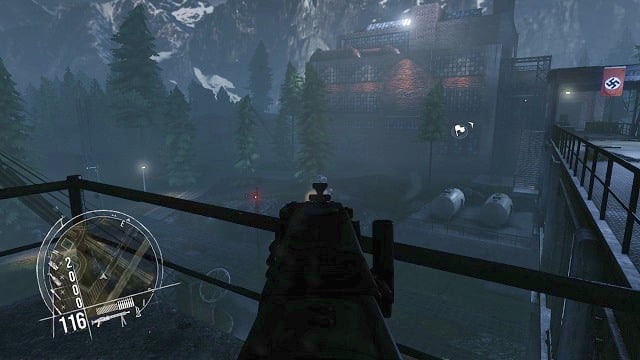
The second one is located on the left side, on a small elevation. There are two rather large containers and a couple of trees near the spotlight.
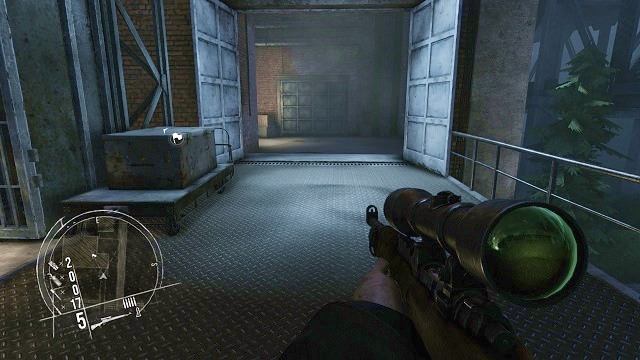
Cross the whole bridge and enter the opposite building. You can move around without fear, as there will be no enemies for a while - all of them died during the encounter with your MG.
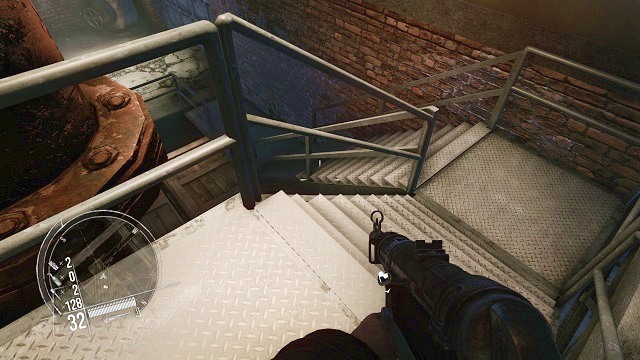
After going through the corridor, you will arrive at the stairs - use them to get to the ground floor and exit via the doors to the outside.
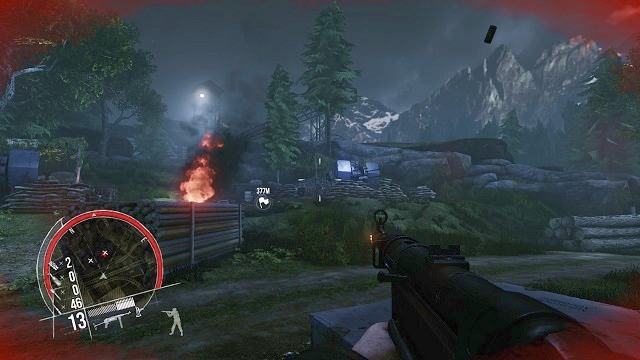
After reaching the surface, you will be immediately dragged into fight. You should be able to see the German anti-aircraft emplacements. Yup, you guessed it - another additional task requires you to kill of their crew and blow up the emplacements with explosives. Nothing as simple as that. First things first, you should, obviously, get rid of the AA crew.
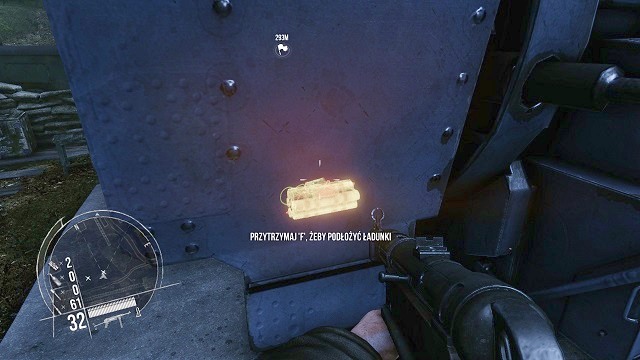
After clearing the AA of its crew, approach it and stick an explosive to it. After setting the timer, get away immediately from the place of a potential explosion and head towards the second gun, doing the same things as with the first one.
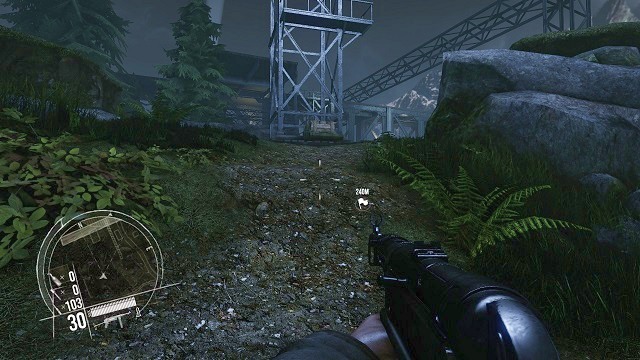
After the objective was marked in your journal as completed, it's time to continue with your journey. Head towards the marker on your map, running up the hill - shortly after you will arrive at a gigantic test square.
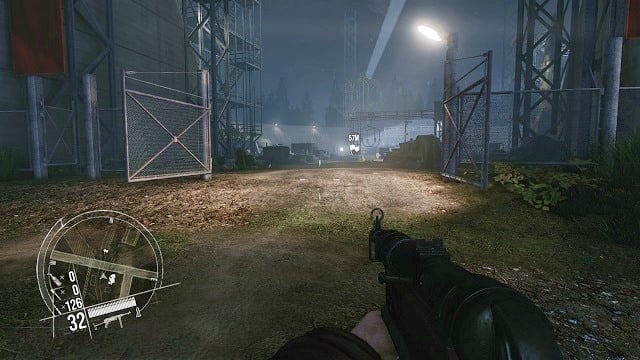
The Germans are preparing to launch rockets of immense power, and only you can prevent them from doing it. Without further ado, barge in on the terrain of the facility.
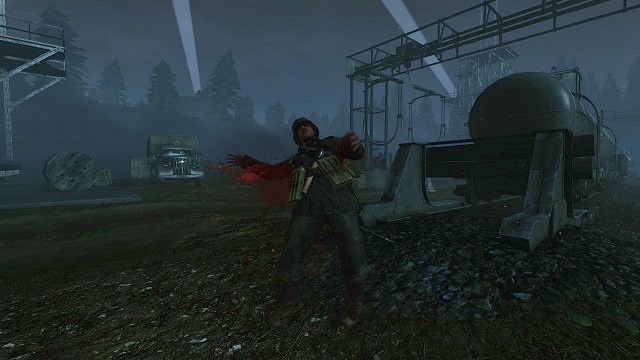
Carefully aim with your sniper rifle - as this weapon is recommended here - and eliminate the watchmen within the facility. There's a lot of them, and that's precisely why you should keep your distance, instead of charging on them with your shotgun.
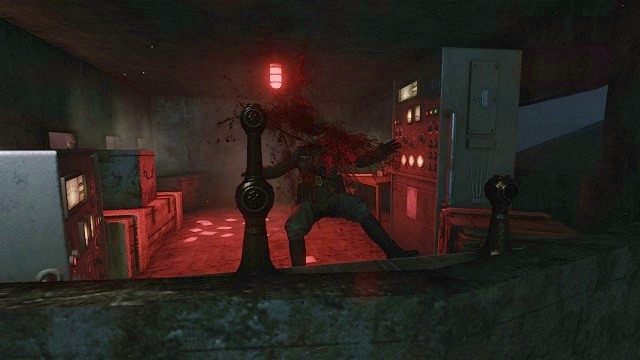
At the very end, it's time to take care of the enemy officer, who was responsible with the task of overseeing the launch of that deadly rocket. Get to him in a small building, which serves the purpose of a control center.
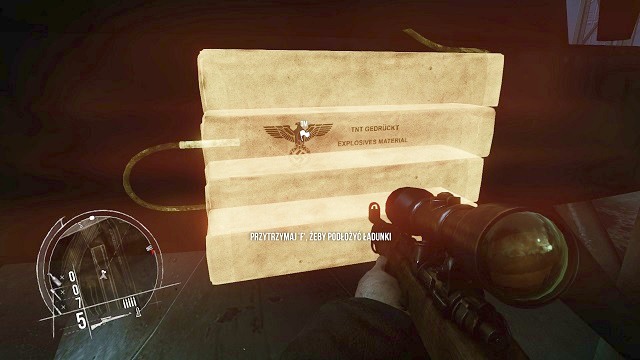
When the surrounding area is rather safe, approach a huge rocket and stick your explosives in a clearly visible place, by pressing and holding your interaction button.
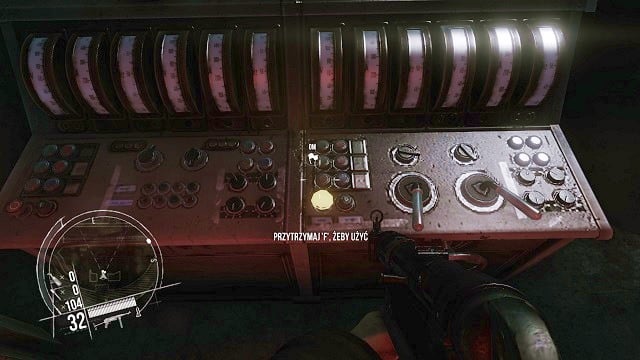
Go back to the place in which you've murdered the German officer. Inside of the building, you will find machinery, or more specifically, a single button - pressing it will bury the whole Nazis plans for the war.
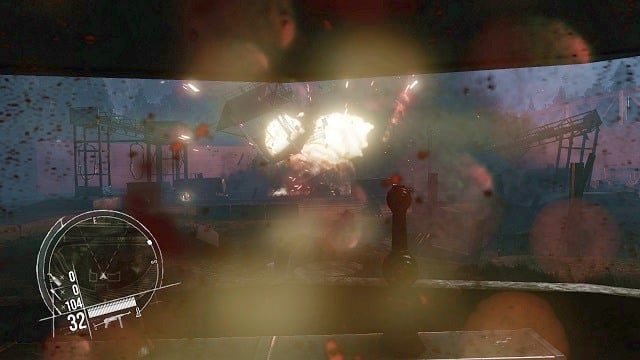
After pressing and holding the interaction button, there's nothing left for you to do as to let go of your keyboard and mouse and sit back in your chair. Just like that you changed the fate of the Second World War. Congratulations!
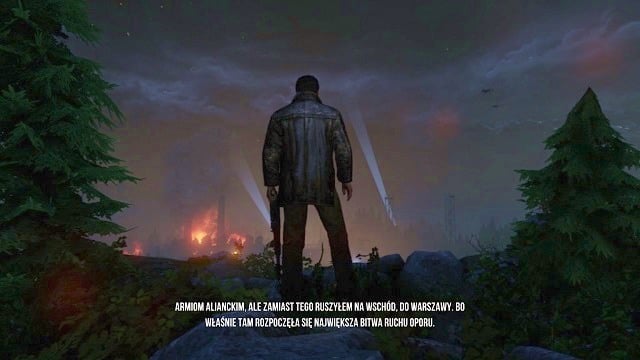
Afterwards, a short cutscene will start. It's time to get back to Warsaw, where the last two chapters of the single player campaign take place.
- Enemy Front Game Guide
- Enemy Front: Game Guide
- Enemy Front: Singleplayer campaign mode
- Enemy Front: Mission 1 - The First Victory
- Enemy Front: Mission 2 - Battle for St Cross
- Enemy Front: Mission 3 - French Resistance
- Enemy Front: Mission 4 - Siege of St Cross
- Enemy Front: Mission 5 - Sabotage in Loue Valley
- Enemy Front: Mission 6 - Officer Hunt in Loue Valley
- Enemy Front: Mission 7 - Chateau Assault in Loue Valley
- Enemy Front: Mission 8 - Warsaw Calling
- Enemy Front: Mission 9 - PAST Assault
- Enemy Front: Mission 10 - Winter in Vemork
- Enemy Front: Mission 11 - Fortress at Oscarsborg
- Enemy Front: Mission 12 - Home Army Victorious
- Enemy Front: Mission 13 - V2 Attack
- Enemy Front: Mission 14 - Fire from the Sky
- Enemy Front: Mission 15 - The Final Day
- Enemy Front: Mission 16 - The Fall of Warsaw
- Enemy Front: Additional Mission - Saint-Nazaire
- Enemy Front: Singleplayer campaign mode
- Enemy Front: Game Guide
You are not permitted to copy any image, text or info from this page. This site is not associated with and/or endorsed by the developers and the publishers. All logos and images are copyrighted by their respective owners.
Copyright © 2000 - 2026 Webedia Polska SA for gamepressure.com, unofficial game guides, walkthroughs, secrets, game tips, maps & strategies for top games.
