Enemy Front: Mission 11 - Fortress at Oscarsborg
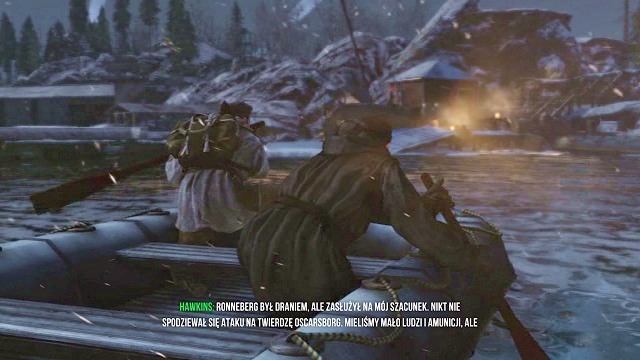
The 11th mission starts with a short introductory cutscene, during which your hero, in the accompany of the commanding officer from the previous chapter, reaches a harbor in a close vicinity to a German fortress.
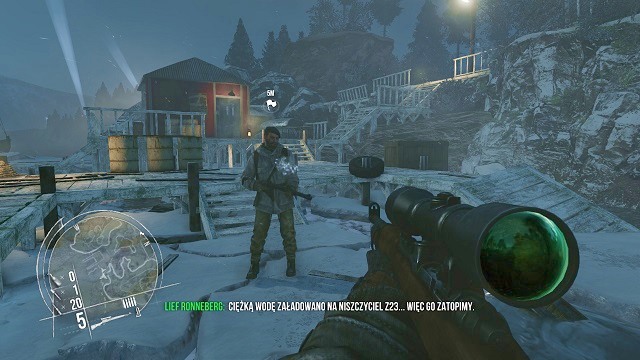
The main goal of this mission is to destroy a valuable German cargo, which is currently loaded on a huge Nazi Battleship. Before you do so, you have to establish a connection with the Norwegian resistance, because without their help you can't even dream about surviving this operation.
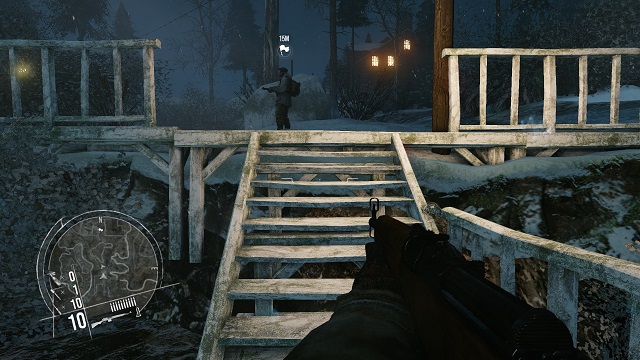
Move out by following your companion. There's no point in stopping and ransacking the area, as there's nothing of interest to be found here - the same goes for a small hut located near the coastline. Quickly climb up the stairs and, arm in arm, run with your commanding officer.
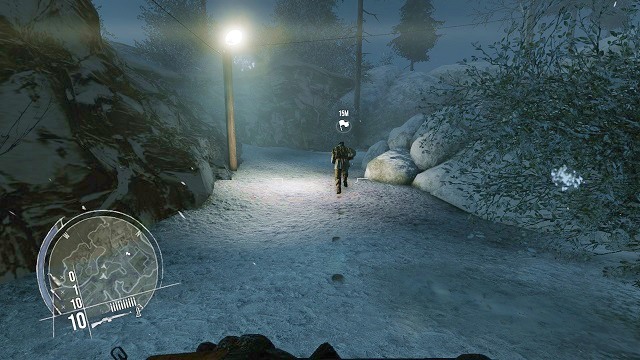
During your sprint along the snowy path, you will hear the sounds of gunfire and machineguns. It seems that a fight is taking place nearby. Don't slow your march and keep pushing forward, to aid your allies from the resistance in battle.
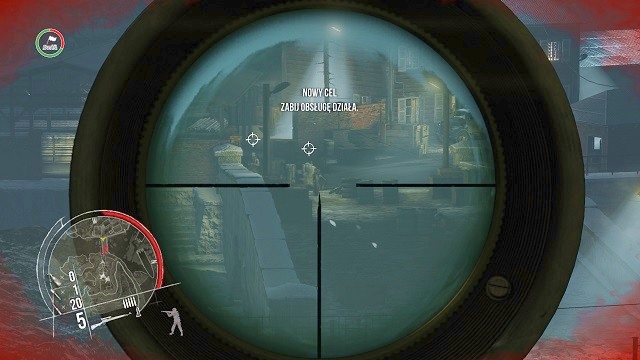
After reaching the rendezvous point, you will notice a squad of several Norwegian soldiers, fiercely storming the enemy. Unfortunately, the Germans have a fortified line of defense, with a powerful, long-range gun at their disposal. Take out our sniper rifle immediately and get rid of the artillery crew (consisting of 2 soldiers). Soon afterwards, an armored vehicle will join the fun, emerging near the bridge - of course, there's no point in shooting your bullets towards the car, but you can at least take out the infantry mounting the machine gun on top of the vehicle, which, in fact, is one of the goals of the mission.
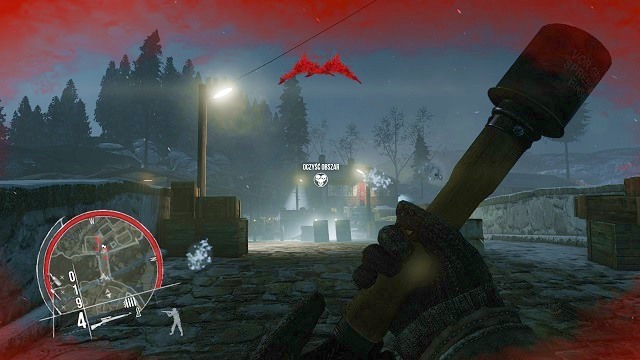
After the enemy force has dwindled, leave your position and run in the direction of the bridge. As soon as you are halfway through the bridge, take out your grenades and throw them towards the barricades. If you are lucky, the grenades will reach the armored car, causing a rather large explosion, killing off most of the enemy stationed nearby. Kill any survivors and proceed.
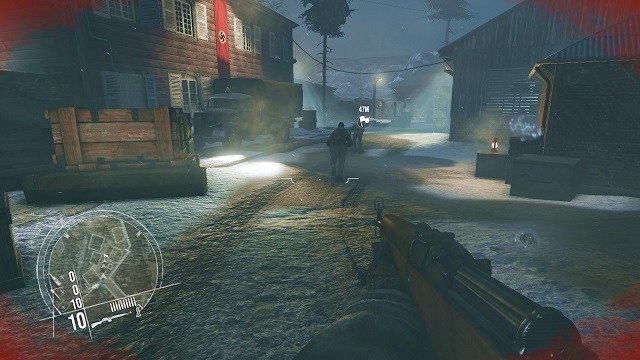
After clearing the surroundings from the enemy, your company will divide into two groups. One of them will depart in their own direction, the other one - in which there are two ordinary combatants - will have to march in the direction of the mission marker. You should follow them. Before you venture into the deeper parts of the enemy base, you should enter the first building after you've crossed the bridge, the one with the swastika flag on top of it - inside one of its rooms you will find a secret (1 of a total of 4) lying on the table, close to a typewriter.
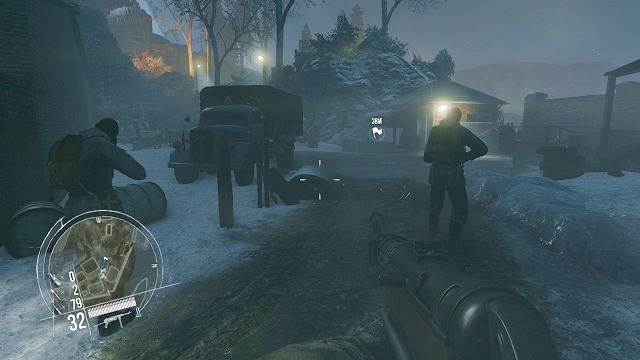
Join the combatants awaiting you and, together, cross the gate to the other side of the wall, and, after a short while, rush to the airport grounds. Quite an exciting challenge awaits you, so prepare yourself!
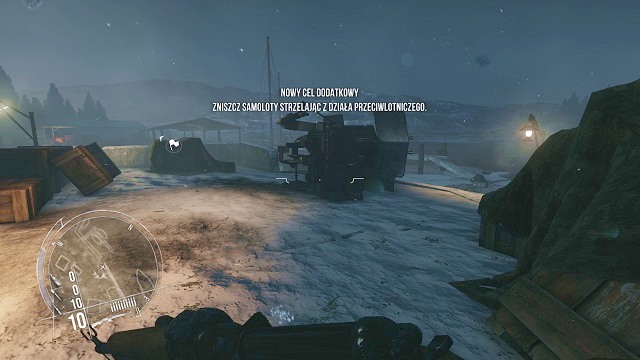
Immediately go the antiaircraft gun, which is marked by the marker on the map and mount it, to fight off an entire squadron of enemy airplanes. In the meantime, your companions will be defending themselves against the storm of German troops.
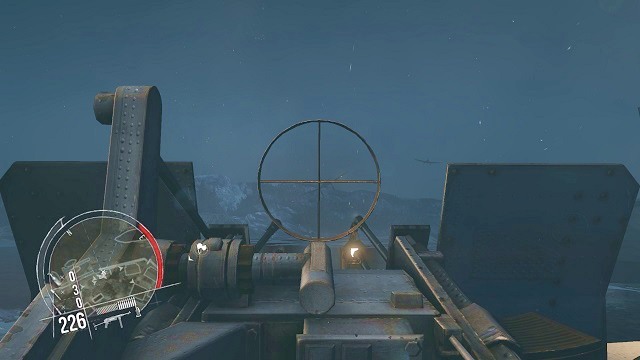
While being at the controls of the antiaircraft gun, begin your assault on the enemy airplanes. There are two things you have to do during this stage - first, and the most obvious, is to fight off the numerous airplanes closing on your position, and the second one is to take care of German watchman, who, despite the presence of your companions, may try to get rid of you, especially by using grenades (whenever a grenade icon appears on your screen, immediately jump out of the AA gun and run to a safe location - after the grenade explodes, get back to the AA gun).
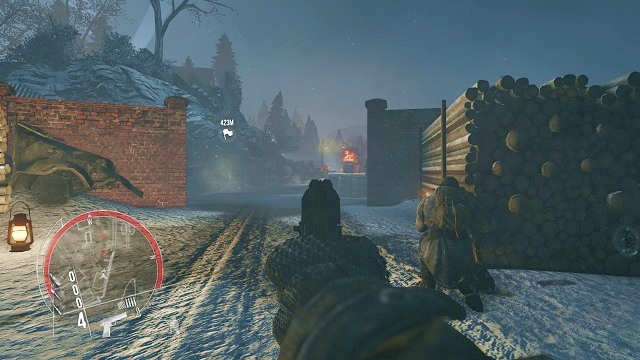
As soon as you are informed of a completed task, dismount the antiaircraft gun and immediately, without much thought, hide in some safe place, as the area is literally swarmed with German troops. One of your companions has been shot, thus you are left alone with the other one. Kill all the enemies in your closest vicinity, and as the situation calms down you should reload your weapon (an ammunition box is located inside of a small hut, at the entrance to the airport grounds). After you've done it, continue your march towards the marker on the map.
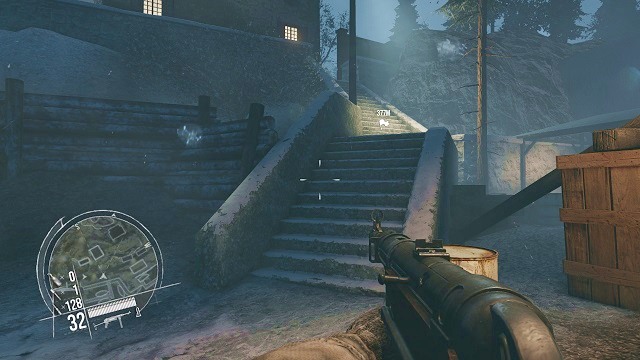
At the end of the passageway, the game orders you to turn to the left, in the direction of the stairs, which lead to the upper part of the hill. Do as you are commanded, to arrive at the main settlement inside the fortress. What's important, your companion will take a position on the airport grounds, refusing to tag along with you, meaning that the further part of the journey must be done individually. Try not to get into the water, as well as wander around the ice floes, as you can easily get stuck and bugged.
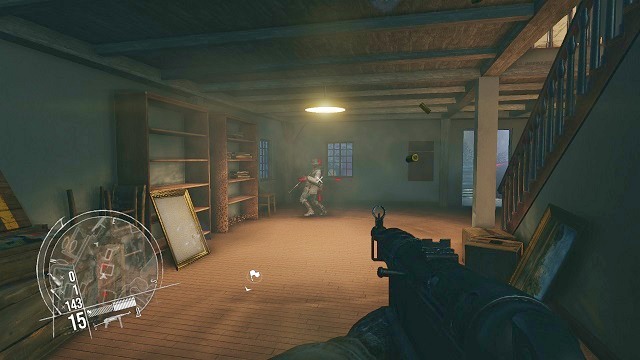
After reaching the first elevation, enter the nearby building and get rid of the watchman standing in the middle of the room. Afterwards, wait for the rest of the defenders - they should be nearby. After you have defeated them and the area is clear, it is recommended that you go to the second floor of the building - you can find a secret there (2 of a total of 4), lying on one of the soldier's beds.
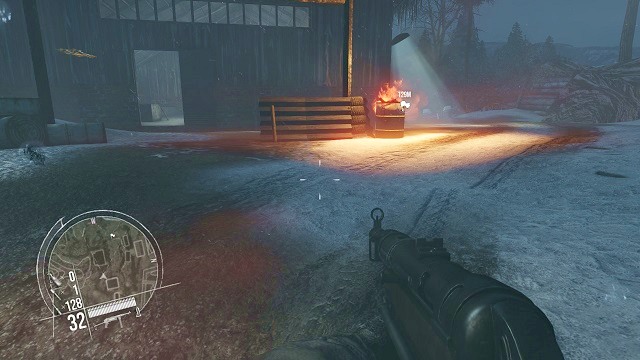
After clearing the surrounding area, you must continue your march in the direction of the marker on the map, towards the next buildings. Ignore the unexplored passage, directed in the opposite direction - by going there, you will get to the starting point, which is the gate leading to the airport grounds.
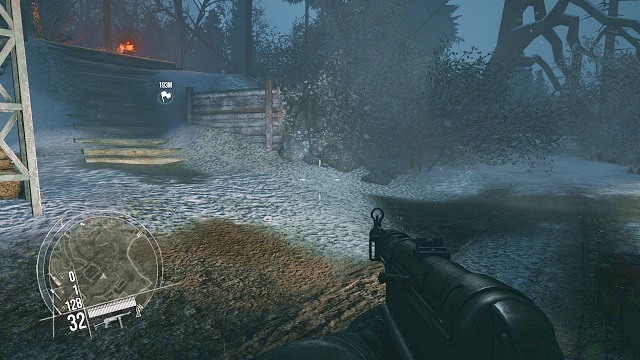
After the "urban" area starts to diminish, you will be given an opportunity to choose one of the roads. Regardless of your choice (the stairway or the forest passageway), you will, as a matter of fact, arrive at the exact same spot, so the decision is yours to make.
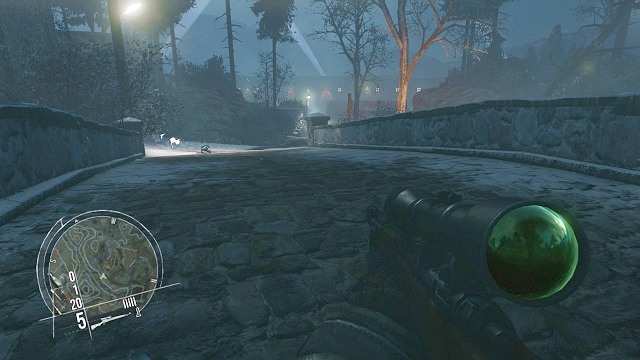
After some time, on the horizon, you will be able to see an enormous, formidable fortress of Oscarsborg, heavily defended from every side - you should be able to notice two, heavily outlined roads as well. One of them is a paved path, leading to a bridge, and the other one, similar to the previous one, is an "unofficial" passageway through the forest, between numerous trees and bushes.
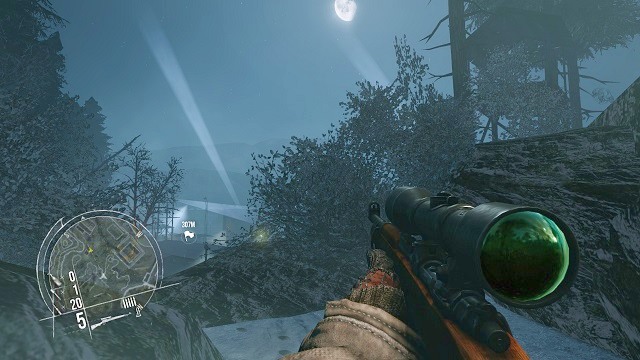
The latter option is heavily recommended, because by sneaking by to the enemy settlement from the side of the hill, you will have all the nearby enemy watchmen served on a silver plate. Take advantage of the situation and draw out your sniper rifle, and do the thing you should be now accustomed with - exterminate all the resistance.
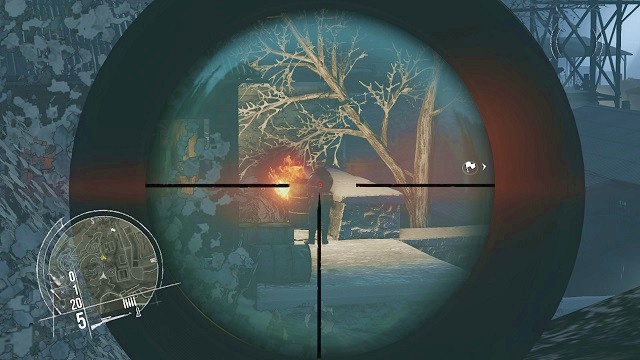
Start of by taking care of the enemy standing on the left side, as he is the closest to your current position, and you, obviously, do not want to engage the enemy defenders in the direct combat. It's best to wait for the moment, when a specific volume symbol in the right top corner of the screen indicates you that the shot can be made without the other enemy hearing anything.
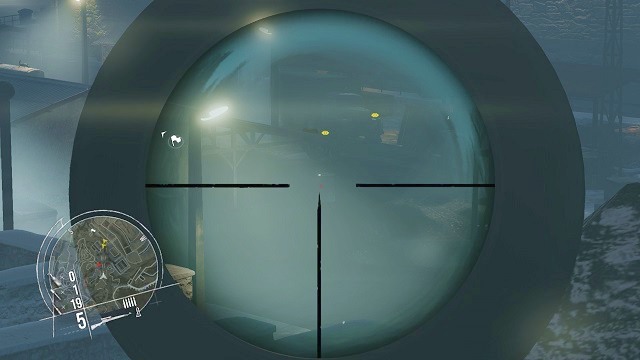
Your next target won't be an alive one, but rather a very useful element of the environment - an explosive barrel. Locate, with the help of your rifle scope, the three watchmen patrolling near the truck, and focus on the mentioned barrel. Shoot at the object as soon as the enemies are near it. After the explosion gets rid of the pesky Nazis, take care of some additional troops, who should by now arrive on the scene, alarmed by all the ruckus. Kill them all and jump down by using the boxes, until you reach the stable ground.
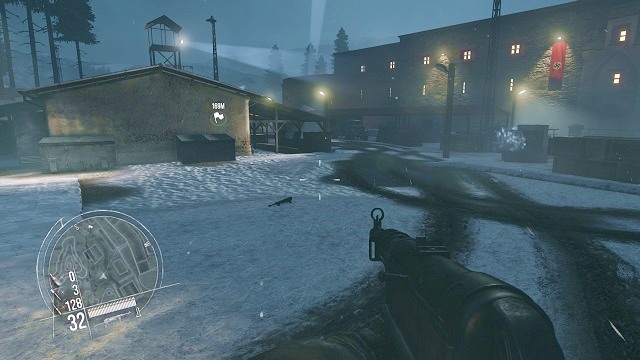
You can hear the gunshots. Could it be...
Rush forward, ignoring the nearby buildings, because there's nothing of any value to you inside of them. The only building you should enter is the long barrack, located closest to the defensive wall - inside of it you will find a secret (3 out of a total of 4), hidden inside one of the closets.
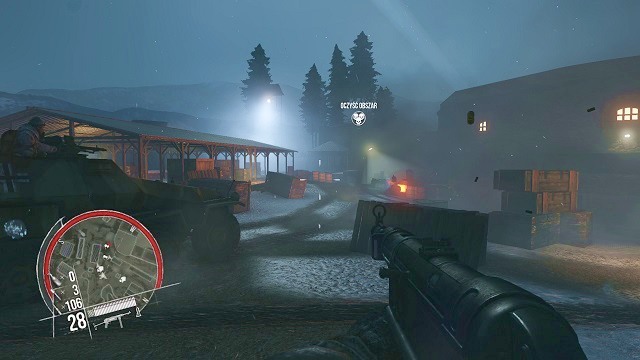
At some point, you should be able to hear the sounds of quite a brawl in the distance. It's your company, who, somehow, took possession of an armored car and started to wreak havoc. By using the armored vehicle, you must get past succeeding enemy lines of defense, until you reach the primary point of interest on the island.
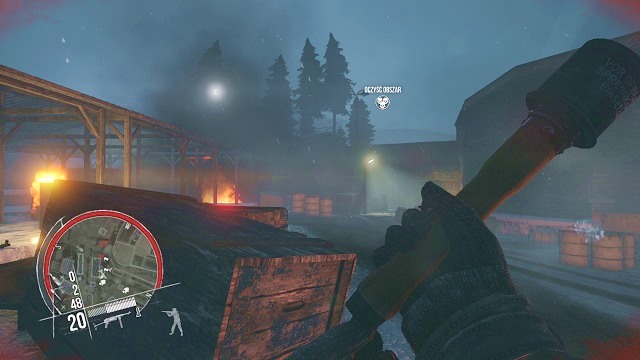
Kill off the last watchmen before you enter the fortress and get close to a giant iron gate - unfortunately, you can't open, or break it down in any way. In this situation, you have to climb the stairs on your left side and use the door to enter the bunker.
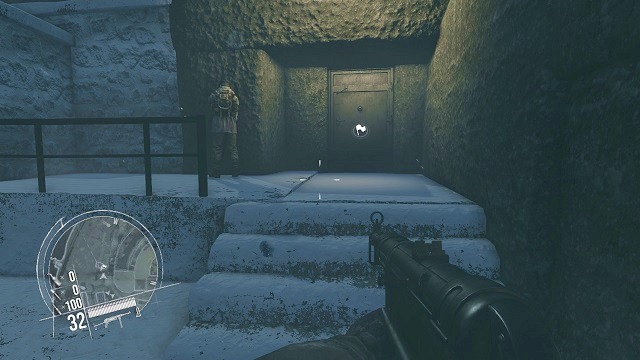
The two soldiers accompanying your commanding officer will scatter around the area, to prevent any type of counterattack from the Germans. You, along with your commander, have to push forward and destroy the cursed bunker once and for all.
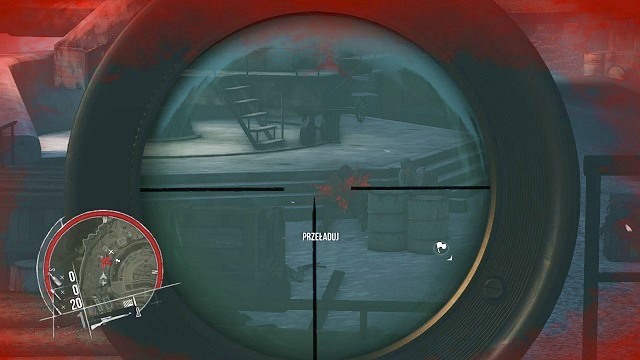
Calm down, I have enough bullets for each of them...
After crossing the threshold and closing the behind, you will notice, that without a word, your commanding officer decided to stay outside. This means that there's only one thing for you to do - climb up the stairs and take out your reliable sniper rifle. Clear out the surroundings, sending a bullet to each of the watchmen, paving your path to the additional task that can be done in this place
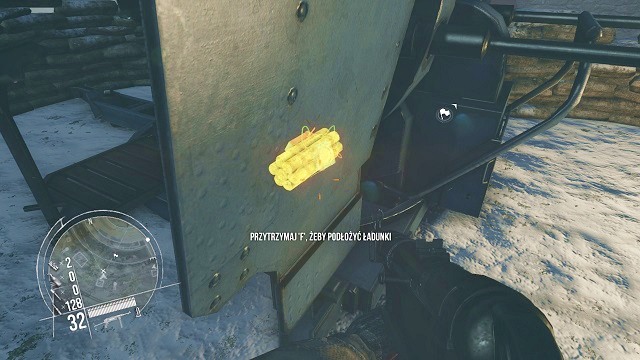
As can easily be guessed, it's about destroying the cannons, or to be more precise a cannon - because you have to destroy a single one. To do so, you have to climb down the stairs from the platform on which the whole equipment is installed, and get inside an open storeroom beneath it, where you will find the required explosives. Now, all you have to do is to simply press and hold the designated key and run for your life, to a safe distance, before everything blows up.
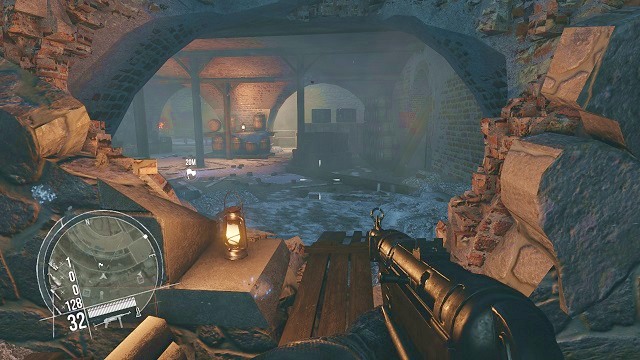
After you are sure, that the cannon won't do any harm to anyone anymore, embark on to continue your journey in the direction of the marker on the map. You should arrive at a huge breach in the wall, through which you can enter the construction. Your main goal is close.
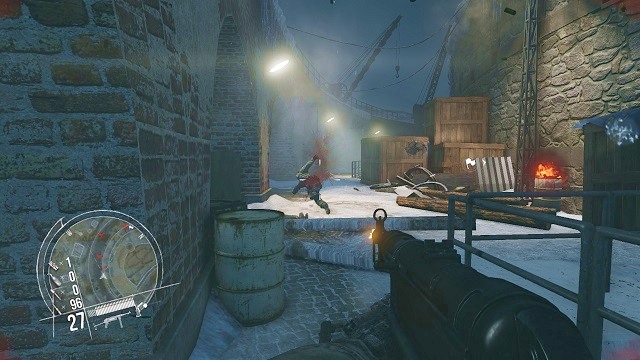
During the next few moments, you will have to deal with a number of watchmen, hiding behind the ubiquitous barrels and crates. Get rid of them, while constantly pushing forward.
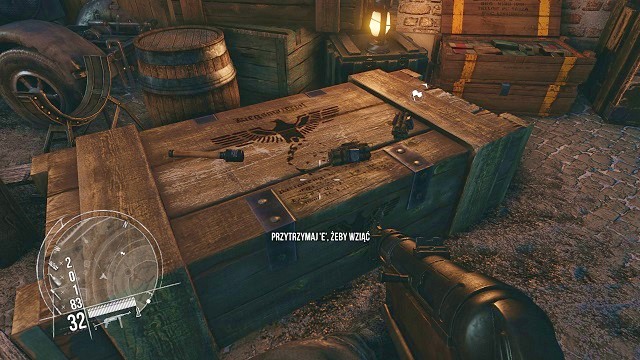
After you see a giant gate ahead, an additional task will be appointed to you. It will be - which is quite obvious - about blowing up the gate, to pave the further way inside of the bunker. To complete the task, collect the explosives from one of the crates located under the roofing.
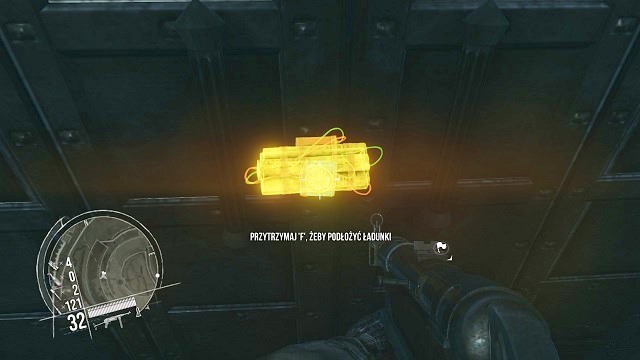
Afterwards, get close to the gate and stick a bomb to it. Set the timer, run to a safe distance and voila, you've made yourself a passage inside the further parts of the German base.
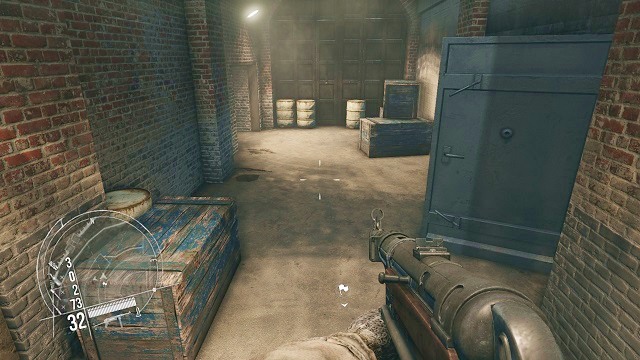
After descending the sloping floor, your commanding officer will rejoin you (shame that he did that after all the dirty work you had to do). You have to get to the end of the hallway and turn to the right, according to the marker on the map. Before you do so, it's recommended to look inside the room on the left side - you can find a secret there (4 of a total of 4), lying on the table.
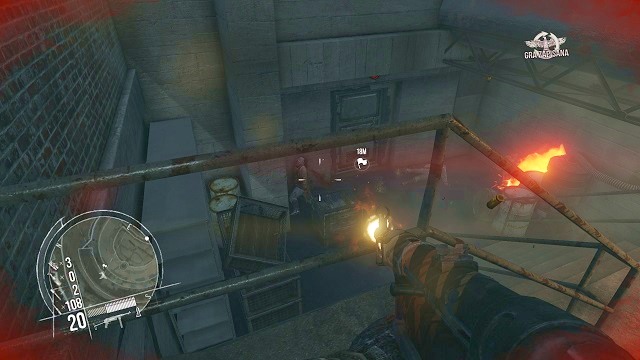
Together with your commanding officer, clear the Nazi ranks and push forward, through the intricate corridors, further inside the bunker. After a short while you will arrive at the stairway leading to the lower parts, where, besides a few more German grunts, you will encounter a yet another closed doors.
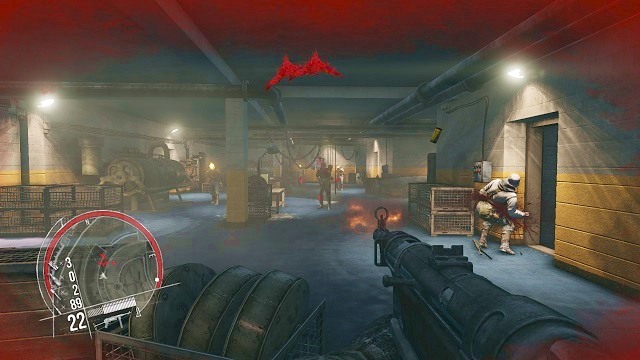
Bash through the door and violently rush inside the room. During the slow motion sequence, try to take out as many of the enemies as you can (which are, de facto, the last defenders of the settlement) - unfortunately, you probably won't be able to take out all of them, because there's lots of them inside this room. Before they can answer with their own gunfire, immediately hide behind some cover and continue with your assault from a safe place. After dealing with them, do as you are told by your commanding officer.
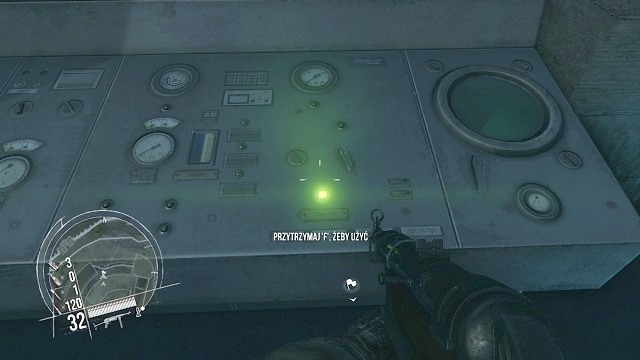
On your commanding officer's mark, get closer to the complicated machinery, indicated by the marker on your map and press the adequate button, to load torpedoes inside the chambers. It's time to have some fun!
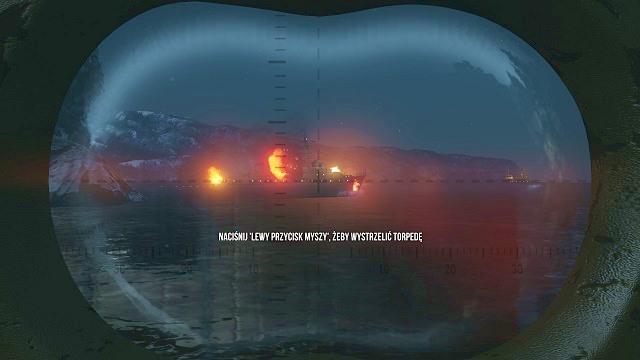
Rush to the glassed part in the middle of the room and proceed on to fire torpedoes at the ship, transporting the precious cargo, mentioned in the beginning of this mission. Send succeeding projectiles towards the ship with your mouse button responsible for fire, until the whole ship bursts into flames. Don't even bother with the smaller vessels - their destruction is neither required, nor in any way rewarded.
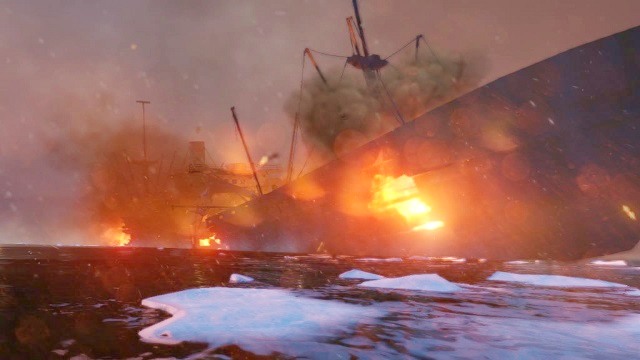
After a successful action, you can ease your arm from the mouse and take a deep breath, as it's the end of task given to you. All you have to do now is to enjoy the cutscene, during which the powerful German vessel sinks underwater. Marvelous!
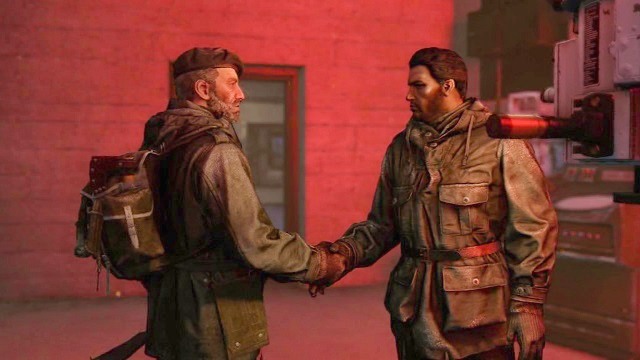
Finally, a manly handshake between you and your companion, followed by a compliment by your commanding officer, that you're not as bad as it could have been expected at the beginning. Nice. Mission 11 accomplished!
- Enemy Front Game Guide
- Enemy Front: Game Guide
- Enemy Front: Singleplayer campaign mode
- Enemy Front: Mission 1 - The First Victory
- Enemy Front: Mission 2 - Battle for St Cross
- Enemy Front: Mission 3 - French Resistance
- Enemy Front: Mission 4 - Siege of St Cross
- Enemy Front: Mission 5 - Sabotage in Loue Valley
- Enemy Front: Mission 6 - Officer Hunt in Loue Valley
- Enemy Front: Mission 7 - Chateau Assault in Loue Valley
- Enemy Front: Mission 8 - Warsaw Calling
- Enemy Front: Mission 9 - PAST Assault
- Enemy Front: Mission 10 - Winter in Vemork
- Enemy Front: Mission 11 - Fortress at Oscarsborg
- Enemy Front: Mission 12 - Home Army Victorious
- Enemy Front: Mission 13 - V2 Attack
- Enemy Front: Mission 14 - Fire from the Sky
- Enemy Front: Mission 15 - The Final Day
- Enemy Front: Mission 16 - The Fall of Warsaw
- Enemy Front: Additional Mission - Saint-Nazaire
- Enemy Front: Singleplayer campaign mode
- Enemy Front: Game Guide
You are not permitted to copy any image, text or info from this page. This site is not associated with and/or endorsed by the developers and the publishers. All logos and images are copyrighted by their respective owners.
Copyright © 2000 - 2026 Webedia Polska SA for gamepressure.com, unofficial game guides, walkthroughs, secrets, game tips, maps & strategies for top games.
