Preparations – before you start downloading. The best mods for The Witcher 3: Wild Hunt – January 2017 Edition

- The best mods for The Witcher 3: Wild Hunt – January 2017 Edition
- Preparations – before you start downloading
- The Daily Monster Hunt Challenge – new adventures ersatz
- Witcher Book Collection – more books to read
- Forgotten Worlds – revisit fantastical worlds
- Random Encounters – even more dangerous trail
- Better Call Ciri – second playable character
- Gwent Plus Plus, or Gwent: Enhanced Edition
- Skilled Humans – the bandits learn how to handle a sword
- The Gwent Card Dealer – buy ‘em all!
- All Quest Objectives on Map – the most useful small mod
- Extra Animations – not very useful but utterly awesome
- Witcher 2 Gear – so classy!
- Lore-friendly Witchers – Less-friendly (looking) Witchers
- Immersive Cam – The Witcher 3 in FPP, and all your camera might wish for
- The Witcher 3 HD Reworked Project – textures sharp as a witcher’s sword
Preparations – before you start downloading
First, learn by heart the two gold rules of dealing with mods:
- Before you edit/replace any files, make backups. Begin with your saved games.
- Remember that modding comes with a risk – mods may do as little as spawn various glitches and bugs or as much as serious damage to your saved games, or even the game files themselves.
1. Nexus Mod Manager / Mods folder
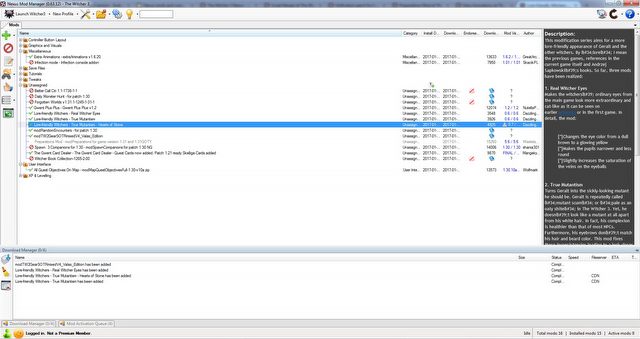
All mods included in our list can be found on Nexus Mods website – which means you can use Nexus Mod Manager (NMM) to install them. The app can be downloaded here. First, though, you have to create a free account (you’ll need it anyway to download most of other necessary files). Once you have it, install and launch the app. Then, follow the procedure:
- Wait for NMM to finish scanning your drive for games and confirm the paths it has detected (assuming they’re correct), by clicking green tick marks by each game. Then, click “OK”;
- Select The Witcher 3 on the list;
- Configure the location of NMM’s temp folders (you can leave them as they are).
After this initial configuration, the app is ready to do what it was made to do – download and instal mods:
- Having installed NMM, you can download files from Nexus Mods directly to the app. Just click the “Download with Manager” option, under the Files tab, on the mod’s page. You can also download the files manually, then add them by clicking the green “+” icon.
- Downloaded mods appear on a list in the main portion of NMM’s window (under „Unassigned”, or some other folder if it was specified). To install a mod, select it and click the green tick mark;
- Mods can also be easily disabled – just click the red icon with crossed circle, after you select a mod.
You can also skip the NMM altogether if you wish. In that case, manually create a folder called “Mods” in the Witcher 3 main folder, and then simply copy the mod files manually. Additionally, every mod description on this list features a detailed description of installation and/or configuration, as sometimes additional steps are required for everything to work.
2. Unification patch
What about the console?
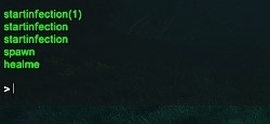
Some mods will require access to the dev console; luckily, none of the ones on our list are among them. If you’d like to have the console up and running just in case, complete the following steps:
- Find The Witcher 3 main game folder and enter the following subfolder path: bin/config/base
- Once there, use Notepad to edit the file „general.ini”
- Find the section „[General]” and below it add the line: DBGConsoleON=true
- From now on, you should be able to open and close the console by using the tilde (~) key.
The release of the Game of the Year version caused some chaos among the modding community. The standard edition and GotY edition of The Witcher 3 are different enough to cause some mod compatibility issues. The avoid them, you’ll need to install the so-called Unification patch, which will standardize both versions of the game:
- Download the patch and extract it.
- Copy the “content” and “Mods” folders into your main Witcher 3 folder – replace files when asked.
If you had the „standard” version, one thing to inform you of the patch being applied successfully will be the vanishing of DLC logos from the main menu, or random selection of music and background image each time you launch the game. No worries though, the patch itself changes only what it needs to – certainly not your saved games or settings.
3. Script Merger
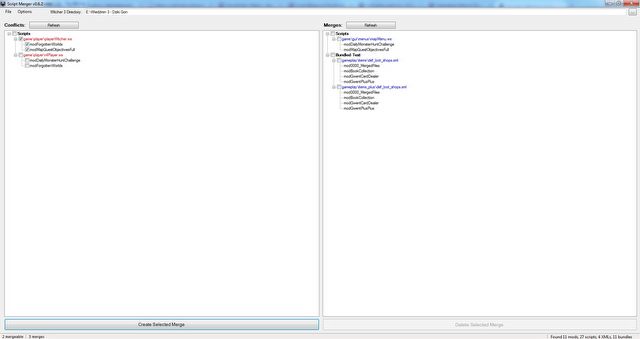
Script Merger is yet another useful program – and it becomes an essential one if you plan on installing a significant number of mods. It can help you when several mods are incompatible and begin to clash. This app not only detects the source of the problem but it is also able to get rid of it in most cases, by generating new, bypassing scripts. A detailed manual (made by us) for using Script Merger can be found under the following link:
4. Input.Settings Patcher
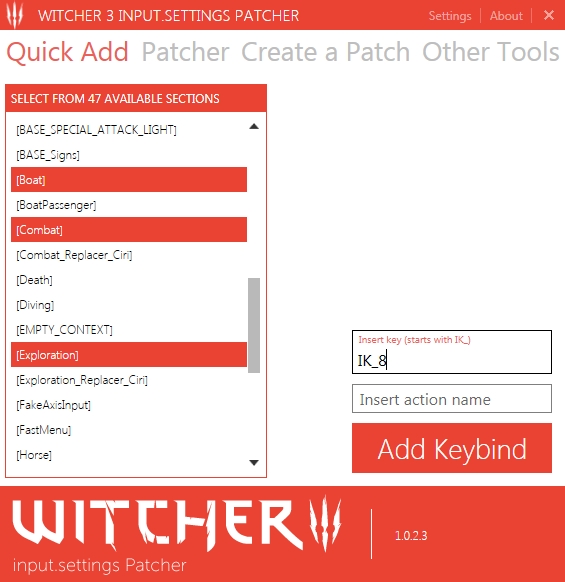
One final tool, useful when dealing with some mods – Input.Settings Patcher – is used to easily redefine key bindings, without the need to manually dig through the “input.settings” file. For now, it’ll be enough if you download the app using the link below and unpack it in a location of your choice – detailed Installation guides on how to use the Patcher will be included in individual mod descriptions.
