Control AWE: The Third Thing - Eagle Limited walkthrough
On this page of the guide to Control - AWE DLC you can find the second part of our detailed description of The Third Thing side mission. By reading our solution, you can find out, among other things, how to solve the cable puzzle and how to drive Hartman away in the locations of the AWE Eagle Limited and AWE Loading Bay.
The Third Thing mission has been divided into two large parts in which you will have to visit the AWE Fra Mauro and AWE Eagle Limited locations. The main parts of the mission can be completed in any order. If you are interested in the first of these locations, check a separate page of our walkthrough - The Third Thing - AWE Fra Mauro.
- The Third Thing mission - The beginning
- Find Hartman in the location of AWE Eagle Limited
- Move the train forward to activate the lights
- Chase Hartman
- Activate the lights to defeat Hartman
- Return to Active Investigations
The Third Thing mission - The beginning
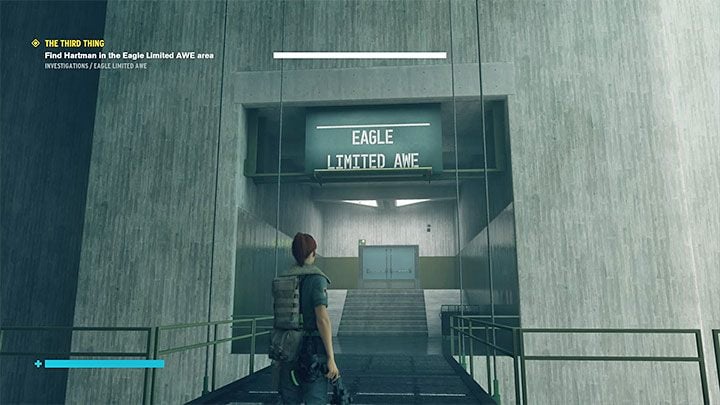
In order to complete the The Third Thing quest, you must visit two different locations and, as mentioned above, you can explore them in any order.
In both cases, you have to start this task in the Active Investigations room, in which the previous mission ended - A Dark Place. To reach the location of the AWE Eagle Limited, take the western passage. Use an elevator that will take you to the new floor. Right after you get out of the elevator, you'll find a checkpoint.
Find Hartman in the location of AWE Eagle Limited
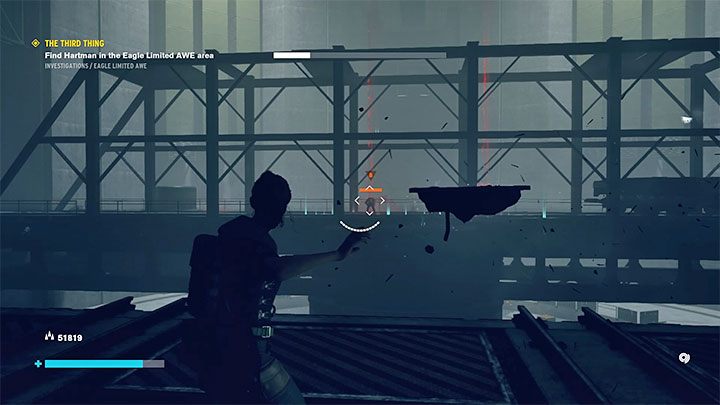
Press the button to unlock the door to the room with the rotary platform. This location is filled with new enemy type - Flying Rangers. It's a good idea to attack enemies by staying as long as possible in the place where you have started the battle. You should be on the periphery of their vision range. Thanks to this you can effectively attack them with telekinesis or Surge Service Weapon.
Get closer to your enemies only if you have been injured and you need to collect some health from the ground. When fighting, watch out for a stronger opponent with a grenade launcher. If he manages to throw a grenade near you, quickly move away or send the grenade away by using telekinesis.
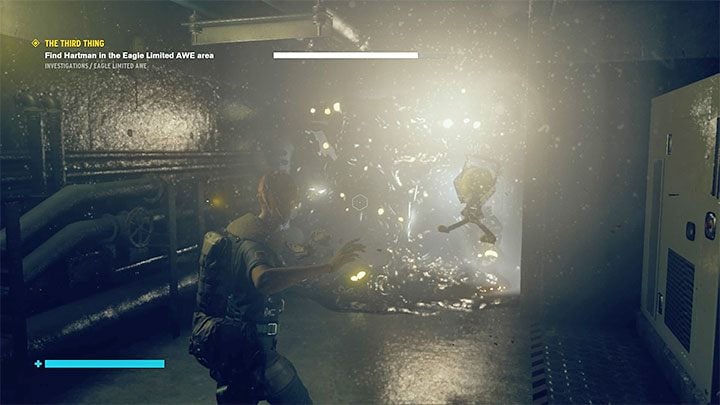
After the battle, go through the south passageway, which is the one with the AWE Loading Bay sign. Locate the stairs leading to the tunnels below. Find a lamp in this dark location that can be moved with the help of telekinesis. Use the lamp to destroy the darkness shown in the picture. This will unlock your access to the power core. Then move the power core to the generator slot.
Press the button and go to the next location where there is a checkpoint.
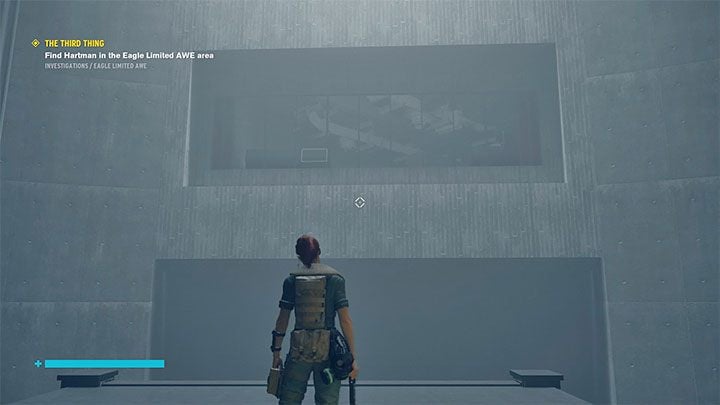
Before you leave, consider using a nearby terminal to summon a friendly ranger. Just as your new companion will show up, enter another room with a rotating platform. New battles await you here. Watch out for flying and exploding monsters.
After the battle, climb to the top of the rotating mechanism - a yellow colour suggests a place in which you can climb. You need to reach the upper control room by using Levitate. Break through the glass wall by performing a dash.
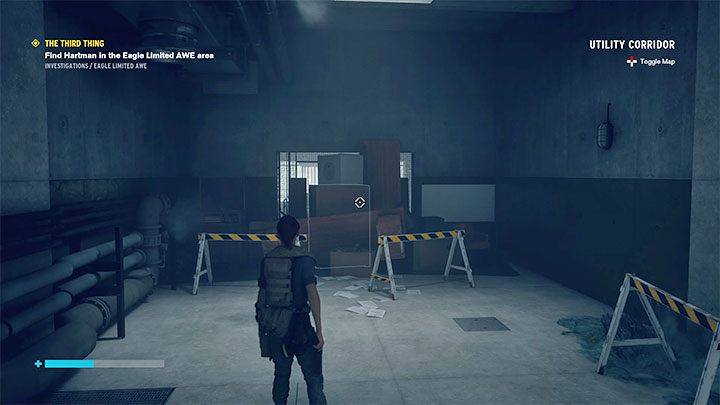
You will reach the Utility Corridor. It is worth finding one of the lamps and using it to illuminate your way and to destroy clusters of darkness. Get to the elevator shaft, jump in it and get rid of the ordinary monsters.
Another area is the A/C Systems. You can investigate an optional area here that is associated with a side quest. For the purpose of the main storyline, destroy the barricade shown in the picture to unlock the further passage.
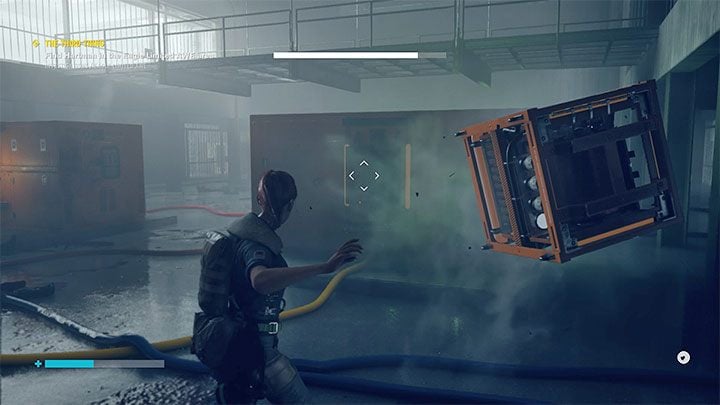
You will reach the room in which you have to solve a cable puzzle. By solving it you will be able to open the metal gate on the first floor. The main part of this puzzle is very simple. Move 2 power cores by using telekinesis and place them in 2 slots to which yellow cables lead - an example slot with yellow cable is shown in the attached screenshot.
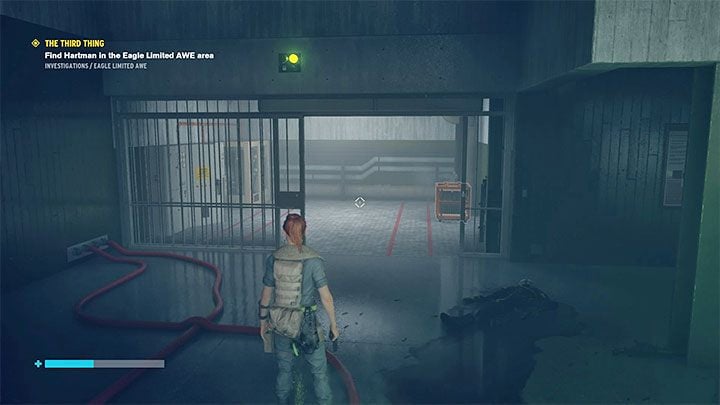
A little more challenging may be the optional part of the cable puzzle, which involves unlocking 4 rooms on the ground floor:
- Place 1 generator in a slot with a white cable to unlock the cage with a chest that contains some loot.
- Place 2 generators in slots with red wires to unlock the cage with the third generator.
- Place 3 generators in slots with orange cables to unlock the cage with the fourth generator.
- Place 4 generators in slots with blue cables to unlock a cage with two chests.
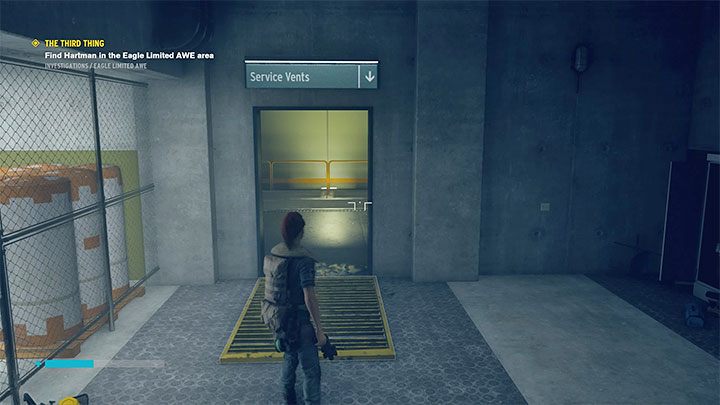
After opening the sliding gate on the floor, move on. Destroy the grate leading to Service Vents. Be ready to get rid of some exploding monsters in a big tunnel.
Service Vents will lead you to a checkpoint which is adjacent to the Eagle Limited AWE location.
Move the train forward to activate the lights
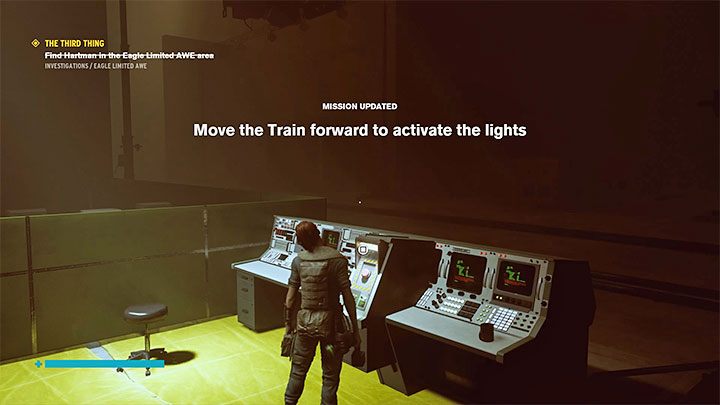
Press the button and wait for the gate to open. After entering the Eagle Limited AWE area, Hartman will appear. Once again avoid him at all costs. Traditionally, for this type of confrontation, do not attempt to attack the boss directly. Instead, you must focus on solving the puzzle and limiting the amount of time spent in the dark, as only then Hartman may attack Jesse.
Start by pressing the button on the left. The train, that is being suspended on a crane, will start to move. Ultimately, it must reach the opposite end of the room.
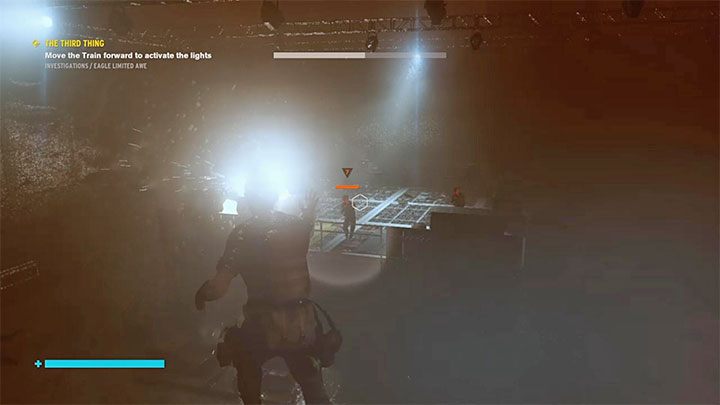
As soon as you hit the button, darkness will fall all around you. You have to react quickly to avoid being targeted by Hartman. Start your flight towards the illuminated platform with opponents. If possible, attack them and eliminate them before you even land on the platform.
There is a second button that can restart the crane and move the train (the button will only become active when the crane stops).
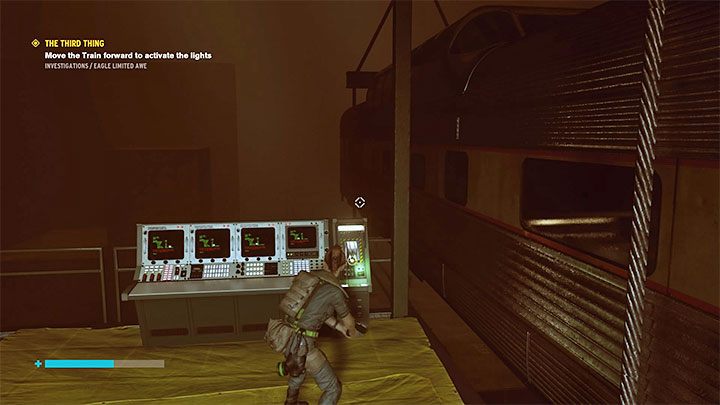
Press the second button and repeat the entire scheme, so you can reach the illuminated enemy platform on the opposite side of the room. Wait until the crane completes its journey and press the third button.
Proceed to the last upper platform. Just like before, defeat all enemy rangers. You have to wait again for the crane to reach its destination. Only then the switch shown in the picture above will become active. Pressing it will light up the room and drive Hartman away.
Chase Hartman
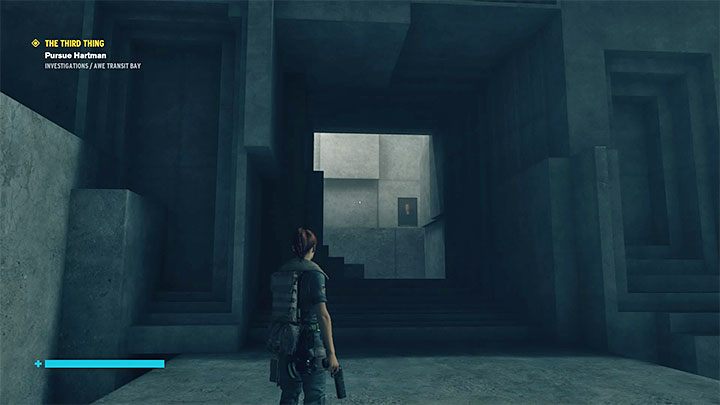
Find a large gap in the northern part of the hall leading to the Shifted Passage. As you pass through this area, watch out for an indestructible ball-shaped monster. Fortunately, it can be easily flown over or bypassed when it sets off in the other direction.
The main path will lead you to a checkpoint and to the entrance to the AWE Loading Bay location.
Activate the lights to defeat Hartman
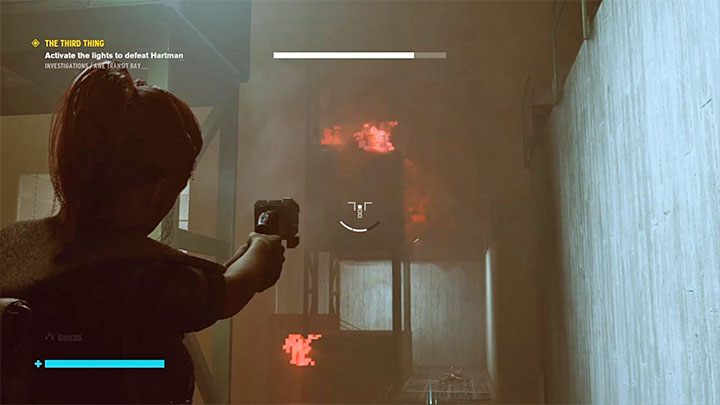
This is the second environmental puzzle available in this wing of the investigations sector, and it is more challenging than the previous one. The main rule is, of course, the same - run away from unlit areas as soon as possible and renew your health by staying in the illuminated areas.
Your task is to transport the four power cores to a large control room located at the opposite end of the room. The cores are located in the upper cages in the main room and the problem is that they are initially trapped by darkness. Start by looking at the remote cage on the right (picture above). Defeat several opponents who appear in this area and then destroy any red blocks that surround the cage.
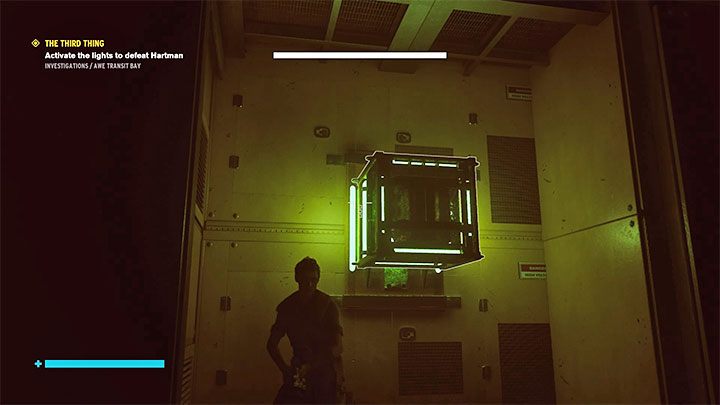
Destroying the red blocks will unlock access to the cage - you can fly in there and take out the power core from the slot.
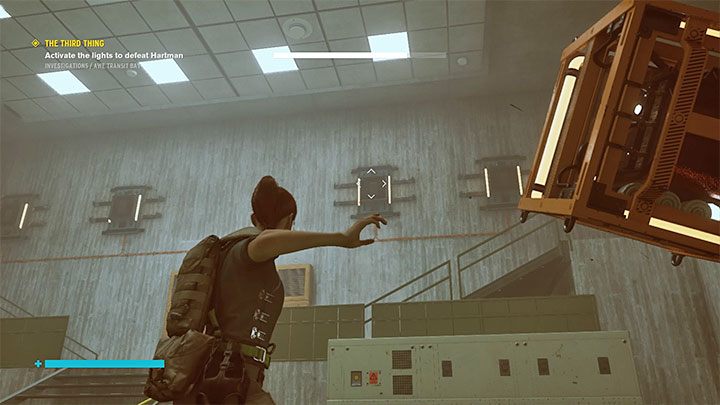
Grab the power core and quickly get to the control room. Place it in any of the four slots.
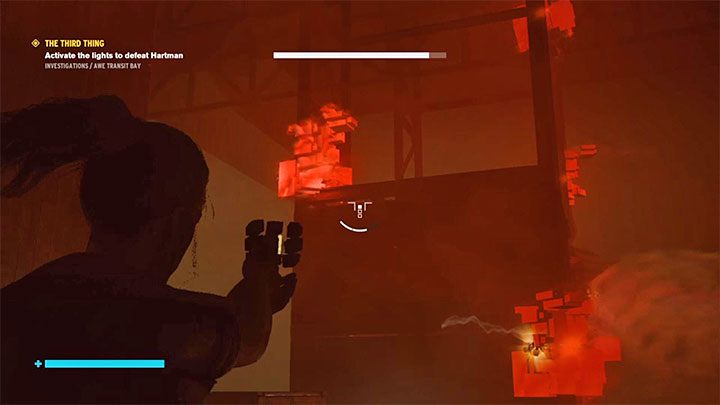
You have to do the same procedure with three consecutive power cores. Two power cores can be found on the opposite side of the hall. Each time, quickly get rid of a group of opponents, destroy the red blocks, remove the core from the slot and transport it to the control room.
Remember to fight regular rangers while standing in illuminated areas or by retreating to the control room if necessary.
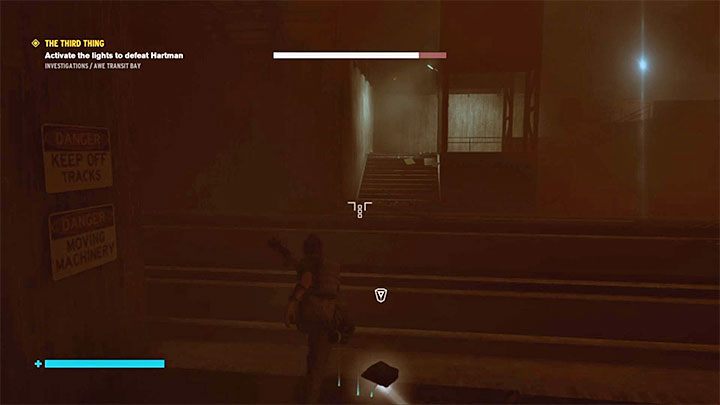
The fourth core is the most problematic one because it is in a remote cage on the left (looking from the control room - this location is shown in the attached picture). Before you reach the power core, kill new enemies and destroy the blockades.
Before removing the core, try to have a full health bar so that you can perform dashes as often as possible and overcome the dark areas with the core more quickly. This will reduce the risk of getting caught by Hartman.
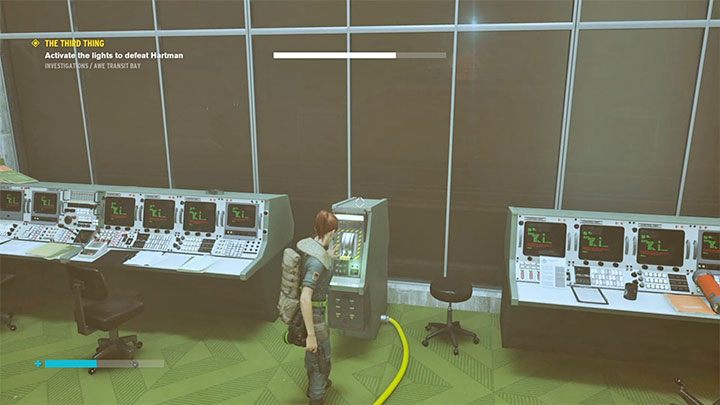
After placing all 4 cores in the slots, approach the switch. Pushing it will drive the boss away of the area.
Return to Active Investigations
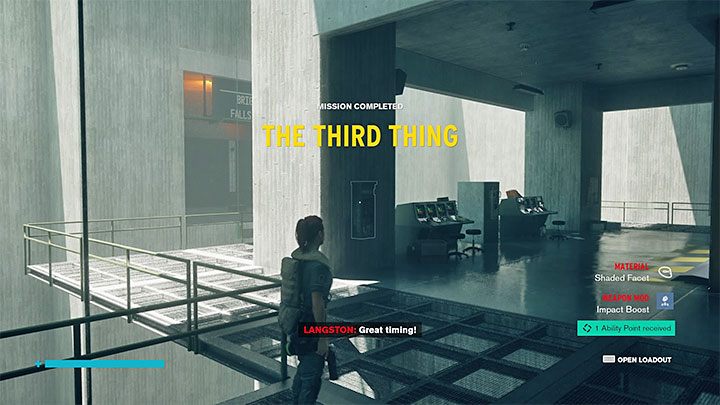
The exit from the AWE Loading Bay is located in its southern part and it is a large tunnel. Once you have reached the gate it will automatically open and allow you to return to the room with rotating platform which you have visited earlier.
Return to Active Investigations to complete the mission (assuming that you've already visited AWE Fra Mauro). The game will unlock a new mission - It's Happening Again. In addition, you will get a ability point, source points, crafting materials and modifications.
You are not permitted to copy any image, text or info from this page. This site is not associated with and/or endorsed by the developers and the publishers. All logos and images are copyrighted by their respective owners.
Copyright © 2000 - 2025 Webedia Polska SA for gamepressure.com, unofficial game guides, walkthroughs, secrets, game tips, maps & strategies for top games.
