Treasure Hunter Simulator: General Tips
Treasure Hunter Simulator is rather a simple game, with player's only goal being treasure hunting. Nevertheless, the game is quite demanding, mainly because of the gameplay mechanics being inappropriately or briefly described - such as treasure hunting or map navigation. This chapter contains tips that will facilitate your experience with Treasure Hunter Simulator.
- Why am I only picking up garbage?
- What is Prestige and how to increase its level?
- Finding and unearthing treasure
- Earning money
- Rarity and condition of the found items
- Legendary items
- Photo mode
Why am I only picking up garbage?
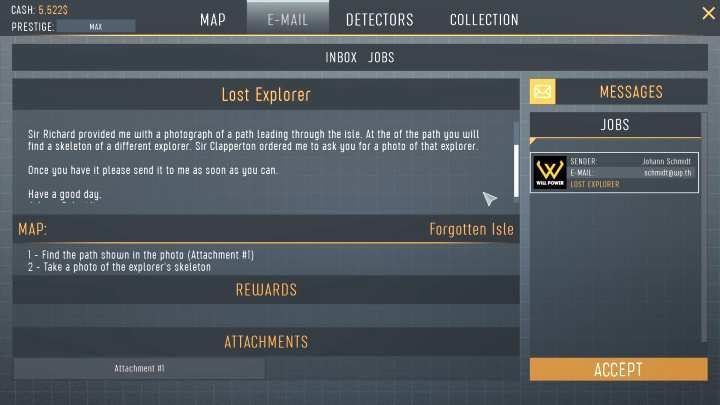
Begin the game and complete the tutorial to enter the first major area of the game - Bavarian Lake. Unfortunately, you'll be disappointed by your progress - your findings will only amount to garbage and items of low value - items which won't increase your prestige. To overcome the issue, return to the map, and click on E-MAIL - you'll receive access to a few missions that can be completed in the given area. Completing them yield prestige will increase your rank and unlock additional missions.
What is Prestige and how to increase its level?
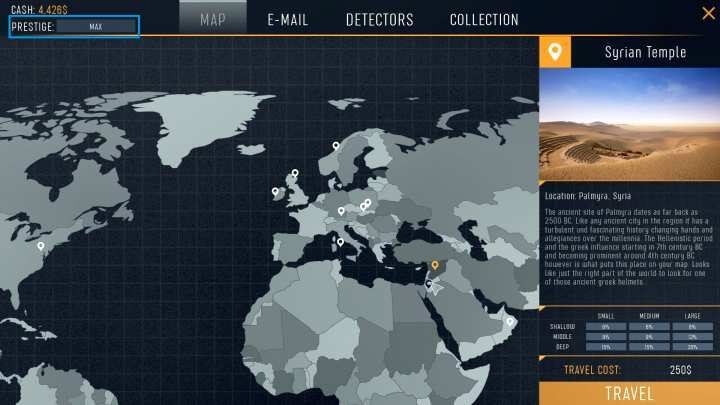
Prestige is your current level of experience. Increase your prestige to get access to better equipment and new locations. Prestige is gained through completing main and side missions. All missions can be found in your E-MAIL menu. Missions are divided into main quests that are required to push the story forward and unlock new locations, and side quests that yield additional prestige when completed.
Each location offers 3 main missions and 2 to 5 side missions. Once you complete a story mission, return to the map window and activate a new mission.
Finding and unearthing treasure
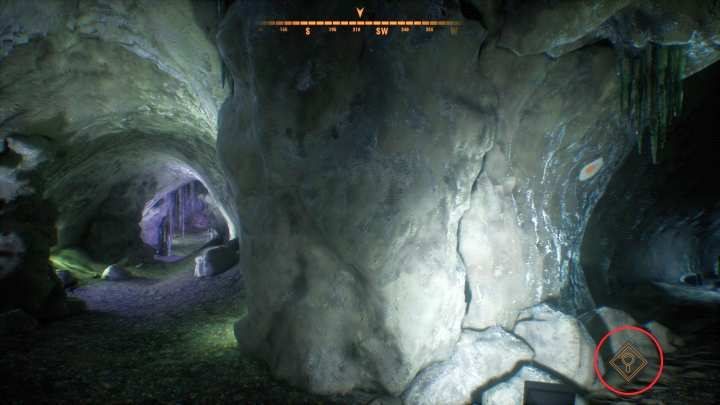
The main aspect of the gameplay, which is the search and unearthing of treasure, was explained in somewhat inaccurate and simple way. The whole process is divided into three stages:
Stage 1 - Searching for treasures. Simply put - you need to explore the area and wait for a magnifying glass icon to appear in bottom right corner of the screen.
Stage 2 - Once the magnifying glass icon appears, equip your metal detector (RMB by default). Now you need to explore your surroundings for the icon to start filling up - it means that you are getting closer to your goal. The search is also accompanied by sound - the ticking will become more frequent once you are close to the item.
Stage 3 - When the icon is filled, start making sideways movements with your mouse for the metal detector interface to turn yellow. Once that happens, press the interaction button (LMB by default) to begin unearthing the treasure.
Once the item is unearthed, you'll need to identify it by pressing the icon found in the bottom right corner of the screen. If the found item is garbage (a nail or a button), you won't need to identify it.
Note - Your inventory can store unlimited amount of items.
Earning money
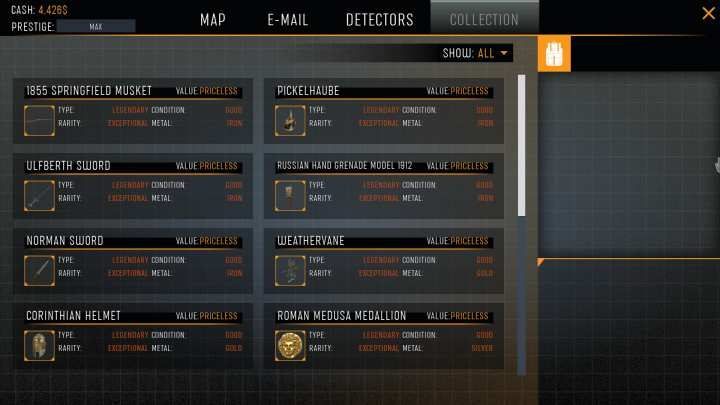
In-game money is spent on two things - new equipment that allows you to find even more valuable items and new journeys. To gain money, find treasure and sell it. The process of finding a treasure was described in the previous paragraph, while the sale itself takes place through the COLLECTION menu where you simply choose the desired item to be sold.
Note - You cannot sell legendary items.
Rarity and condition of the found items
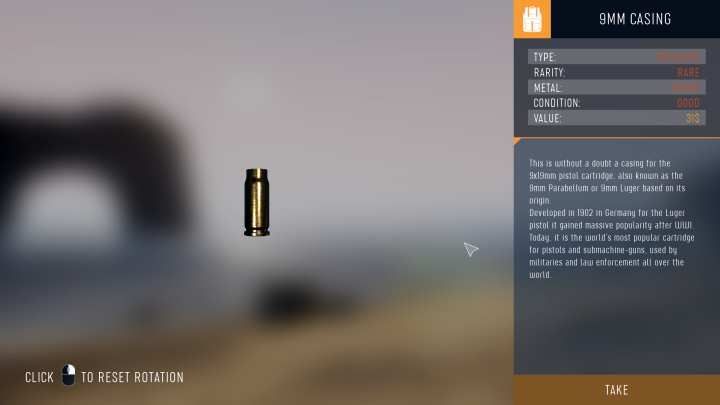
Rarity and condition are two traits describing the found items. These two traits determine the selling price of an item. Both rarity and condition are random parameters which appear at certain level when the item is unearthed - you cannot influence them in any way. All garbage - such as nails, bottle caps, or buttons - is of lowest quality and is worth 1$ per item.
Legendary items
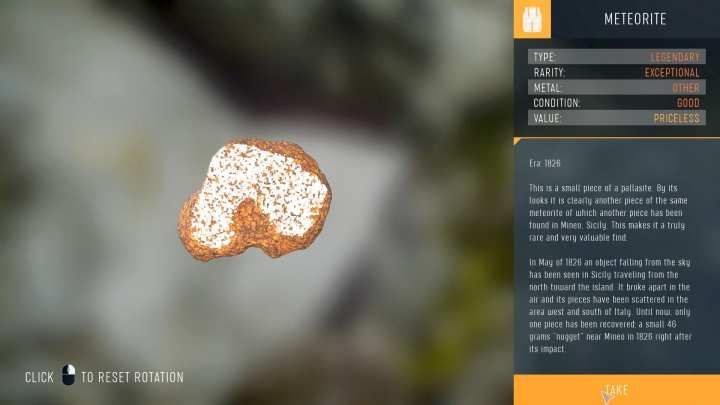
Amidst the sea of garbage and other, less valuable items, you can also encounter legendary items. These are historical items, with unique descriptions that describe their origins and use. Legendary items are found as a part of the final (third) story quest in each location - obtaining them is mandatory.
Photo mode
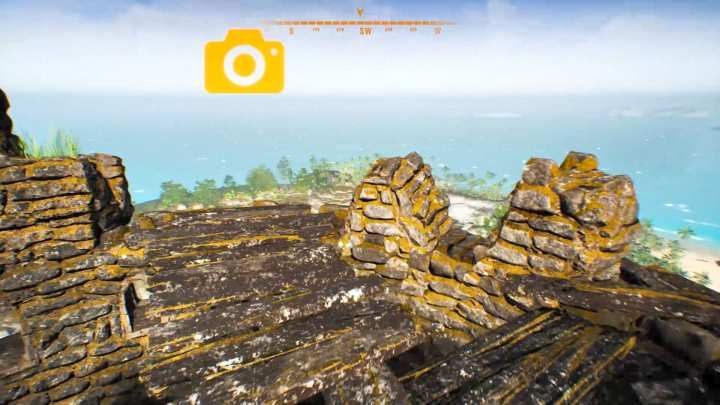
The photo mode is used to photograph locations or items available in the game. Some of the quests contain objectives to take photos of an object or an area. Each photograph is stored on your hard drive - you can view it at any time.
The path to the photo folder is as follows: C:\Uzytkownicy\[nazwa-uzytkownika]\Appdata\Local\TH\Saved\Screenshots.
- Treasure Hunter Simulator Guide
- Treasure Hunter Simulator: Game guide
- Treasure Hunter Simulator: Basics
- Treasure Hunter Simulator: General Tips
- Treasure Hunter Simulator: Why am I picking up garbage?
- Treasure Hunter Simulator: How to increase my Prestige?
- Treasure Hunter Simulator: How to complete missions that involve photographs?
- Treasure Hunter Simulator: How to find legendary items?
- Treasure Hunter Simulator: How to sell treasures?
- Treasure Hunter Simulator: How to unlock new locations?
- Treasure Hunter Simulator: Basics
- Treasure Hunter Simulator: Game guide
You are not permitted to copy any image, text or info from this page. This site is not associated with and/or endorsed by the developers and the publishers. All logos and images are copyrighted by their respective owners.
Copyright © 2000 - 2026 Webedia Polska SA for gamepressure.com, unofficial game guides, walkthroughs, secrets, game tips, maps & strategies for top games.
