LOTR War in the North: The Grey Mountains - p. 2
The Gray Mountains: Defeat the Carn Dum Captain
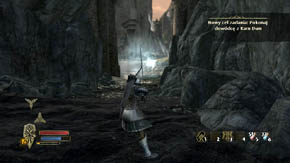 | 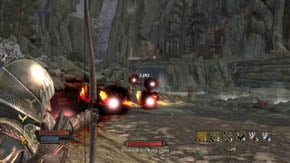 |
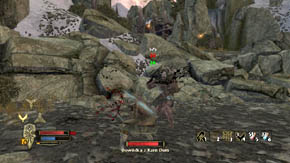
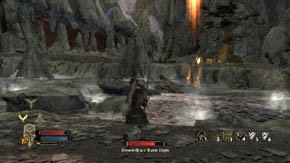
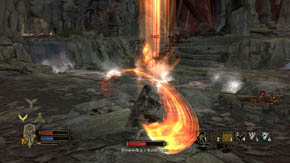
A battle with a boss, the Carn Dum Captain, awaits you. He is similar to Wulfrun who you fought with at the beginning of Chapter 5. The boss will begin the fight by surrounding you with a wall of the fire and striking you with magic missiles. Don't approach him and attack from a distance until he teleports.
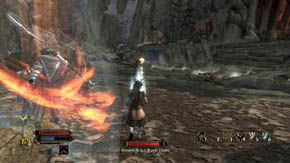 | 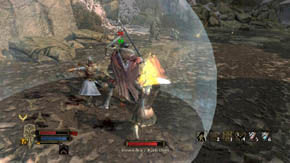 |
The captain teleports more frequently than Wulfrun, so be careful not to let him, for example, appear behind you. Watch out for the magic missiles. Also, it's pointless to fight him hand-to-hand - attack him this way only when he's busy fighting with one of your allies.
 |  |
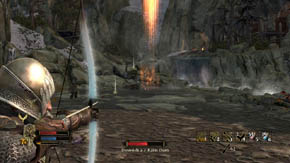
To be honest, the allies who will appear after the Captain has been wounded are the real problem. The first group will consist of a few archers on the rocks to the left and an armored orc who will come down running at you. Deal with them when you notice that the Captain has teleported somewhere far from you (so that you can't run close to him). Still, watch out for the magic missiles!
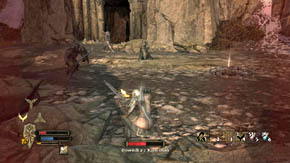 | 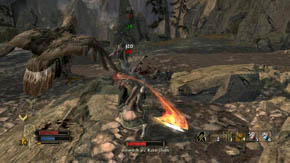 |
When the Captain's health is reduced by half he'll summon more allies and the fight will get a lot more difficult. On the higher level there will be additional archers (on the rocks to the left and in front of the gate). On the lower - a heavy-armored orc, an archer, warriors and a barbarian sorcerer. Don't think twice about using Beleram's help - let him take care of the heavy-armored orcs.
 |  |
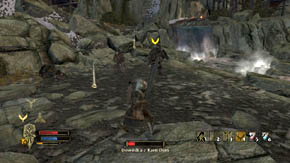
Fight with the enemies, but don't let the Captain take you by surprise. Once you've killed most of them focus on the Captain. Remember that when he gets seriously wounded he instantly teleports to a different place, which means you have to act quickly. The same applies to a situation when he moves on a higher level - after a while he'll appear in a different place anyway, so you must aim at him fast.
 | 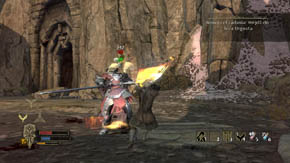 |
When the Captain's health is almost finished he'll summon the last group. Get rid of them the same way as the previous ones, and then kill the boss. Remember to search his body - you will find, among other things, the last Sorcerer's Scroll, necessary to complete [SIDE QUEST] Cult of the Lidless Eye. You will also receive a new objective of the quest.
The Gray Mountains: Enter Urgost's lair
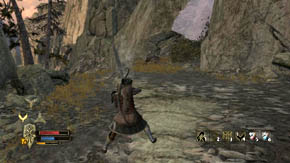 | 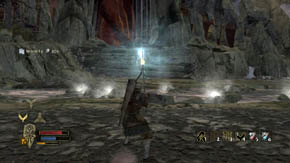 |
Before you do it search the area. There are three heaps of items here. You will find the first to the right of the cave exit, near the rocky wall. The second is on the left, under the wall. The third is in front of you, to the right of the glowing portal. Use the portal to finish this level. This, however, is not the end of your quest. After you've entered Urgost's Lair you'll unlock the [ACHIEVEMENT] In the Dragon's Den. You don't have a choice - you have to agree to the dragon's proposal. However, don't fly to Nordinbad after the conversation and meeting with Beleram!
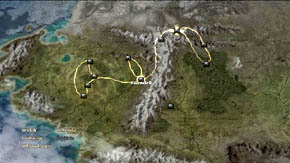 | 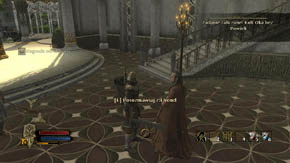 |
Move to Rivendell instead. Find Elrond and talk to him about the Sorcerers' scrolls. He'll give you a reward (choose it in your inventory), you will complete the [SIDE QUEST] Cult of the Lidless Eye and unlock the [ACHIEVEMENT] The Lidless Eye. Find the glowing portal and use it to move to Nordinbad.
You are not permitted to copy any image, text or info from this page. This site is not associated with and/or endorsed by the developers and the publishers. All logos and images are copyrighted by their respective owners.
Copyright © 2000 - 2025 Webedia Polska SA for gamepressure.com, unofficial game guides, walkthroughs, secrets, game tips, maps & strategies for top games.
