Skyrim Dragonborn: March of the Dead
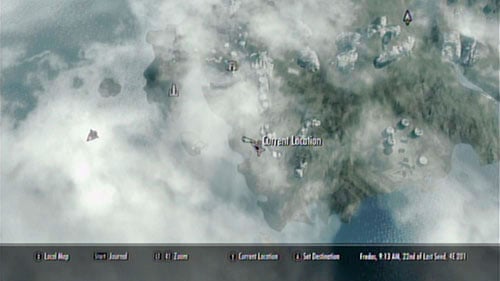
This mission begin quite surprisingly. After leaving the city of Raven Rock and heading south, you will see a Dunmer fighting against a few Ash Spawns. You should of course help the man and defeat the beast with him. Just keep in mind that the monsters are really powerful and might kill you if you're not careful.
The mission will be activated the moment you begin the fight. You will receive it even if you decide to run away and leave Captain Veleth (that's his name) alone. Don't worry - he's immortal, so no harm will happen to him. You can therefore approach the mission multiple times.
Kill the ash spawn attacking Captain Veleth
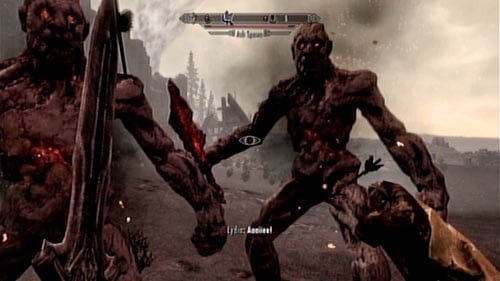
The objective is easy - help Captain Veleth kill the Ash Spawns. The monsters are using small flaming daggers, capable of dealing high damage. They however aren't very fast, so you can kill them from a distance. Try isolating them - if they surround you, you will surely die. Remember that you can always hope for help from the Dark Elf - his attacks are quite powerful as well, plus he can sustain considerable damage.
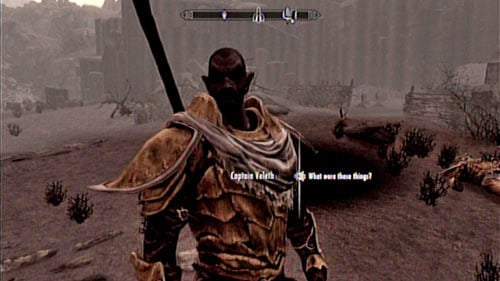
Regardless of whether you helped or he managed to kill the monsters himself (which however is unlikely), you will complete this part of the mission and unlock the further. You won't receive any prize for now, there is one at the end however.
Speak to Captain Veleth
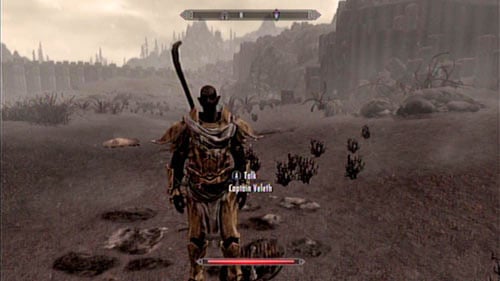
After getting rid of the Ash Spawns, you can speak with the saved Dunmer. He will tell you that he's the leader of the city guards and some of his men went to investigate Attius farm, never to come back. As there are corpses of Dark Elves beside your location, you can presume that something bad has happened with them. That's why you should accept the mission from Captain Veleth and help him in his investigation.
All traces seem to point to Attius farm (located a bit to the south) as the source of the mysterious monsters. You however don't have to go there directly - just search the corpses of the Ash Spawns and take a letter - Declaration of War.
Search the Attius farm for clues
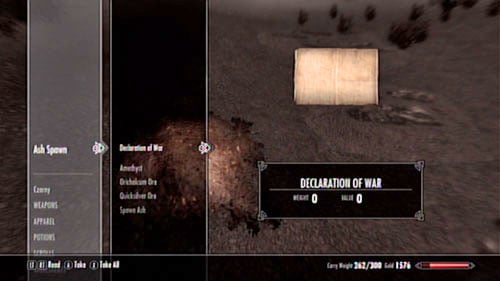
Despite the name of the mission, you don't necessarily have to go to Attius farm. You should however approach the corpses of the Ash Spawns and pick up a letter - Declaration of War. This part of the mission will be completed and the next one will begin. However before approaching it, collect all the useful items found by the enemy corpses - you should be able to find some valuables. Nearby there's also the corpse of a Dunmer Guard - chances are you will find something useful beside him as well.
Give the note to Captain Veleth
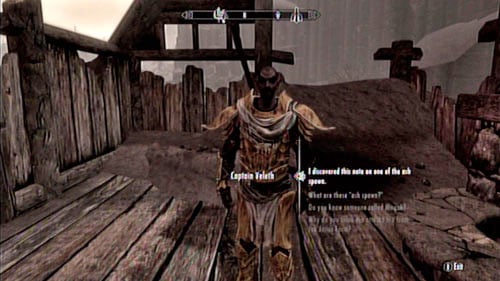
Since you have obtained the Declaration of War, hand it over to Captain Veleth who's standing right beside you. He will tell you that the author of the threat is General Falx Carius. What's curious about it is that according to local news he has died over 200 years ago. You will have to investigate the situation and provide proper evidence to the quest giver. The letter has been sent from Fort Frostmoth, so that's where you should head right now.
Kill General Falx Carius
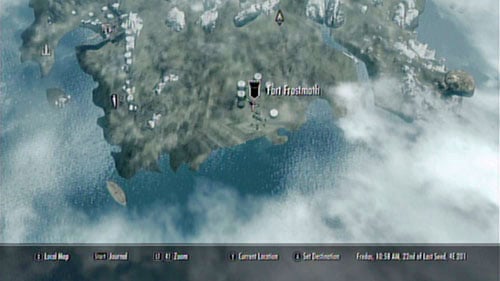
Completing the main and most important part of the mission will take you quite some time. Head east towards Fort Frostmoth. On your way you can pay a visit to Kolbjorn Barrow and begin the side mission Unearthed. Regardless of whether you decide to do that, eventually you should reach your destination. The main entrance to the fort is in the south, however before using it you should clear the local building of Ash Spawns - that way you will secure your back. One monster can be found in the tower in the south east, while the second one by the sea, nearby the old docks.
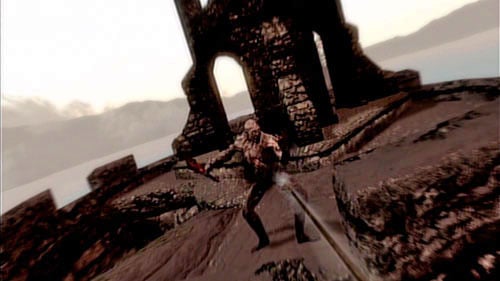
After taking care of those enemies, you can head into the fort itself. Don't rush in, instead try shooting a few enemies from a distance and draw them away from the walls (otherwise you will be surrounded and shot to death. Ash Spawns come in two kinds - the weaker kind prefers direct combat, while the stronger ones will attack you from a distance (using destruction spells). The second kind should be eliminated in the first place.
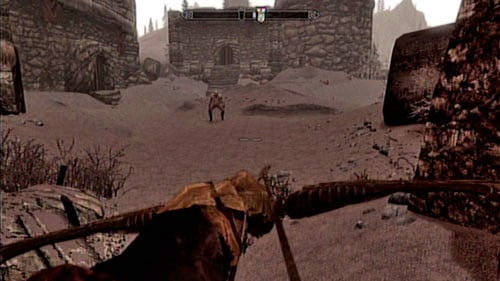
After clearing the area of all threats, head to the western door of the keep (the only one which doesn't require a key). Head inside and be ready for a fight with two Ash Spawns. If you lose a considerable amount of health while fighting them, take a look into the room on the right - you should find a health and stamina potion there. On the left you can find an East Empire Trading Company chest, the content of which is very valuable, though the lock can cause you some problems. If you have the time, you can also loot the other rooms. Sooner or later you will however have to move onwards, which will having to choose between the corridors on the right and left.
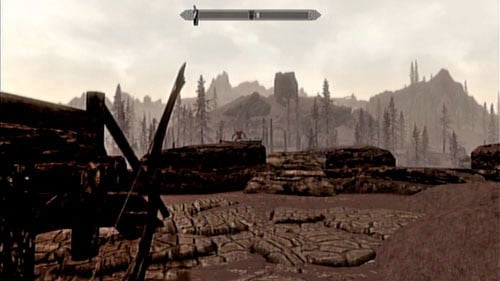
On the left you will find a room with stairs leading up and a ladder. If you climb it, you should end up outside the fort, on one of the otherwise inaccessible towers. There you will come across two Ash Spawns and a small chest with some valuables. There's nothing more here - you have to return to the fort and continue with the exploration.
Inside the fort, head to the previously ignore corridor. You should come across two more enemies who shouldn't cause you too much trouble. After dealing with them, take a look around the room. There are four exits - one in the west, two in the north and one in the east (the last one requires a special key - we will return here later on). Let's take a look at them in that order. The western door is covered in spider-web: if you swing something sharp at it, you should destroy it and be able to move on deeper into the location.
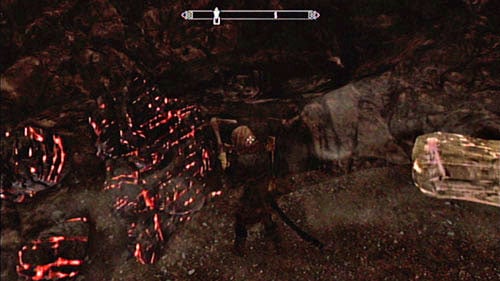
In the cave, you will have to look out for the common Albino Spiders. They're best eliminated from a distance - they don't have too much health, but can deal serious damage in a direct fight. After getting rid of them, approach the nearby loads of heartstones and rubies and collect as many as you can (if you don't have a pickaxe, you can obtain one in the further part of the catacombs).
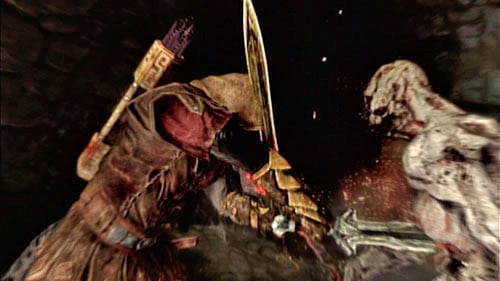
Heading out of the cave, go to the left of the northern passages. It's protected by a master level lock - it's worth breaking it and taking a look around the cell (there's quite a lot of valuable inside). The right of the corridors isn't so problematic - it can be found in the small niche to the right of the just opened grate. When heading down, you will reach the lower level of the fort. You should note a couple coffins and one Ash Spawn. Between the ruined furniture you should find a pickaxe - priceless when collecting precious metals.
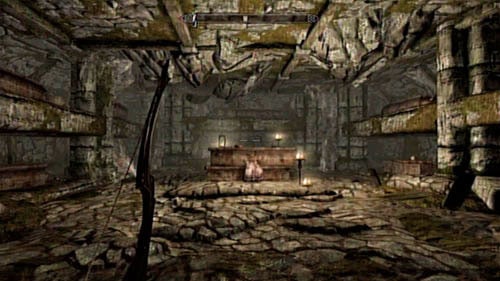
Enter the room with the big amount of coffins and candlesticks. In the very middle of the room you will find a bag and inside a key do the so far locked part of the castle (Fort Frostmoth Key). Take the item and head to the last of the passages - the one with the locked door. Go up the stairs to the first floor and get ready for a difficult fight. General Falx is a rather demanding enemy - the powerful hammer that he's using can quickly put you out. What's worse, he's accompanied by three Ash Spawns, which makes the whole battle no joke. That's why by far the best way of eliminating the enemies are stealth kills - either with a bow or a knife. If you haven't invested in proper skill trees, try using some distracting spells (e.g. summons) or such which deal high damage. If your character is a straightforward warrior, you should just stock up on health potions and slash your way through.
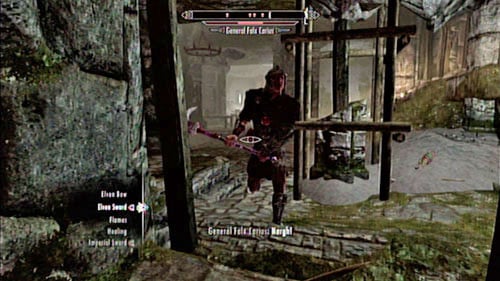
Getting rid of General Falx will end this part of the mission. You can now return to Veleth and give him a report. Before doing that however, you should search the bodies of your enemies and take all the valuables from the chest at the edge of the room. Nobody said you can't, right?
Return to the Captain Veleth
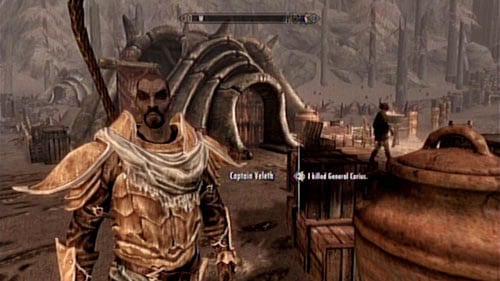
Since you have completed the mission, the only thing left is to collect your reward. Return to Raven Rock and search for Captain Veleth - he can usually be found around the city square. Tell him everything you know to receive a quite generous pay which additionally depends on your level.
Level | Reward (gold) |
1-29 | 1500 |
30-39 | 2500 |
40-49 | 5000 |
50-59 | 7500 |
60+ | 10000 |
When you speak with Captain Veleth again, you will receive yet another mission - this time far less complicated. You will have to find an illegal alcohol stash (Locate the Raven Rock Stash).
You are not permitted to copy any image, text or info from this page. This site is not associated with and/or endorsed by the developers and the publishers. All logos and images are copyrighted by their respective owners.
Copyright © 2000 - 2026 Webedia Polska SA for gamepressure.com, unofficial game guides, walkthroughs, secrets, game tips, maps & strategies for top games.
