Skyrim Dragonborn: Find the source of Miraak's power

Head inside the Temple Miraak together with the warrior and take a look around the rooms - you should find some valuable items and a treasure chest. Afterwards head to the deeper part of the dungeon. Behind the corner, there are two Cultists - try eliminating them, but at the same time try avoiding the trap (there's a pressure plate in the middle of the room). If you approach the coffins o both side of the path, Draugrs will appear - one still alive and one dead. You will have to deal with the as well.
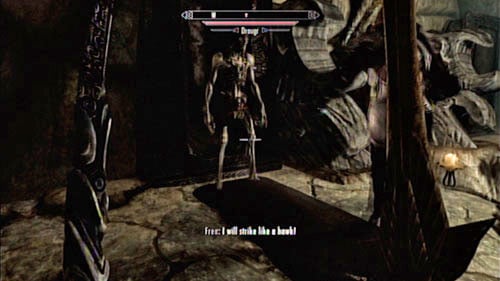
Head further past the room with the altar (you can find two soul gems there) and head into the corridor. Tow unpleasant traps await you here. The pressure plat in front of you is easy to notice - the one on the lest is harder to spot. That's why you will have to head through this location in a zigzag - two steps forward, two steps to the left and two more forward (screen above). That way you will avoid all potential dangers.
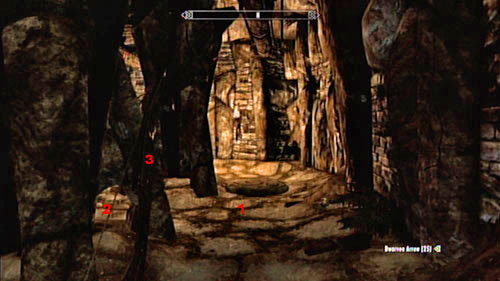
The large cave which you will now enter is full of dangers. It would be good to save your game now. As you approach the stairs, two Draugrs will appear, including a Deathlord (who can pull out your weapon with a Shout!). What's worse, three more Cultists will run out - their magic projectiles can be quite dangerous. Luckily you have Frea with you, she can withstand quite some damage and is quite the fighter. Help her fight the enemies and head to the lower level of the dungeon.

Push the switch by the grate and head into the next cave. Here you will also have to fight a single Draugr (he's lurking in a niche on the right), followed by a fight with as many as four (one is sleeping on a throne). Head further, search the chest inside the small room on the left and avoid the floor trap which is waiting to hurt you.
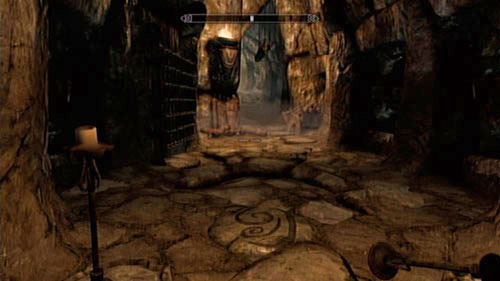
Head further and you will reach a fork in the road with tons of Draugrs lurking in the area. Have Frea go first (she's immortal) and eliminate the enemies from behind (if you're good at sneaking, they might even not notice you). You can also lure the monsters into traps - that way you will eliminate them fast and elegantly.
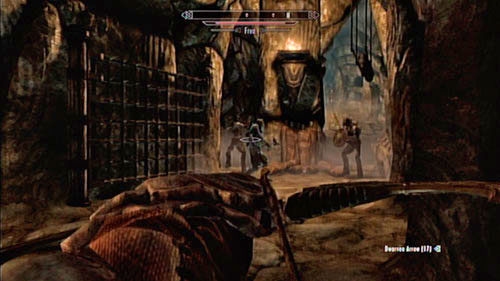
Regardless of which corridor you follow, you will eventually end up in the exact same place - the choice is just illusive. Just be sure to avoid the fire trap while getting out of the tunnels - it can end up rather badly (especially that Frea doesn't care about such trivial matters and walks wherever she wants).
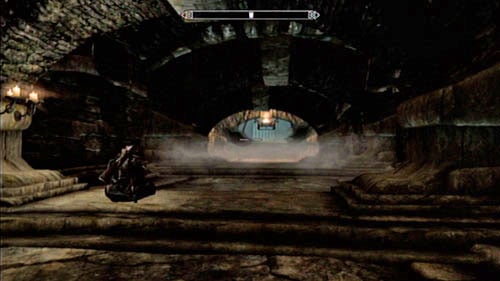
Head inside the next room and be ready for a sprint - deadly pendulums hang from the ceiling and only you can get past them (by using the Whirlwind Sprint Shout). Avoid the deadly blades and push the lever at the end of the room. That way you will turn off the trap and open the gate to the further part of the location.
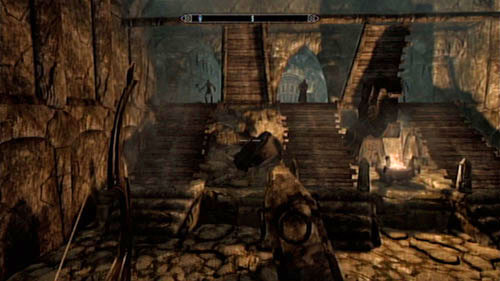
Inside the next chamber, use the lever (on the left, inside the small corridor) and approach the newly opened gate. Look out - even though the bridge will draw bridge won't make a sound, the bones hanging from the ceiling can make quite a noise (therefore drawing the enemy's attention). Even if you manage to cross the location silently, Frea will give away your position right away, making the fight with the two Draugrs and the powerful Cultist inevitable. Additionally the room is spiked with traps shooting projectiles in different directions - you will surely be hit by a couple poison arrows. Congratulate your companion - good job.
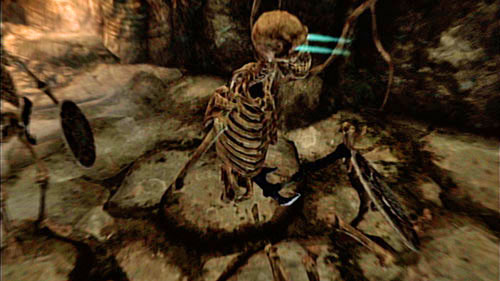
Cross the cave and approach the door - they lead to Temple of Miraak Sanctum. Stand in the middle of the hanging corridor and wait for the army of Skeletons (there are really tons of them) which will approach you. Remember that they are very stupid - if you crouch in the darkness and start shooting at them with the bow (one after another), they shouldn't note anything. Kill all the enemies and approach the corner from behind which they came. Afterwards wait for two Draugrs to get out of their coffins and eliminate them (look out for the pressure plate!).
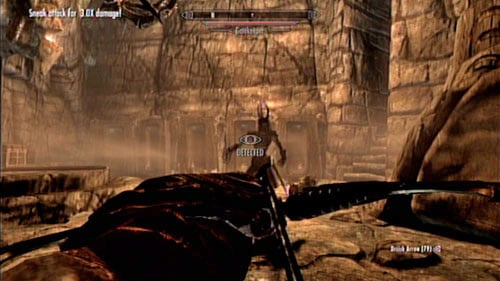
Inside the next room you will come across two Cultists and a pair of Draugrs - the first two can be easily eliminated from a distance, as they will come out from the other side of the room. The undead shouldn't cause you too much trouble - they're really rather weak. Move onwards while looking out for a pressure plate (thanks Frea!) and head to the niche with a Word of Power (Dragon Aspect). Learn it and Draugrs will come out of the nearby coffins - including one Gatekeeper, capable of overwhelming his enemies with a special Shout. Defeat the weaker enemies in the first place - otherwise they will bury you under attacks. Afterwards fight the main enemy while healing yourself and using the most powerful skills you have. Search his body to obtain the Temple of Miraak Key. Search the chest by the wall and open the gate using the obtained key.
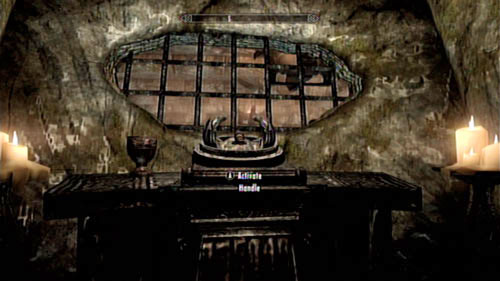
In the following rooms you won't find anything particularly interesting - unless you want to have a dinner with a thousand year old group of undeads. In one of the further rooms, Frea will tell you that you have apparently reached a dead end. In reality, all you have to do is push the lever in the corridor beside (loot the room beforehand - you can find some interesting treasures here).
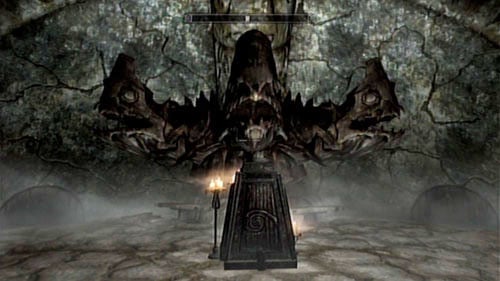
Frea will lead you to the recently unlocked passage. Follow the woman until you both reach a strange monument with three fish mouths (screen above). Use the lever right in front of the statue and go to the lower level. Move onwards across the linear corridors and use the next button. Head to the very bottom of the cave (apparently spiral staircases never go out of fashion) and through the wooden door. That way you will reach a large room with a creepy staircase.
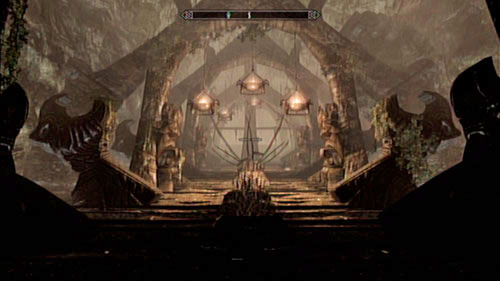
On the stairs you will come across four Draugrs, who you should eliminate from a distance (silent assassination are recommended, as they can pose a threat when in a group). At the top there's a Draugr Death Overlord - a relatively strong enemy capable of using powerful shouts. You should try to provoke him to attack Frea - that way you will be able to go round him and attack from behind.
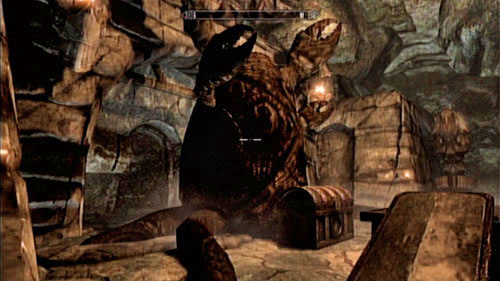
After dealing with him, take a look around the area. Right beside the sarcophagus from which the monster came you will find a treasure chest and a mysterious sculpture. Go round it and pull the chain hanging from the wall. Afterwards cross the gate and continue onwards.
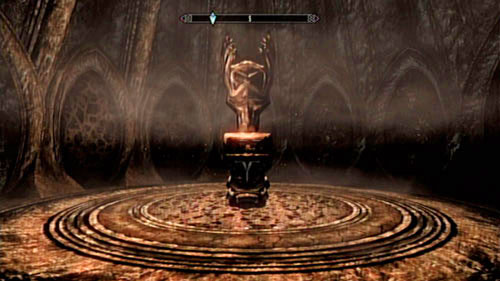
At the end you will find a peculiar round room with a pedestal in the middle. On it lies the Black Book: Waking Dreams. Pick it up to be transported to the mysterious dimension of Apocrypha.
You are not permitted to copy any image, text or info from this page. This site is not associated with and/or endorsed by the developers and the publishers. All logos and images are copyrighted by their respective owners.
Copyright © 2000 - 2026 Webedia Polska SA for gamepressure.com, unofficial game guides, walkthroughs, secrets, game tips, maps & strategies for top games.
