The Outlast Trials: Police Station Kill the snitch
The first real mission you will play in Outlast Trials is Kill the Confidant. It takes place at the Police Station.
This page of Outlast Trials, includes a walkthrough for the Kill the Snitch mission, which takes place at the Police Station. We describe how to infiltrate the station and how to start the generators. This also includes tips on how to complete the trial on higher difficulty levels.
- Step 1: Infiltrate the police station
- Step 2: Go to the security room
- Step 3: Find the snitch
- Step 4: Start the generators in the basement
- Step 5: Go back to the snitch and find the key
- Step 6: Find three keys
- Step 7: Kill the snitch
- How to survive on a higher difficulty level?
NOTE
Some of the items needed to complete the quest are distributed randomly. Therefore, their exact location is not described below.
Step 1: Infiltrate the police station
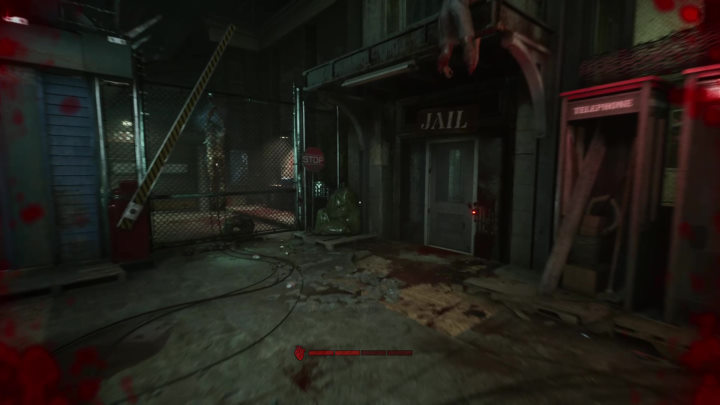
At the very beginning, you will find yourself on the street in front of the police station. There you will find remnants of the bar - inside you will find only simple items such as bottles. Therefore, it is better to head straight to the end of the road. There you will find a door with "Jail" written above it. Enter it.
Step 2: Go to the security room
As soon as you enter the outpost, immediately follow the only path available - to the right. This way you will get to the office space. To get to your destination, you have to bypass the Security Room. Activate the night vision device, enter the dark corridor, and follow it until you reach another illuminated room. But watch out for those lurking in the dark.
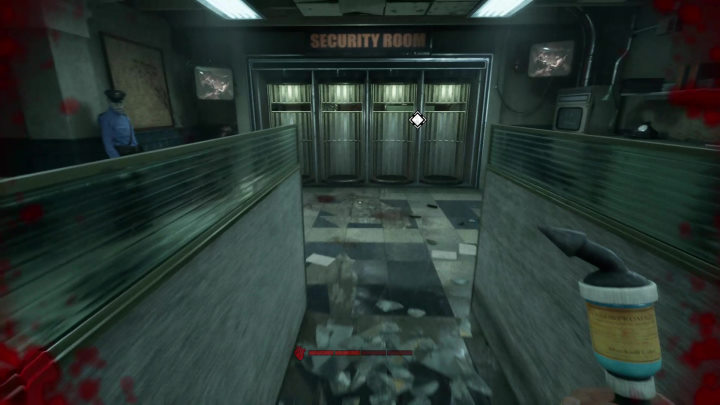
At the end of the room you will find a passage to the security rooms. Enter it. Inside, press the red button - then you will gain access to the prison block.
Step 3: Find the snitch
Leave the security room and go to the newly opened passage on the left. The snitch is in an open cell. Approach him and start pushing his chair. As soon as you go out into the corridor, the lights will turn off. To move on, you need to repair the generators.
Step 4: Start the generators in the basement
Now go deeper into the prison block. Then go through the door and go straight until you reach the garage door. Pry it up and go inside.
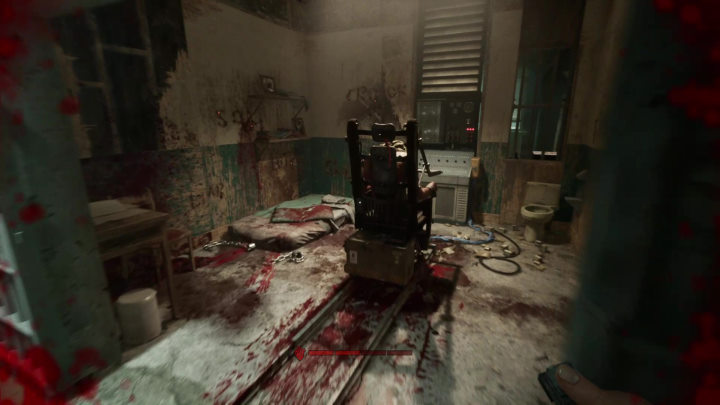
Here you have to find the generators and fix them. To do this, you must:
- Pick up the fuel canister and transport it to the generator.
- There are boxes on both sides of the machine. You have to interact with them and press the buttons there in such a way that all the lights turn green.
- Finally, approach the front panel and press the button when the line is on a white background.
However, you have to be careful, there is a policeman walking between the generators. Listen carefully to his voice - if it's loud, it means that the enemy is close. Fortunately, the location is mostly dark, so all you have to do is crouch in a corner and wait for him to go away.
Step 5: Go back to the snitch and find the key
Once you've repaired the generators, you can return to the snitch. Push his chair until you reach a locked door. You need a key to open them. Look at the TV next to it. After a while, a hint will be revealed.
Behind the door on the left there is a body with the same symbol as on the monitor - search it to get the key. Go back to the door and open it.
Step 6: Find three keys
Now you will have another sequence of transporting the snitch. At this point, you have to open 3 locked doors. Each one has a TV with a clue. Uncover it, then find the body with the corresponding symbol. Inside each corpse you will find a key.
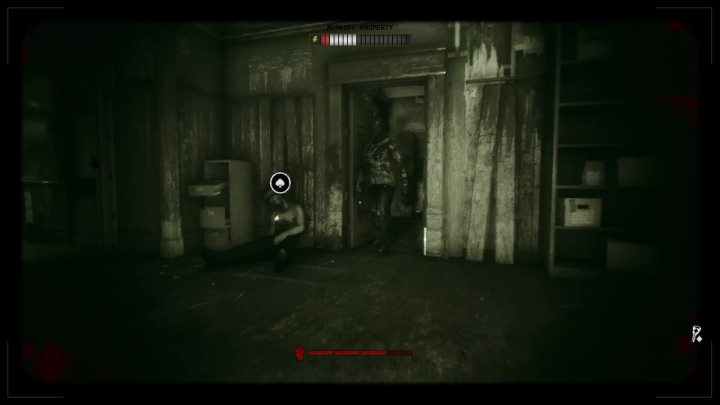
By far the most difficult part starts with this sequence. The vicinity of the tracks is patrolled and you have to transport the snitch in steps. Whenever you see an enemy approaching, take cover in a safe place.
Step 7: Kill the snitch
At the end of the road there's an electric chair for a snitch. To kill him, you need to supply enough electricity. There are levers around the seat for this purpose. However, this task won't be easy because a policeman will appear again. You can dodge his attacks and run around using the alley at the back. This way you will slowly but surely fill up the bar.
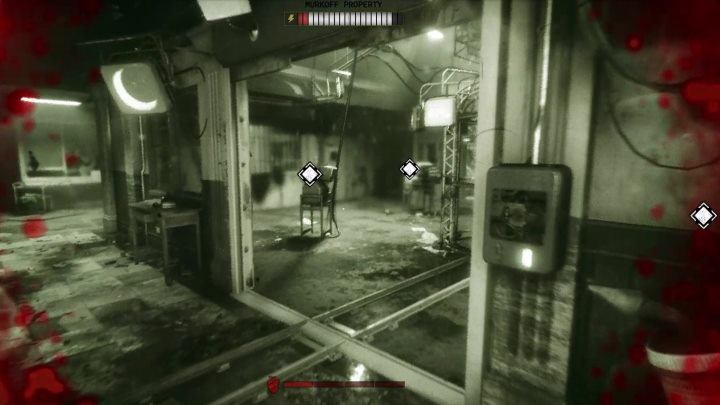
Once you manage to kill the snitch, go to the very beginning of the level and summon the train that will take you from the trial.
How to survive on a higher difficulty level?
Even though the first attempt is relatively easy, the subsequent versions may cause you many problems. These stages have a number of modifiers that increase the difficulty level. You can expect to encounter more opponents, and your supplies will be limited.
- Batteries for night vision devices are scarce. That's why you should use it only in exceptionally important situations. Also, look for traps near the doors. Disarm them, and you might obtain a battery.
- Sneaking will be practically impossible. In some sections, they are spaced so closely that it is impossible to pass by without being noticed. Escape will definitely work better here.
- Completing the objective will require you to divert the opponents' attention. You can make yourself bait and draw enemies away from your target to a somewhere farther away. A useful item here will also be a bottle which you can throw to attract the opponent's attention.
- The secret rooms are the best source of supplies on higher difficulty levels. They may appear randomly - in the laundry room in the basement or the interrogation room. To get to them, you have to press two blue buttons (if you're playing with friends, they have to be activated at the same time).
- Open all the gates before you start pushing the snitch.
You are not permitted to copy any image, text or info from this page. This site is not associated with and/or endorsed by the developers and the publishers. All logos and images are copyrighted by their respective owners.
Copyright © 2000 - 2025 Webedia Polska SA for gamepressure.com, unofficial game guides, walkthroughs, secrets, game tips, maps & strategies for top games.
