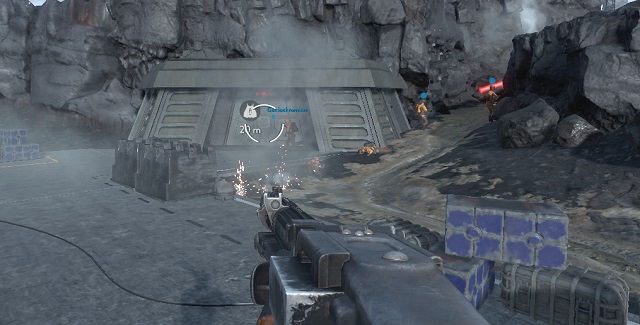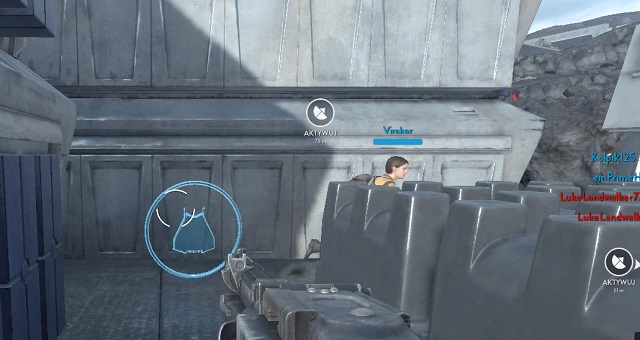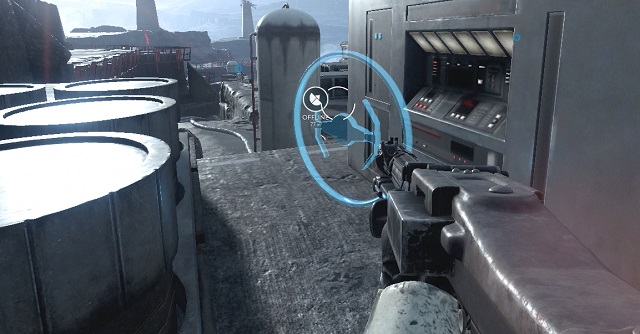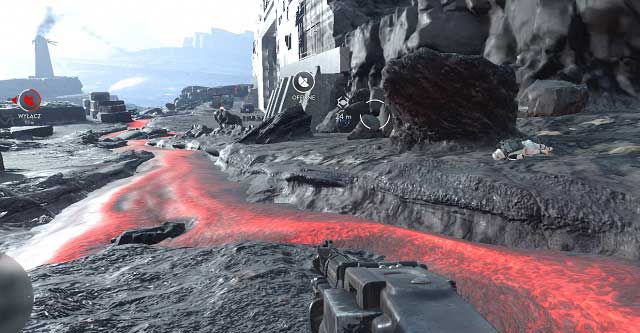
Sullst | Maps

guides

Last update:

Download Guide
Table of Contents

Map

Boosts for the Empire - Sullst - Maps - Star Wars: Battlefront - Game Guide and Walkthrough
Boosts for the Empire
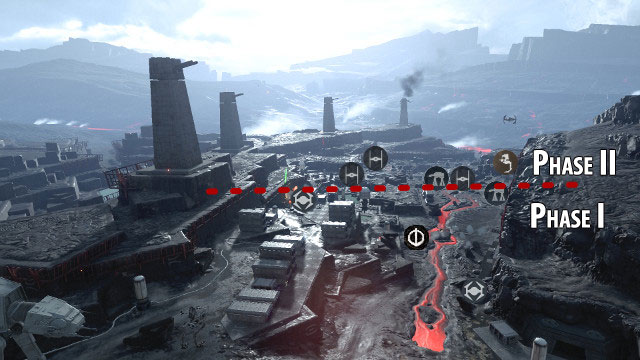
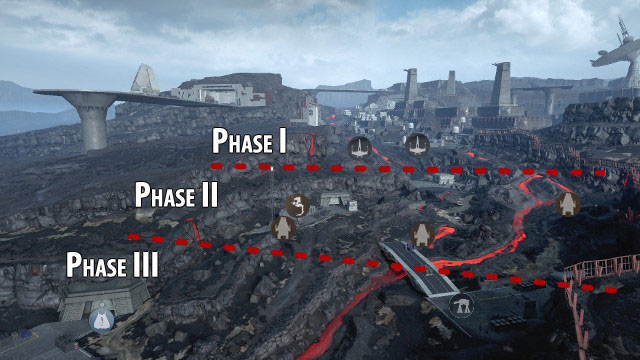
The AT-AT and AT-ST tokens shown on the map become available for the Empire in the third phase of the match, the rest of them concern the Rebels - Sullst - Maps - Star Wars: Battlefront - Game Guide and Walkthrough
The AT-AT and AT-ST tokens shown on the map become available for the Empire in the third phase of the match, the rest of them concern the Rebels
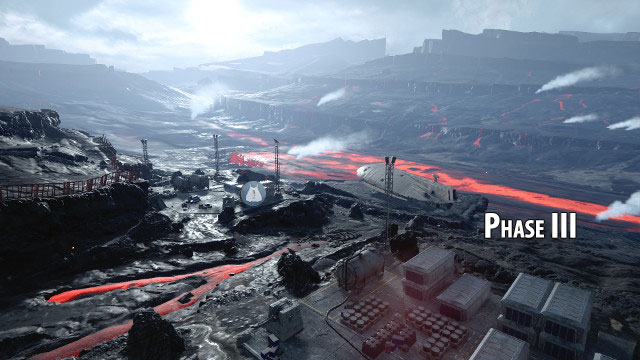
A single T-47 token that did not fit into the previous screenshots - Sullst - Maps - Star Wars: Battlefront - Game Guide and Walkthrough
A single T-47 token that did not fit into the previous screenshots

The Rebels

It is very difficult to score well on this map, if you are playing as the infantry only. On the map, there are few covers, especially in phase two. Apart from that, the empire keeps coming down the slope, so even if you are behind a cover, an opponent with the AT-AT or the AT-ST can hit you.

It is not too easy to locate the enemy infantry, while in a fighter, because there are not too many spots here, where the Imperials group up. The best help you can render on to the team is to destroy the enemy AT-STs and clear the skies.

Phase I
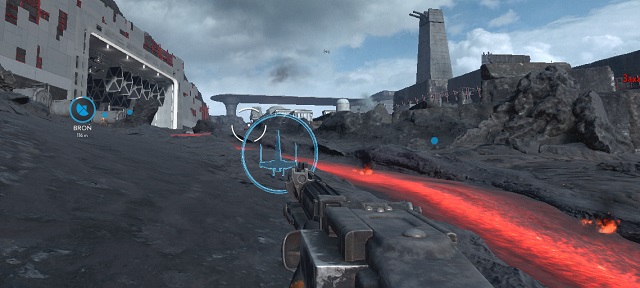
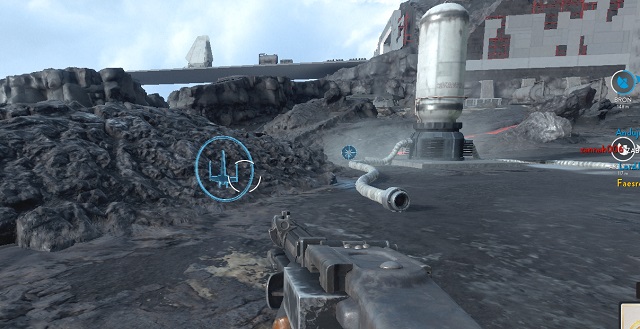
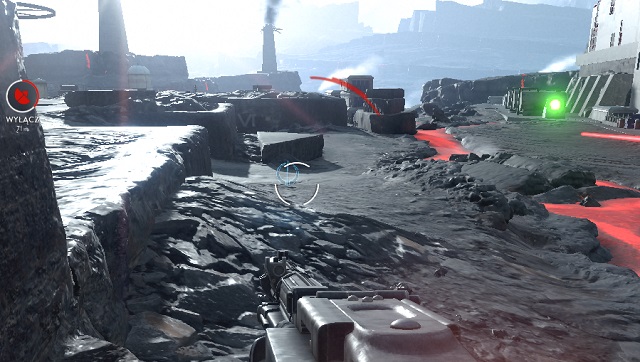
X-wing - Sullst - Maps - Star Wars: Battlefront - Game Guide and Walkthrough
X-wing
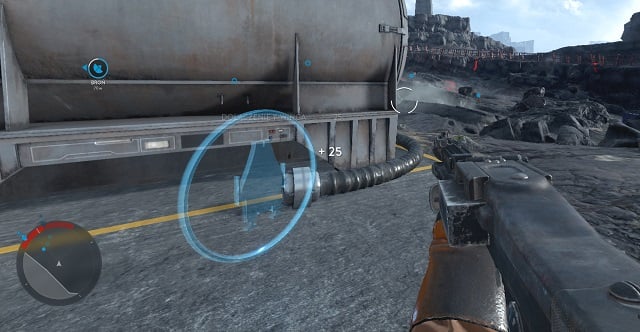
X-wing - Sullst - Maps - Star Wars: Battlefront - Game Guide and Walkthrough
X-wing

Phase II

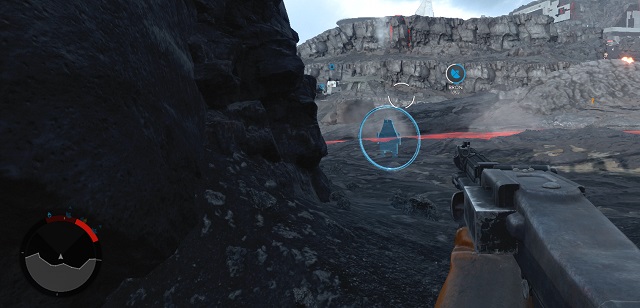
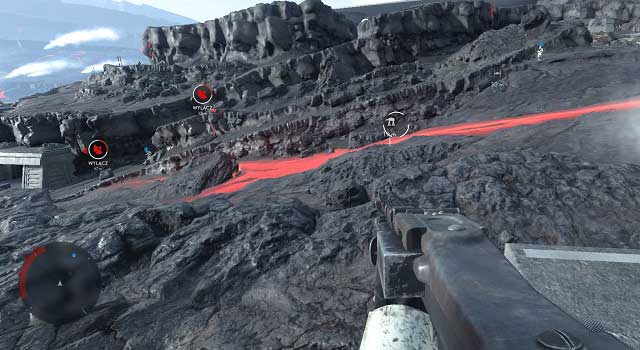
A-wing - Sullst - Maps - Star Wars: Battlefront - Game Guide and Walkthrough
A-wing
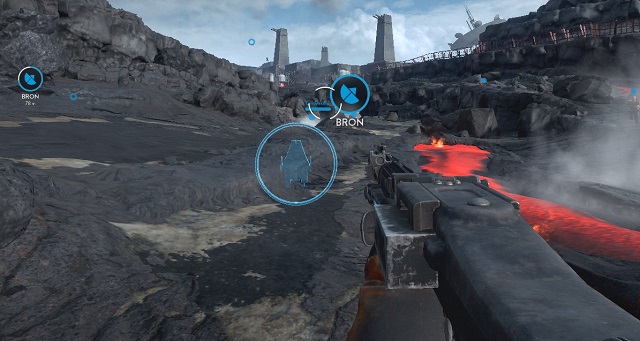
A-wing - Sullst - Maps - Star Wars: Battlefront - Game Guide and Walkthrough
A-wing


A-wing - Sullst - Maps - Star Wars: Battlefront - Game Guide and Walkthrough
A-wing

Phase III

A-wing - Sullst - Maps - Star Wars: Battlefront - Game Guide and Walkthrough
A-wing
A-wing - Sullst - Maps - Star Wars: Battlefront - Game Guide and Walkthrough
A-wing

The Empire

On Sullst map, AT-AT and AT-ST turn out to be extremely powerful. Thanks to the map arrangement, opponents are served to you on a silver plate here. Even if they take cover, all you need to do is shoot next to them to deal damage with the explosive projectile. Flying fighters on this map is in no way stands out with anything positive or negative.

Phase I
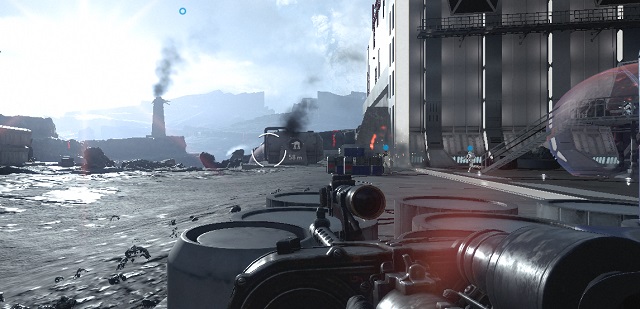
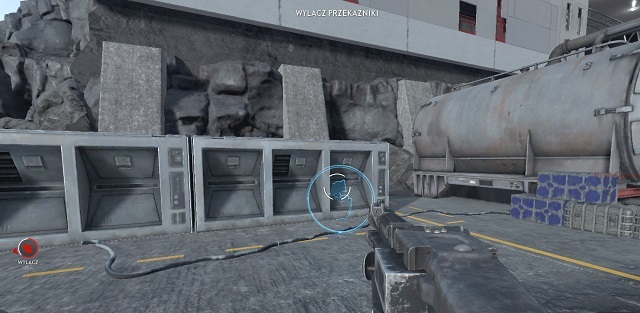
AT-AT - Sullst - Maps - Star Wars: Battlefront - Game Guide and Walkthrough
AT-AT
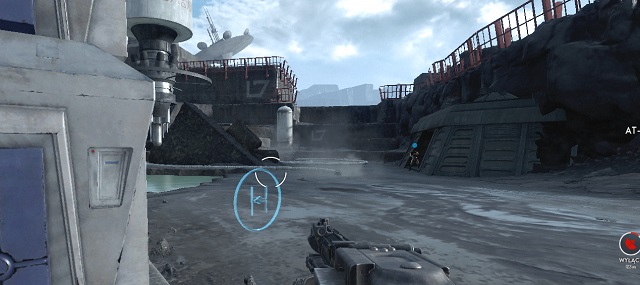
TIE Interceptor - Sullst - Maps - Star Wars: Battlefront - Game Guide and Walkthrough
TIE Interceptor
TIE Interceptor - Sullst - Maps - Star Wars: Battlefront - Game Guide and Walkthrough
TIE Interceptor
Hero token - Sullst - Maps - Star Wars: Battlefront - Game Guide and Walkthrough
Hero token

Phase II

AT-AT - Sullst - Maps - Star Wars: Battlefront - Game Guide and Walkthrough
AT-AT
AT-ST - Sullst - Maps - Star Wars: Battlefront - Game Guide and Walkthrough
AT-ST
TIE Fighter - Sullst - Maps - Star Wars: Battlefront - Game Guide and Walkthrough
TIE Fighter
TIE Fighter - Sullst - Maps - Star Wars: Battlefront - Game Guide and Walkthrough
TIE Fighter
TIE Fighter - Sullst - Maps - Star Wars: Battlefront - Game Guide and Walkthrough
TIE Fighter

Phase III

AT-AT - Sullst - Maps - Star Wars: Battlefront - Game Guide and Walkthrough
AT-AT
AT-ST - Sullst - Maps - Star Wars: Battlefront - Game Guide and Walkthrough
AT-ST

Star Wars: Battlefront

November 17, 2015

PC PlayStation Xbox
Rate It!

You are not permitted to copy any image, text or info from this page. This site is not associated with and/or endorsed by the Electronic Arts Inc. or EA Digital Illusions/EA DICE. All logos and images are copyrighted by their respective owners.

Copyright © 2000 - 2025 Webedia Polska SA for gamepressure.com, unofficial game guides, walkthroughs, secrets, game tips, maps & strategies for top games.