Outpost Beta | Maps

guides

Last update:

Download Guide
Table of Contents

Map

Phase I and II - Outpost Beta - Maps - Star Wars: Battlefront - Game Guide and Walkthrough
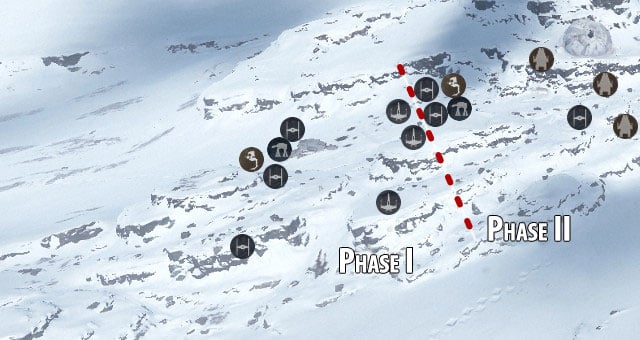
Phase I and II
Phase III - Outpost Beta - Maps - Star Wars: Battlefront - Game Guide and Walkthrough
Phase III

The Rebels

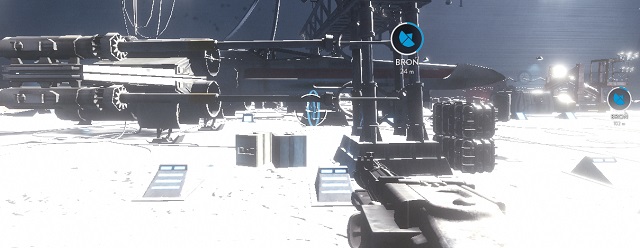
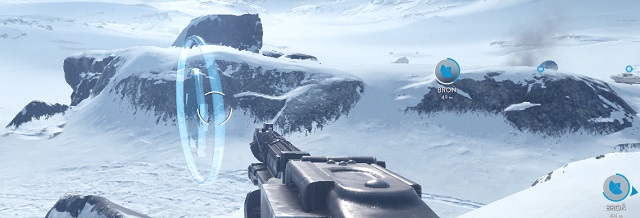
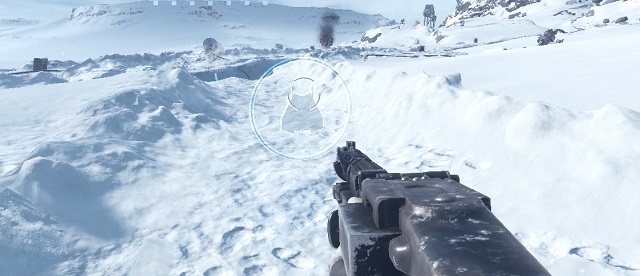
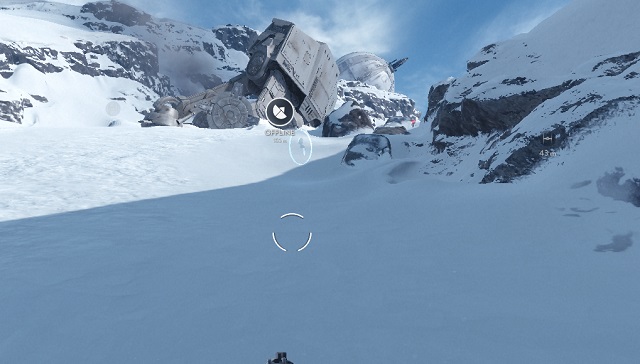
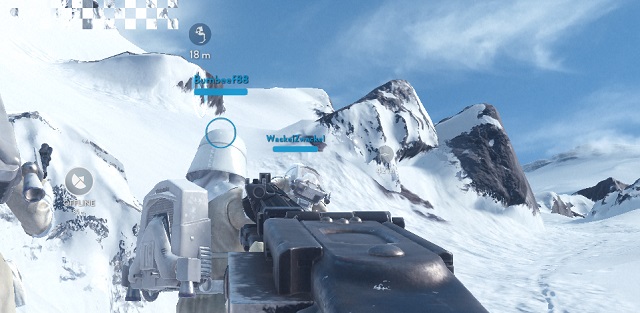
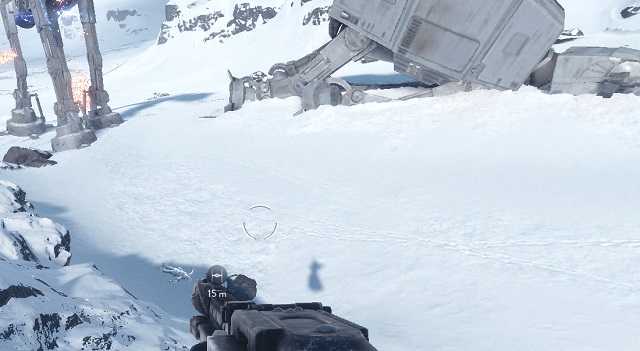
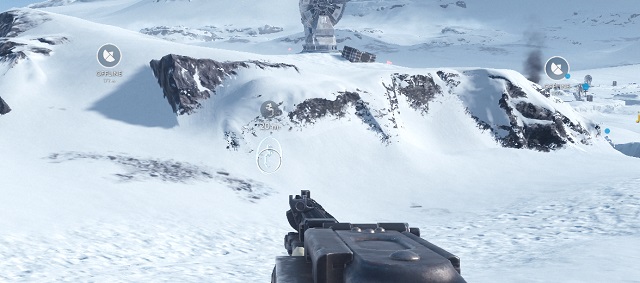
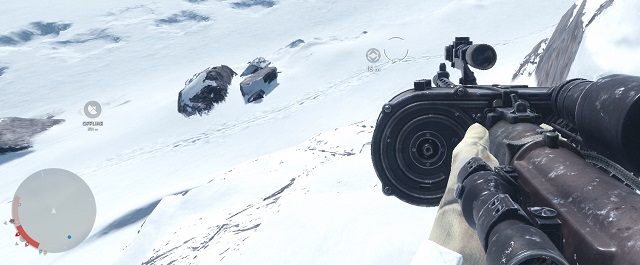
Outpost Beta is an open map, where a skilled pilot can score many kills, while helping his team. The problem is that it is difficult to spot the opponent from afar. It is best to play this map several times beforehand and take a not of where Imperials are grouped, while fighting for the transmitters. Having done that, you can attack those spots while blindfolded.

Phase I

X-wing - Outpost Beta - Maps - Star Wars: Battlefront - Game Guide and Walkthrough
X-wing
X-wing - Outpost Beta - Maps - Star Wars: Battlefront - Game Guide and Walkthrough
X-wing
X-wing - Outpost Beta - Maps - Star Wars: Battlefront - Game Guide and Walkthrough
X-wing

Phase II

A-wing - Outpost Beta - Maps - Star Wars: Battlefront - Game Guide and Walkthrough
A-wing
A-wing - Outpost Beta - Maps - Star Wars: Battlefront - Game Guide and Walkthrough
A-wing
A-wing - Outpost Beta - Maps - Star Wars: Battlefront - Game Guide and Walkthrough
A-wing

Phase III

T-47 Airspeeder - Outpost Beta - Maps - Star Wars: Battlefront - Game Guide and Walkthrough
T-47 Airspeeder
T-47 Airspeeder - Outpost Beta - Maps - Star Wars: Battlefront - Game Guide and Walkthrough
T-47 Airspeeder

The Empire

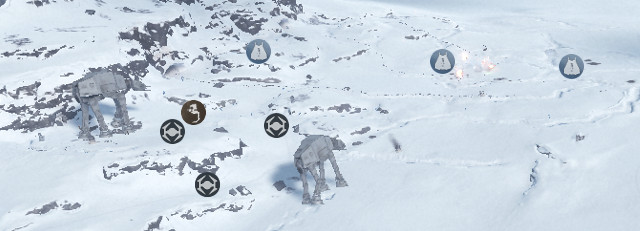
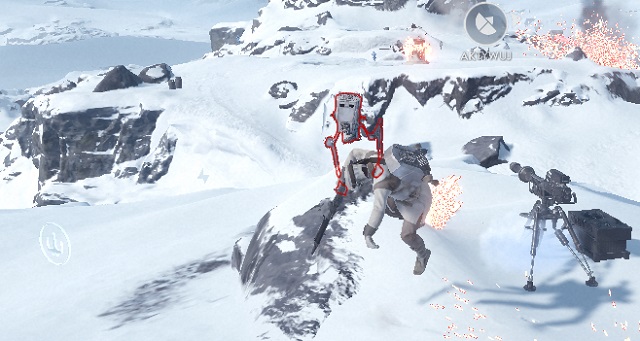
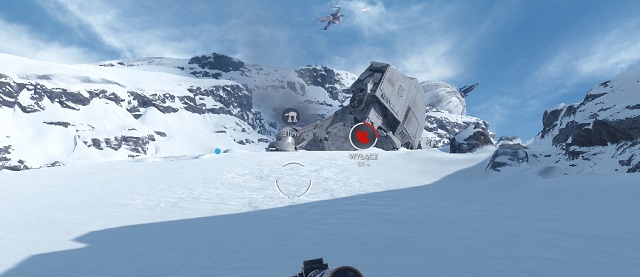
Thanks to open areas on Beta Outpost, AT-AT is extremely effective. From above, killing the Rebels is very easy. If they start taking cover, you can use the orbital attack. Playing as the AT-ST is a bit hindered by players with ion projectiles, who make things more difficult, due to few covers. This is why you need to adopt a kind of passive playing style, and hide in safety.

Phase I
AT-AT - Outpost Beta - Maps - Star Wars: Battlefront - Game Guide and Walkthrough
AT-AT
AT-ST - Outpost Beta - Maps - Star Wars: Battlefront - Game Guide and Walkthrough
AT-ST
AT-ST - Outpost Beta - Maps - Star Wars: Battlefront - Game Guide and Walkthrough
AT-ST
TIE fighter - Outpost Beta - Maps - Star Wars: Battlefront - Game Guide and Walkthrough
TIE fighter

Watch out, because this booster is placed in a relatively dangerous spot. If you run for it at the beginning of the match on this map, it is highly probable that you will die immediately.
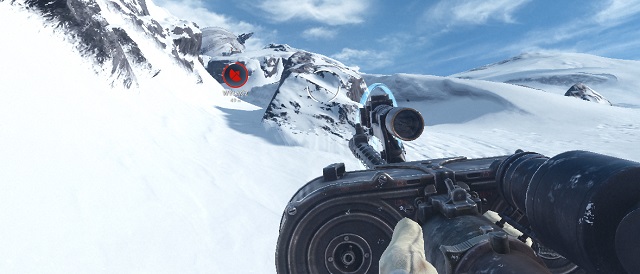
TIE Fighter - Outpost Beta - Maps - Star Wars: Battlefront - Game Guide and Walkthrough
TIE Fighter

Phase II

TIE - Outpost Beta - Maps - Star Wars: Battlefront - Game Guide and Walkthrough
TIE
TIE Fighter - Outpost Beta - Maps - Star Wars: Battlefront - Game Guide and Walkthrough
TIE Fighter
AT-AT - Outpost Beta - Maps - Star Wars: Battlefront - Game Guide and Walkthrough
AT-AT
AT-ST - Outpost Beta - Maps - Star Wars: Battlefront - Game Guide and Walkthrough
AT-ST

Phase III

AT-ST - Outpost Beta - Maps - Star Wars: Battlefront - Game Guide and Walkthrough
AT-ST
TIE Interceptor - Outpost Beta - Maps - Star Wars: Battlefront - Game Guide and Walkthrough
TIE Interceptor

Star Wars: Battlefront

November 17, 2015

PC PlayStation Xbox
Rate It!

You are not permitted to copy any image, text or info from this page. This site is not associated with and/or endorsed by the Electronic Arts Inc. or EA Digital Illusions/EA DICE. All logos and images are copyrighted by their respective owners.

Copyright © 2000 - 2025 Webedia Polska SA for gamepressure.com, unofficial game guides, walkthroughs, secrets, game tips, maps & strategies for top games.