Rise of the Tomb Raider: Follow the Mongolian path, walkthrough
Follow the Mongolian path and search for the signs of the Lost City | Siberian Wilderness - Best Laid Plans, walkthrough
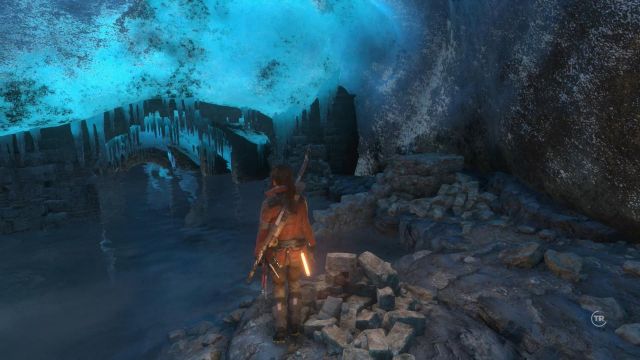
Jump down, where Lara slides down into another big cave. To get out, you will have to go underwater. Enter the water and swim up to the flooded passage. Hold down LB button and your character will dive. While swimming, press the B button rhythmically, thanks to which Lara will swim a little bit faster. You need to hurry, because Lara can hold her breath only for a dozen or-so seconds and if you are not fast enough, she is going to drown.
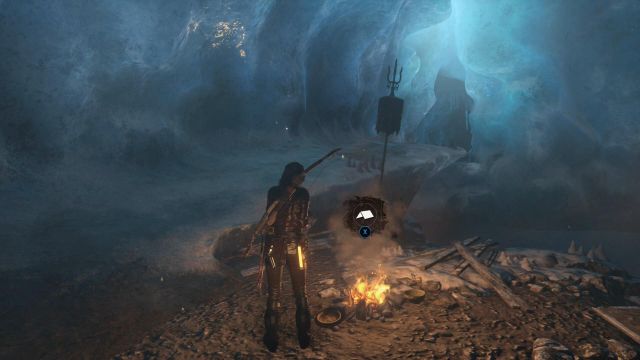
Once you come out of the water, you will find another camp. If you have been following instructions, you should be able to pick new skills and upgrade your weapon. Always try to pick all of the resources and items that you see, scattered around the game world. There is no need to hurry, the adventure will wait. After you dry out by the fire, jump over the water into the next part of the cave.
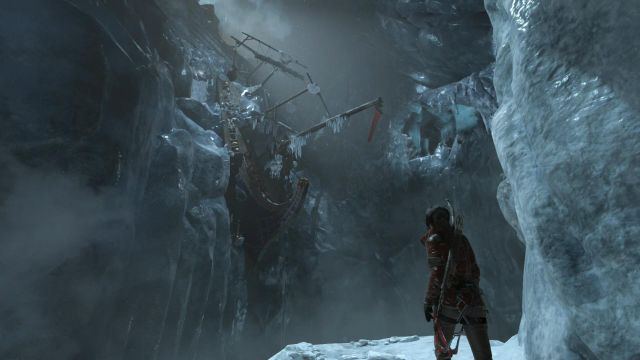
You will walk into a huge grotto, where there is the first tomb that you can explore. Although it is optional to loot them, it is worthwhile an activity, because Lara will learn new skills faster. You can find walkthroughs for the individual tombs in a separate part of the text that have been devoted to them.
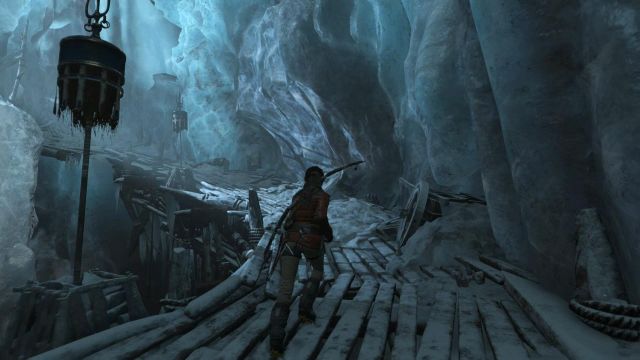
Get around the cave and, on the right, you will find a passage into the next part of the underground complex. If you have earlier decided to plunder the tomb, you reach this passage on the other side, i.e. by going left-wise.
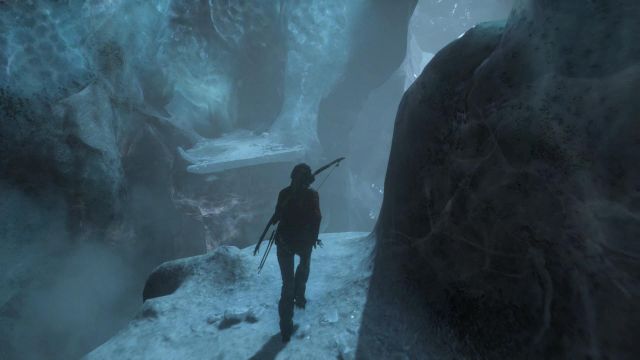
There are still several leaps left to make over the huge chasm, and one more dive. Remember that while swimming, you can tap the B button to swim faster. At the end of this stage, you still need to run over a fallen tree trunk...
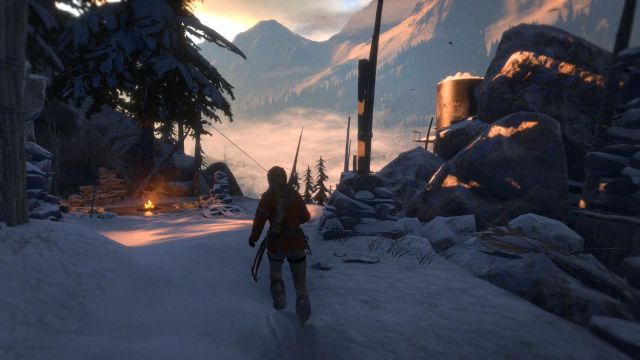
... and you finally walk out into the open, close to the Soviet Installation that you have seen earlier. Rest by the fire. Note that each rest that you take at a camp creates another checkpoint and saves the game.
- Rise of the Tomb Raider Guide
- Rise of the Tomb Raider: Game Guide
- Rise of the Tomb Raider: Walkthrough
- Rise of the Tomb Raider: Siberian Wilderness - Best Laid Plans
- Rise of the Tomb Raider: Find a way to defeat the bear, walkthrough
- Rise of the Tomb Raider: Find mushrooms for the arrow upgrade, walkthrough
- Rise of the Tomb Raider: Find a fabric for the poison arrow upgrade, walkthrough
- Rise of the Tomb Raider: Return to the camp to upgrade arrows, walkthrough
- Rise of the Tomb Raider: Sneak or fight past the Trinity soldiers, walkthrough
- Rise of the Tomb Raider: Defeat the bear, video guide, walkthrough
- Rise of the Tomb Raider: Explore the cave to find an exit, walkthrough
- Rise of the Tomb Raider: Follow the Mongolian path, walkthrough
- Rise of the Tomb Raider: Siberian Wilderness - Best Laid Plans
- Rise of the Tomb Raider: Walkthrough
- Rise of the Tomb Raider: Game Guide
You are not permitted to copy any image, text or info from this page. This site is not associated with and/or endorsed by the developers and the publishers. All logos and images are copyrighted by their respective owners.
Copyright © 2000 - 2026 Webedia Polska SA for gamepressure.com, unofficial game guides, walkthroughs, secrets, game tips, maps & strategies for top games.
