Walkthrough - Chapter 6
 |  |
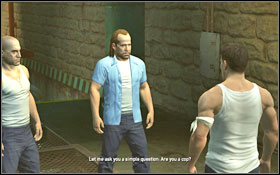
You'll be called to Abruzzi #1. It turns the fact that you're a cop has been exposed. After a while you'll get attacked by two enemies [quick time event] and you'll lose your PI brigade ID as you fall down #2.

 |  |
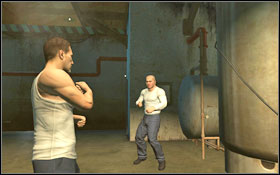
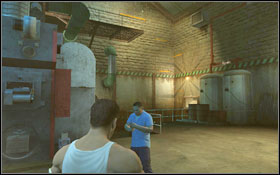
Head towards the exit. You'll have to face one enemy for starters #1 and then two more #2 (they never attack at the same time, so you can fight them one by one).
 |  |
Two agents will arrive #1 and won't leave you much choice - you either kill Burrows or end up in a plastic bag yourself. Return to the cell only to be called to a visiting. The mysterious guest turns out to the Scofield and Lincoln's father - Aldo Burrows #2.
 |  |
You will learn that your death sentence issued has been issued. Aldo will offer his help in clearing all information regarding you from the Company, in return for helping his sons escape. The prison plans which you will steal using the fact that you're in the visiting room will come in handy. Climb to the attic #1 and you will get out at the other part of the room, right behind the fence. Approach the door #2.
 |  |
Head left towards the stairs, passing by a camera on our way. Below you will come across Bellick - use the columns to get to the door #2.
 |  |
Before you begin lockpicking the door #2, hide inside the locker #1 and wait for the guard to walk away.
 |  |
After getting outside, climb onto the roof using the nearby ladder, while keeping an eye on the guard #1. Upstairs there won't be any patrols, however you have to look out for the searchlights. Stick to the right side and hide behind covers so that the light doesn't reach you #2. After getting to the end, you will find yourself in a chapel.
 |  |
Wait for the guard to turn around, jump down and hide behind the curtain. Afterwards go behind the benches and eventually quickly move to the door leading outside. Turn left and climb up the drainpipe on the nearby building #2.
 |  |
You will finally find the plan's location - all that's left is to open the door #1 and take the plans from the desk. Two guards will enter the room and one of them will go take care of his needs. Hide in the locker and wait for the guard to stop looking in your direction. Approach the fuse box, unscrew the screws slowly #2 and turn off the power.
 |  |
Hide inside the locker once again. As the guard begins to patrol the room, head towards the stairs. After getting there, the light will switched on again - look out not to be noticed. On the floor below there's a camera and one guard #1. You can use either the room opposite to the camera and exit from the other side or the little alcove (more risky). Outside you will have to pass by a series of cameras #2.
 |  |
Cross the fence using the drainpipe #1 and then use the containers to hide from the guard #2. The door leading to the visiting room is opened, so you don't have to worry about them.
 |  |
Wait a bit to make sure Bellick doesn't surprise you and then return upstairs following the same path you used before - around, while hiding behind the pillars #1. You can also use the locker if you need some more time. Upstairs look out for the camera. Use the shelves to climb up to the vent #2, through which you will return to the room with the visitor.
You are not permitted to copy any image, text or info from this page. This site is not associated with and/or endorsed by the Koch Media or Zootfly. All logos and images are copyrighted by their respective owners.
Copyright © 2000 - 2025 Webedia Polska SA for gamepressure.com, unofficial game guides, walkthroughs, secrets, game tips, maps & strategies for top games.
