Prey 2006: Jen
Go ahead until you reach a force field (#231). Spirit walk through it and read the code from the floor - 2432 (#232). Enter the digits using the panel nearby. Barriers will disappear and you will be able to get back to your body. Before you use the door, turn left. Crawl through the opening (#233) and enter a small room. There's ammo and a health regeneration unit here.
 |  |
 |  |
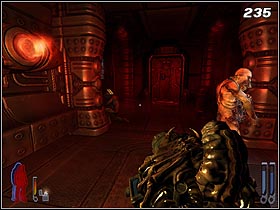
You'll end up in a huge room, in which you will find Jen. You can't go down, so use the tunnel (#234) to the right. After a short walk, you'll reach a bigger corridor. Get rid of the hunters. To the right there's a small room in which technicians are working. You can charge your energy weapon here (#235). When you're done, go further.
 |  |
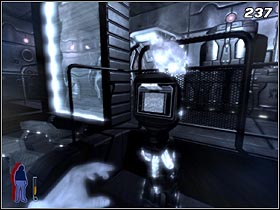 | 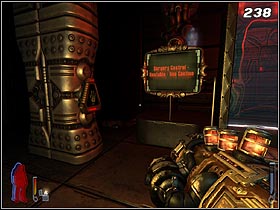 |
When you reach the force field (#236), spirit walk and enter the next room. The switch (#237) deactivating the barrier is to the left. When back to Tommy, enter the room and kill the technician. Use the alien hand on the panel (#238) and wait for the things to come.
Mutants will enter the room (#239) - these guys are huge and quite fast, and especially deadly in close quarters. When you're done with them, you'll have to fight some more - this time with those huge doggies. Get rid of all the enemies and use the door that was secured by a force field up to now.
 | 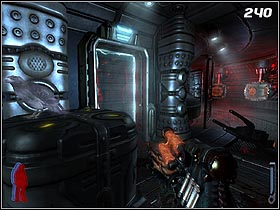 |
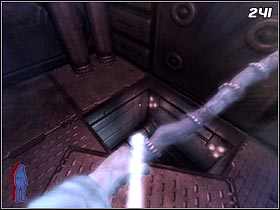
In the next corridor you'll see two force fields, protecting the access to the small niches in the walls. Spirit walk through the barrier to the left (#240). Once inside, jump down through the opening (#241) and enter the tunnel there. At the first junction turn left, and go forwards until you reach a room with technicians.
 |  |
Kill the enemy that's nearest and use the button (#242) to unlock the door. Get back to your body and cross the long corridor. When you're back into the same room as before, take care of the technician working on the left.
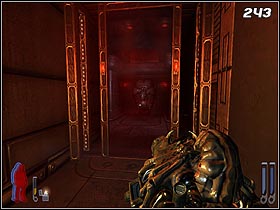 | 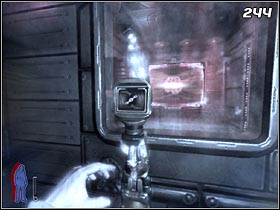 |
Use the gate (#243) to enter the next room. Leave Tommy's body and get back to the room that was used by technicians. To the right there's a switch (#244) - be sure to press it. Spirit walk again and leave. Head through the hatch on the wall.
The room you're in now has a wall walk you can use to get up. Before you do that, though, destroy the turret under the ceiling and gather the ammo laying on the pipers to the left.
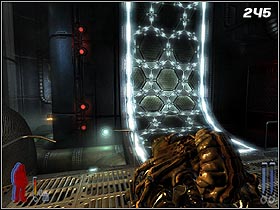 |  |
At the end of the wall walk there's a portal (#246) that will take you to a hunter-controlled corridor. Get rid of the enemies and head forward. Use another gate (#247).
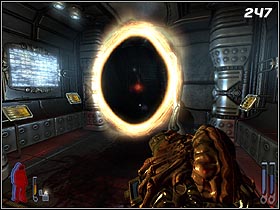 |  |
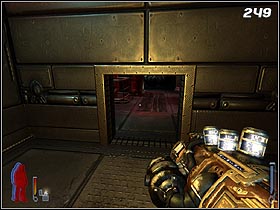
This room is full of mutants - similar to those you've fought before. Kill them all. At the center of the room there will be a portal opening (#248), but before you move on to the next section, inspect the back of the room. There's a small opening in here (#249), leading to a room in which you can regenerate your strengths.
 |  |
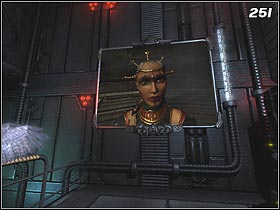
Go forth until you reach a room in which Jen is being held prisoner (#250). To free her, push the button nearby. When the heroes are done talking, approach the huge screen (#251) on the wall. The rebels' quarters are being attacked and you have to go there and help them.
 | 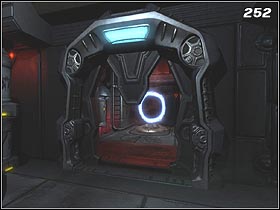 |
Before you use the door, leading to a blue portal (#252), check the small room to the right - there's a health regeneration spot here, as much as some ammo in the locker. When regenerated, feel free to finish this level.
- Prey (2006) Game Guide & Walkthrough
- Prey 2006: Walkthrough
- Prey 2006: Last Call
- Prey 2006: Escape Velocity
- Prey 2006: Downward Spiral
- Prey 2006: Rites of Passage
- Prey 2006: Second Chances
- Prey 2006: All Fall Down
- Prey 2006: Crash Landing
- Prey 2006: Sacrifices
- Prey 2006: There are Others
- Prey 2006: Guiding Fires
- Prey 2006: The Old Tribes
- Prey 2006: Hidden Agenda
- Prey 2006: Jen
- Prey 2006: The Dark Harvest
- Prey 2006: Following Her
- Prey 2006: The Complex
- Prey 2006: Ascent
- Prey 2006: Center of Gravity
- Prey 2006: Resolutions
- Prey 2006: Oath of Vengeance
- Prey 2006: Facing the Enemy
- Prey 2006: Mother's Embrace
- Prey 2006: Walkthrough
You are not permitted to copy any image, text or info from this page. This site is not associated with and/or endorsed by the developers and the publishers. All logos and images are copyrighted by their respective owners.
Copyright © 2000 - 2026 Webedia Polska SA for gamepressure.com, unofficial game guides, walkthroughs, secrets, game tips, maps & strategies for top games.
