Prey 2006: Center of Gravity
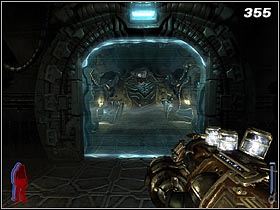
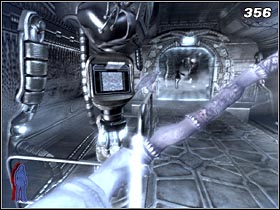
Go forth, dealing with the monsters ahead. After opening one of the doors, you'll see a force field (#355). Spirit walk to the other side and use the panel (#356) to turn of the barrier. Move on, to find yourself in a room filled with hunters. Kill them all.
 |  |
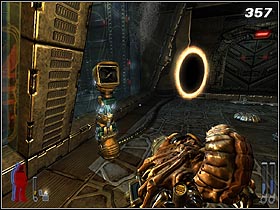 | 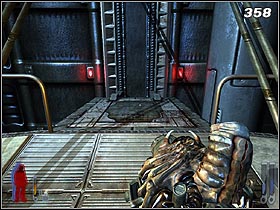 |
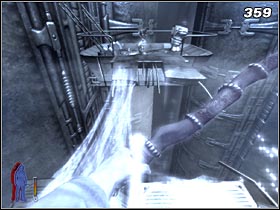
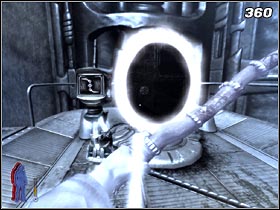
Press the button and go through the portal (#357). Enter the elevator (#358) and spirit walk. Use the glowing path (#359). There's a panel on the platform that wasn't available before - use it and go through the open door (#360).
 |  |
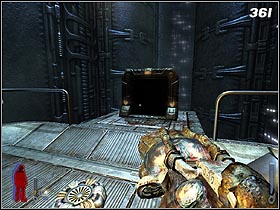 | 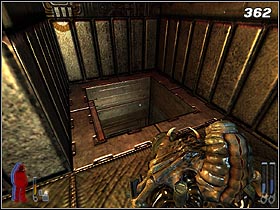 |
You'll be back in a room that was controlled by hunters a few minutes ago. Push the button and immediately go back to your body. Tommy must now take care of the robots that are awaiting him on the lower level. When there's no living soul in the vicinity, go through the gate (#361) and jump into the hole in the floor (#362 - the hatch will open when you approach it).
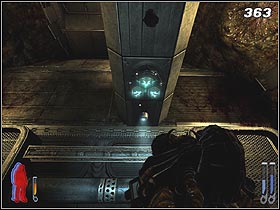
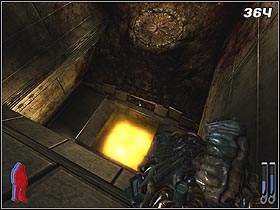
Destroy the flying robots and get rid of the turret that attacks you as soon as you get there. Search for the grav-switch (#363) on the ceiling, stand directly below it and shoot it. When the gravity is reversed, jump down, careful not to fall down into the melted steel (#364).
 |  |
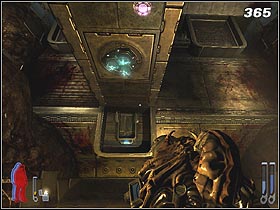
Look around to see another grav-switch (#365). Again, stand directly below it and shoot it. The door at the end of the platform will lead you to a locker full of ammo.
 | 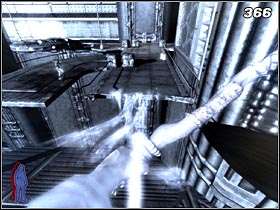 |
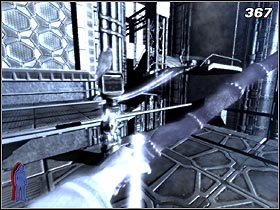
Upon leaving the chamber it turns out that you're in a completely different part of the ship. Turn right, kill the enemies and stop near the edge of the platform. Spirit walk and move along the glowing path (#366) to the other side. Push the button nearby (#367) and go back to your body again.
 | 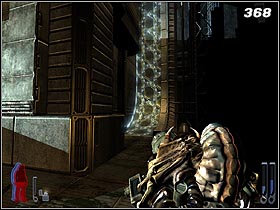 |
Get back to the door. You'll see a wall walk to the right (#368 - it was inactive earlier). Use it. Destroy the enemies that jump out of their portals, still moving forwards. After a short walk you'll be on a platform that you've earlier visited as a spirit.
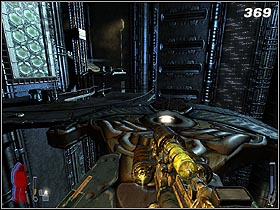
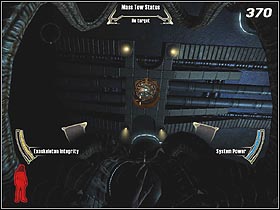
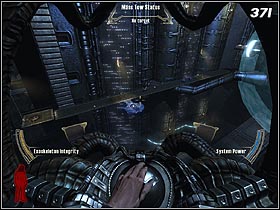
Start the shuttle (#369) and go up. You'll easily find the hatch (#370) that will let you reach the other part of the complex (#371). Start by eliminating the enemies (you can use your grab-gun to drop them into the abyss), and then use the only landing site around.
 |  |
 | 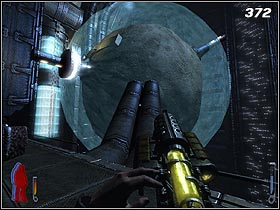 |
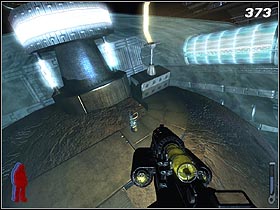
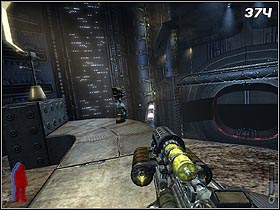
Use the pipes (#372) to get to the small planetoid. It's secured by a force field - it's not a problem for a spirit, though (#373). Leave the body and push the button that'll deactivate the barrier. Near the place where you're standing right now, there's another platform. Find it and use the next panel (#374). This time you'll open the huge gate. You can now return to your shuttle.
 |  |
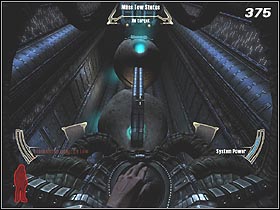 | 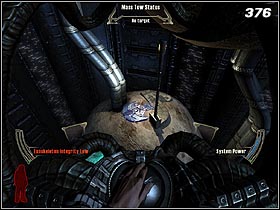 |
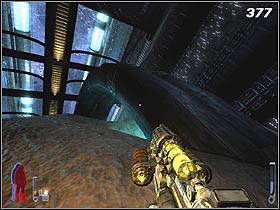
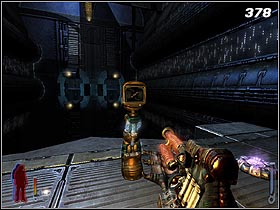
In the huge tunnel there are two asteroids (#375). The one closer to you has a landing site (#376). Eliminate the enemies and find the pipes that reach out of the globe (#377). Use them to get to the second planetoid. Here you'll have to find a platform with a button on it (#378), and also get rid of some hunters. When you're done, get back to the landing site, also using the pipes.
 |  |
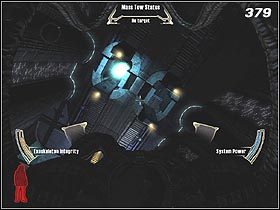 | 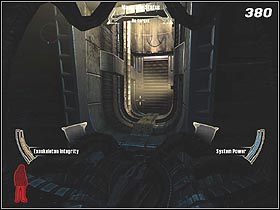 |
Head upwards. At the end of the tunnel you'll see two corridors (#379) in which you'll notice a stream of blue energy. Head to the right hatch. Wait for the machine to stop forming the deadly cloud and quickly fly inside. You'll see a tunnel (#380) that'll lead you to another part of the complex.
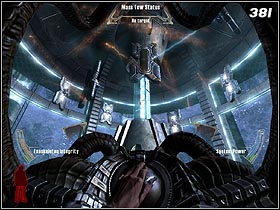
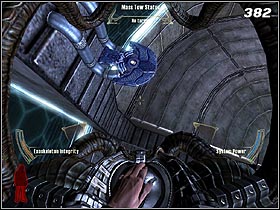
At last you're in the reactor room (#381). You'll have to start with eliminating its shield - rotating around the core. While doing it, avoid the projectiles shot by defense systems. When your ship is almost destroyed, use one of the landing sites (#382) to regenerate.
 |  |
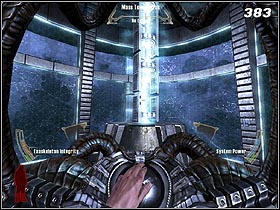 | 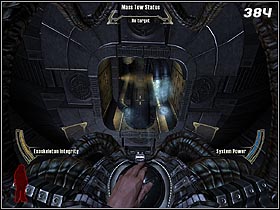 |
When all the shields are down, you can destroy the reactor. Go around the structure and find a spot where you can see small rings (#383). A few shots in each one of them and the whole structure will fall apart. Fly upwards and use the small tunnel (#384) that was previously unavailable.
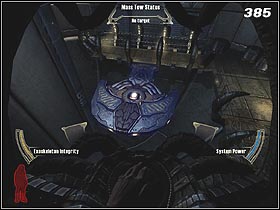 | 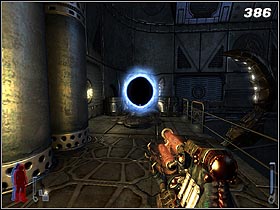 |
After a short flight you'll reach a small chamber with a landing site in it (#385). Leave the ship and head forwards. The blue portal (#386) means, as always, the end of the chapter.
- Prey (2006) Game Guide & Walkthrough
- Prey 2006: Walkthrough
- Prey 2006: Last Call
- Prey 2006: Escape Velocity
- Prey 2006: Downward Spiral
- Prey 2006: Rites of Passage
- Prey 2006: Second Chances
- Prey 2006: All Fall Down
- Prey 2006: Crash Landing
- Prey 2006: Sacrifices
- Prey 2006: There are Others
- Prey 2006: Guiding Fires
- Prey 2006: The Old Tribes
- Prey 2006: Hidden Agenda
- Prey 2006: Jen
- Prey 2006: The Dark Harvest
- Prey 2006: Following Her
- Prey 2006: The Complex
- Prey 2006: Ascent
- Prey 2006: Center of Gravity
- Prey 2006: Resolutions
- Prey 2006: Oath of Vengeance
- Prey 2006: Facing the Enemy
- Prey 2006: Mother's Embrace
- Prey 2006: Walkthrough
You are not permitted to copy any image, text or info from this page. This site is not associated with and/or endorsed by the developers and the publishers. All logos and images are copyrighted by their respective owners.
Copyright © 2000 - 2026 Webedia Polska SA for gamepressure.com, unofficial game guides, walkthroughs, secrets, game tips, maps & strategies for top games.
