Overlord: Gain access to the Mother Goddess statue as part of Gnarl's cunning plan
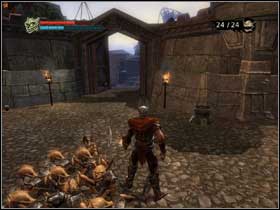
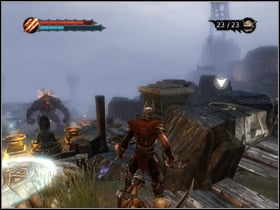
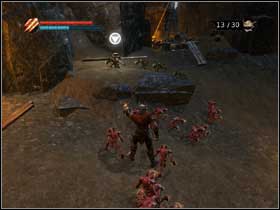
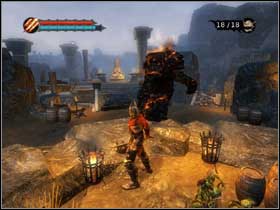
Come back with your commando, get rid of the rest of the dwarves and loot the place clean. Go up the stairs and turn left - you'll see a door open (#1). Head on in and listen to the elf you'll meet there (and then Gnarl). You can use the blood pit there on the right if you need and walk the path to the Temple Construction Site. Now follow the path straight and turn left when you see a huge lava golem (#2). Break the barrels but be careful cause a rolling monster will roll in. To kill it, just let it see you and roll in your direction, dodge and hit it a few times with your axe when it bumps to the wall. This is how you deal with rollies - you'll meet some more of them soon.
 |  |
Continue down along the path. Break the barrels and you'll find brown spawning pit. Keep heading down and you'll meet next rollie. Kill it and break the barrier there (#1). There's a narrow passage ahead with some corridors with rollies - you can kill them the same way as the ones before, but you can just walk by, watching your minions so they won't get crashed. Eventually you should arrive at the stairs (#2). Go up then, break the barrels there and follow down another stairs. You'll see a group of dwarves on one side of chasm trying to kill the rollie on the other side.
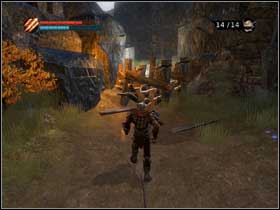 | 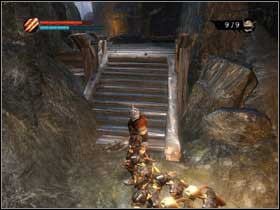 |
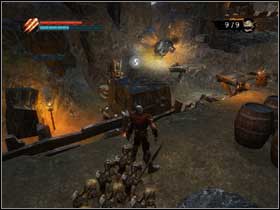
There are two options here. One is to send your guys to move the rock down there (#1) bridging the gap. The rollie will roll (what else) to the dwarves killing them. A fat dwarf sitting up there will kill the monster for you so now just continue fighting with the dwarves. The other option is to go for the dwarves and leave the monster alone on the other side. Now turn the wheel (#2) to open the door. Head on in to find blood pit and spawning pits of reds and browns.
 | 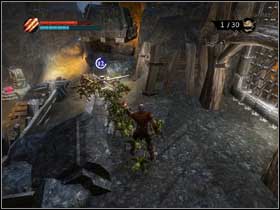 |
Follow the path around and you'll hear some elves imprisoned moaning and see two monsters down there (#1). Position some greens and reds upstairs so the monsters won't see them and you'll have a support in fight. Smash them! Then turn the wheel (#2) to free the elves. In the corner, behind the huge stone pillars you'll find blue spawning pit
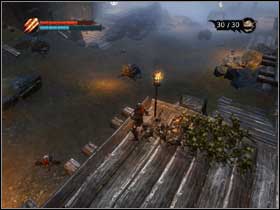 |  |
Now move the huge block across from the cage with elves to make a pass. Go up the stairs and turn the wheel. Now blow out the big door by the stairs (#1) sending minions with bombs like before. You'll need four of them.
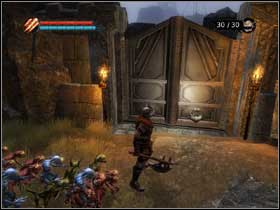
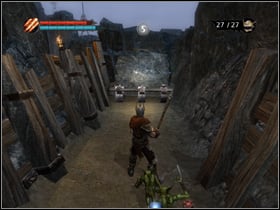
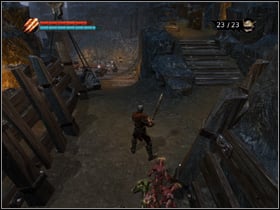
Walk through the broken door and enter a narrow hall where you'll meet... a rolling monster! Kill it. Then send your minions to move the block in the back of the room (#1) to open a pass to another path. Kill another rollie and collect the loots from the trunks. Walk to the path by the stairs (#2) killing the dwarves in your way. You'll find green spawning pit and blood pit. Move the blocks to get to an alcove with treasure.
 |  |
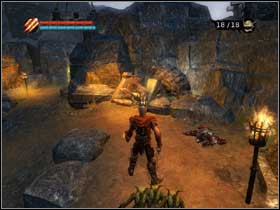
Go back and up the stairs, then down the path and - there you have it: the lava golem (#1). It looks scary - maybe even too scary for such a looser - but maybe that's exactly the point. Come closer to watch the scene and kill the monster (you might be a bit disappointed with not actually destroying the golem in a battle). So here is how it goes: send minions to the barriers - there's a rollie behind each one of them (#2). All you have to do is release the monsters so they roll down to the golem doing the job for you. If you're still not satisfied with such a simple solution, come up with a strategy like the order in which to crash the barriers or number and kind of minions you send to them - surely that will make you feel better. Now you can do some sightseeing, so take a look at the statue there if you want - look, but don't do anything. Not yet.
 |  |
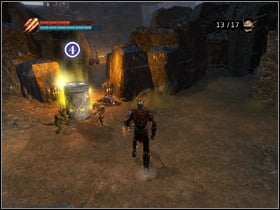
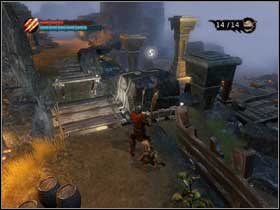
Not far from the place, a little to the left, there's an alcove where you'll find another tower object (#1) - it's more minion control! Take it to the waypoint killing the Dwarves and fixing the bridge (#2) in your way. Now you can have as many as 35 minions in your commando! Go back to the statue (the one you saw where the lava golem was) and send 5 brown minions into it - yes, make sure they do exactly enter the statue.
 |  |
- Overlord Game Guide & Walkthrough
- Overlord: Walkthrough
- Overlord: Tutorial
- Overlord: Retrieve the Tower Heart
- Overlord: Find a Crane for the Tower renovation
- Overlord: Retrieve the Food
- Overlord: Crash the Halfing's party
- Overlord: Kill Melvin Underbelly
- Overlord: Retrieve The Red Minions Hive
- Overlord: Get a Mistress for your Tower
- Overlord: Retrieve The First Tower Smelter
- Overlord: Seek the entrance of the Elven forest
- Overlord: Find the source of the choking roots
- Overlord: Kill Oberon-part 1
- Overlord: Locate the Green Minion lair
- Overlord: Search for and destroy Oberon's root nodes - part 1
- Overlord: Find the source of plague in Heaven's Peak - part 1
- Overlord: Retrieve the Blue Minion Hive
- Overlord: Search for and destroy Oberon's root nodes - part 2
- Overlord: Find the 4 hidden keys to the Inner Sanctum of Mother Goddess Temple
- Overlord: Search for and destroy Oberon's root nodes - part 3
- Overlord: Kill Oberon - part 2
- Overlord: Find the source of plague in Heaven's Peak - part 2
- Overlord: Retrieve the Smelter from the Understreets
- Overlord: Find the source of plague in Heaven's Peak - part 3
- Overlord: Kill The Succubus Queen
- Overlord: Find Rose's wayward sister Velvet - part 1
- Overlord: Kill Sir William the Black, Paladin of Heaven's Peak
- Overlord: Find Rose's wayward sister Velvet - part 2
- Overlord: Find the entrance to the Dwarven lands
- Overlord: Locate the Statue of the Mother Goddess - part 1
- Overlord: Plunder the gold mine
- Overlord: Retrieve the gold from the mine
- Overlord: Locate the Statue of the Mother Goddess - part 2
- Overlord: Gain access to the Mother Goddess statue as part of Gnarl's cunning plan
- Overlord: Retrieve the Beer Kettle
- Overlord: Kill Goldo and his pet - part 1
- Overlord: Retrieve the Smelter from the Arcanium mine
- Overlord: Kill Goldo and his pet - part 2
- Overlord: Find the Thief's hideout
- Overlord: Capture Jewel
- Overlord: Drive Jewel into the village Tower Gate
- Overlord: Free Spree
- Overlord: Kill Kahn the Warrior
- Overlord: Retrieve your spells
- Overlord: Get your Minion Hives back
- Overlord: Kill the Wizard
- Overlord: Tips for the evilest
- Overlord: Walkthrough
You are not permitted to copy any image, text or info from this page. This site is not associated with and/or endorsed by the developers and the publishers. All logos and images are copyrighted by their respective owners.
Copyright © 2000 - 2026 Webedia Polska SA for gamepressure.com, unofficial game guides, walkthroughs, secrets, game tips, maps & strategies for top games.
