Observation: Awakening - walkthrough, level 1
Last update:
On this page of the guide to Observation, you will find a walkthrough for the first chapter in the game. You will learn how to answer to Emma, how to connect to devices on the station, how to open hatches (HATCH CONTROL). You will also learn how to use maps. We will guide you step by step through the first riddles like DETACHMENT PROCEDURE and CLAMP DETACHMENT.
The game starts by informing you that you are in a space station called "Observation", located 410 kilometers above Earth. After a moment you can hear the voice of doctor Emma Fisher. She is trying to contact the base in Houston.
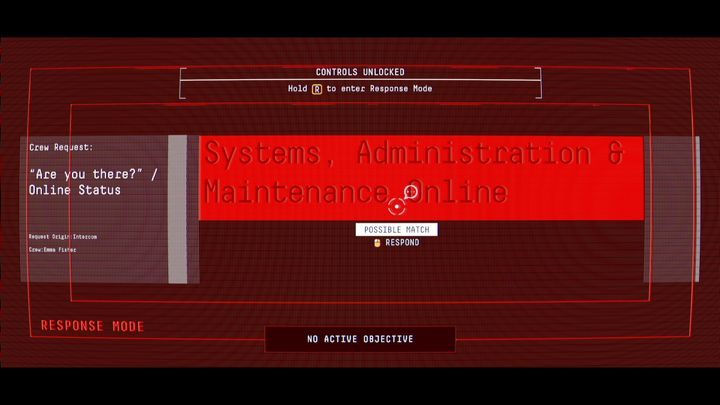
When Emma asks you for a voice authentication, move the mouse cursor on the ANALYSE word. Click the left mouse button and hold "D" key until the bar is filled. Click the left mouse button on ACCEPT. Emma will ask you a question: "Are you there?". In order to answer her, you must keep holding the "R" key and click the selected answer (POSSIBLE MATCH notification should appear under the cursor).
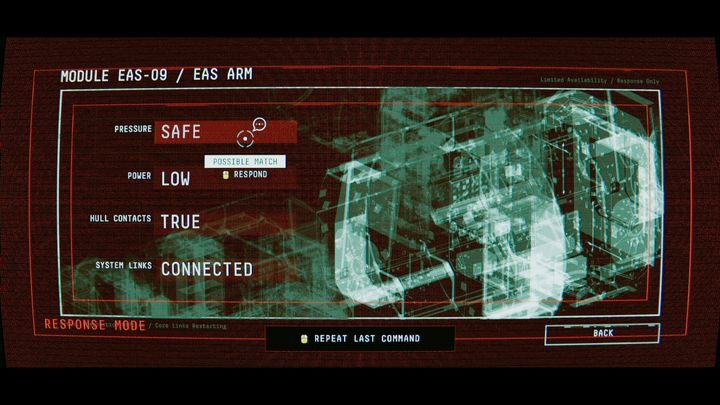
Emma will give you access to the diagnostics system. She will mention that she is stuck in module 11 and that she must get to module 9. Your first objective is to check whether the HULL is working there and what is the current PRESSURE. When the station schematics window appear, select MODULE EAS-09. A window with information about module 9 will appear. While holding R, click the word SAFE with the left mouse button. Then click TRUE.
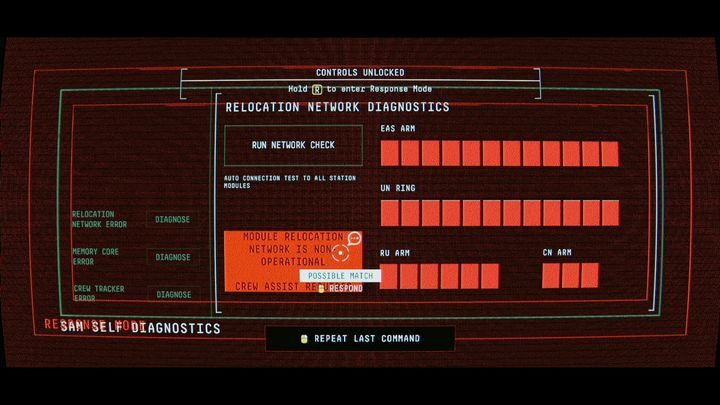
Doctor Fisher will tell you that she feels some vibration. She will ask you to check the hull in the remaining modules. Click on BACK, go to module 10 and click on FALSE while holding R. You will discover that this module was probably disconnected. Suddenly, Emma will lose consciousness. BRING HER sign will appear on the screen - click on ACCEPT. Once she awakens, she will order you to analyze your system. A black screen will appear. Click on RUN SAM DIAGNOSTIC. You will have to check all three systems. Click DIAGNOSE (first from the top) and then cluck RUN NETWORK CHECK on the screen next by. Once the test is complete, inform about its result by pressing R and selecting the highlighted text.
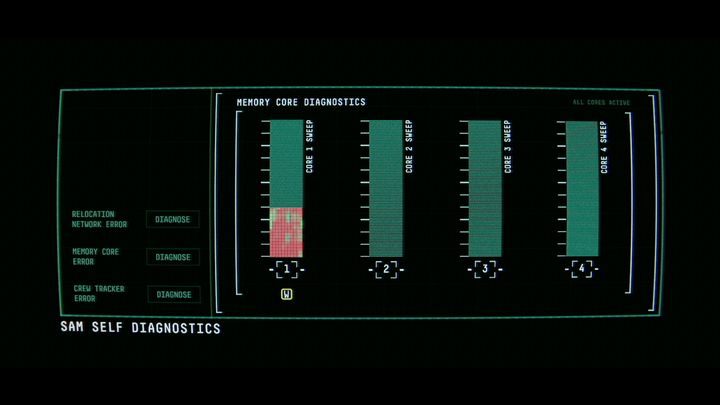
Move on to the next diagnostic titled MEMORY CORE ERROR. Four numbered columns will appear on the nearby screen. Click on each digit at the bottom, then keep pressing W until the column is filled. Tell Emma about the errors that occurred during this diagnostics - you can do it similarly as before.
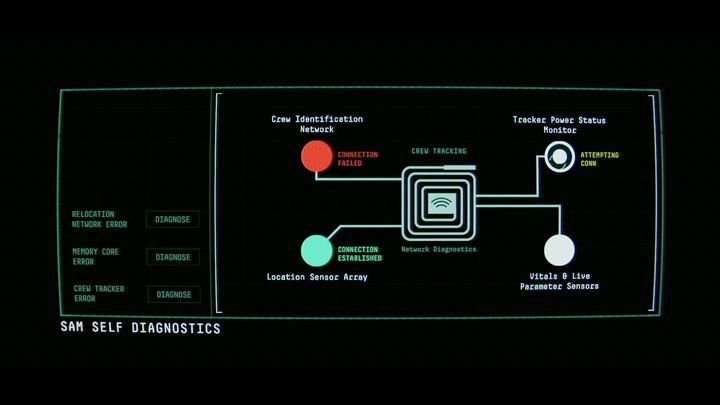
Go on to the last diagnostic (CREW TRACKER ERROR). The network layout will appear on the nearby screen. You must move on each circle and hold the left mouse button for a few seconds until it changes its color. Three circles should change its color to green and one should change its color to red. While holding R, click on the text that will appear next to the red circle.
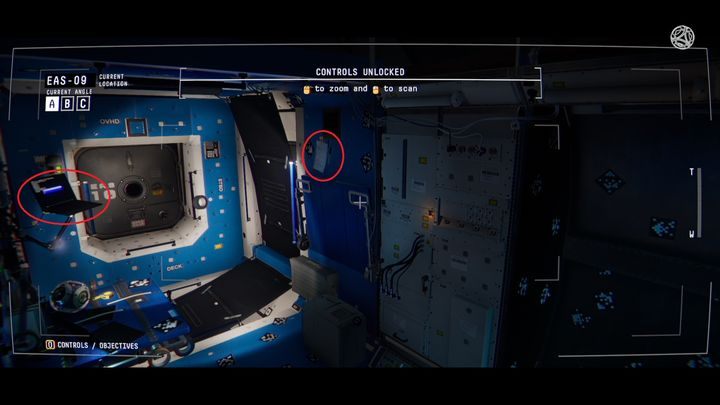
Doctor Fisher will ask you to open the hatches in module 9. Then, she will switch the view to the camera located in there. First, you must run a camera test by moving it up/down and left/right with AWSD keys. Keys Q and E can be used for switching between the remaining cameras available in the room. Emma will ask you to scan a document (SYSTEM LINK RESET) hanging on the wall. Move the cursor on it, zoom the camera with the mouse scroll. Click and hold the left mouse button until the scanning progress bar is filled.
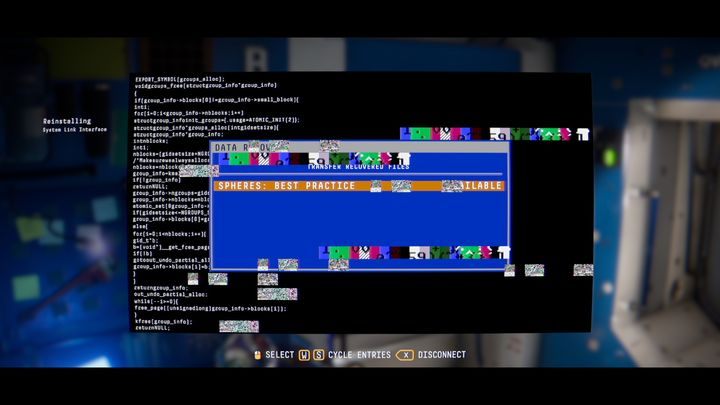
Press BACKSPACE on the keyboard to leave the document preview. Point the camera at the laptop attached to the wall. In order to access it, click and hold the left mouse button. Wait for the progress bar to fill. Three numbers will appear below it. Press them on the keyboard in the correct order. Click on the laptop again in order to connect to it. There will be only one command available. Click on it and a description of the SPHERE mechanism will appear (SPHERE: BEST PRACTICE). This mechanism will become useful later in the game. In order to return to the previous camera view, press BACKSPACE.
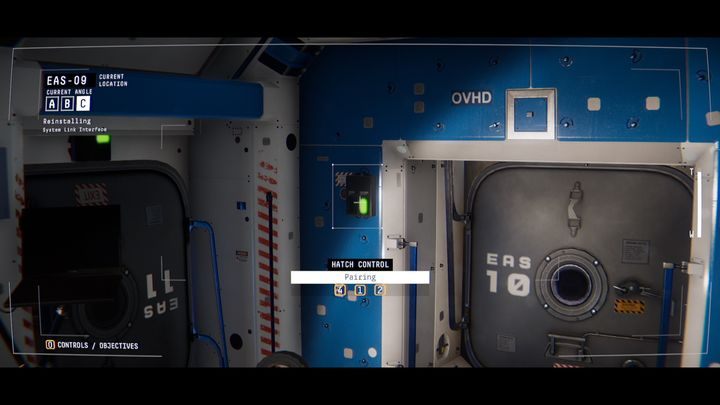
You will find three green-glowing panels on the walls. They are used for opening the hatches. Follow the commands similarly as you did with the laptop. Then, click the left mouse button to open the hatch. The hatch with the name EAS 11 will open as the last. Emma will walk inside. After another attempt at contacting the crew, she will notice that the interior communication system is fully working. Alarm will turn on after a moment. Press the space bar in order to open station map. If you press E, you will move to your memory core. There, you can check how much data you managed to restore.
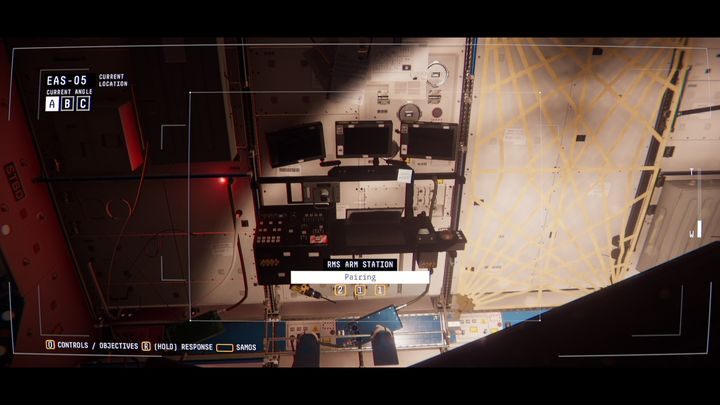
Go back to the map with Q and click on module EAS-05. Gain access to devices located there and activate them.
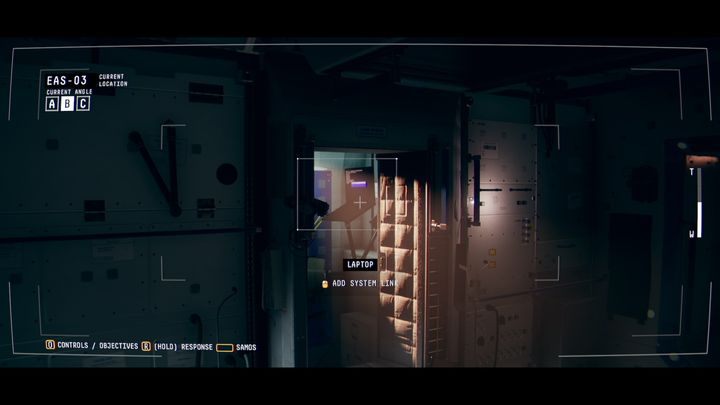
Then, move to module EAS-03. Change the view to camera B and check the message written in the laptop (JR-HOME - ALL GOOD UP HERE)
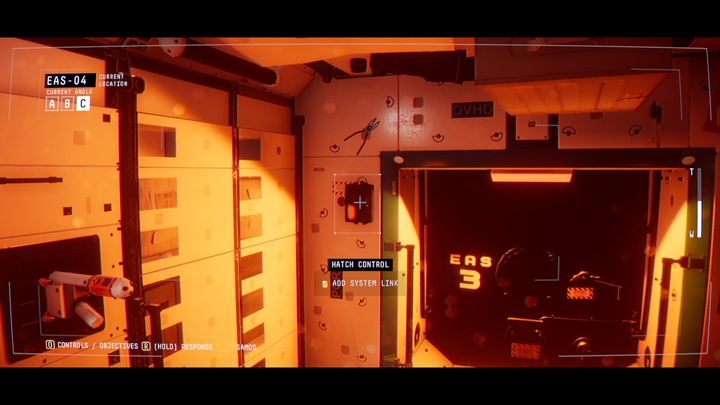
Go to module EAS-04, move the cursor on the fire. Hold R and inform Emma about its location. Emma will move in your direction. She will ask you to open the hatch in module 06. Press the space bar, move to module EAS-06 and use the control light to open the hatch. Go back to module EAS-04, switch the camera so that you can see the hatch. The nearby lamp will be glowing in red. Gain access to it and wait for doctor Fisher to start the countdown. The color of the control light will change to green. Wait for Emma to speak the word "three" and open the hatch.
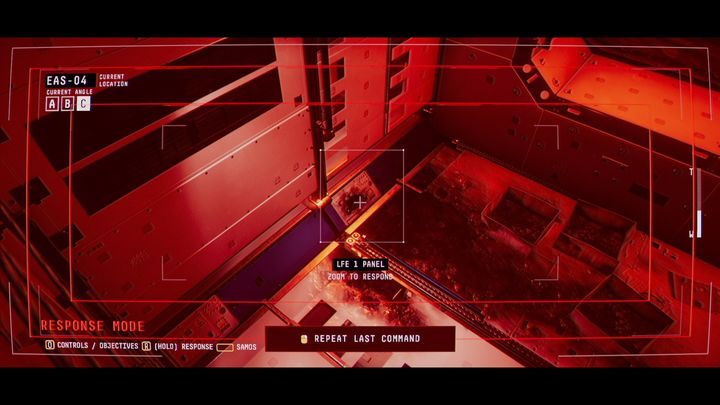
Emma will put down the fire and ask you to activate the fans in the room. Connect to the fans and activate them. Then, she will ask you to examine the damage. Find the most burned place and notify her about the damage while holding R. Hover the cursor on the small, burned panel nearby and inform the doctor what ignited the fire.
Emma will approach the panel and discover a weird, dark-red grease on it. The alarm will turn on again. Hold R and notify her about the danger in module EAS-12. You will carry the module disconnection procedure with her. A task titled DETACHMENT PROCEDURE will appear on the screen. The AWSD keys are assigned to numbers 1, 2, 3, and 4.
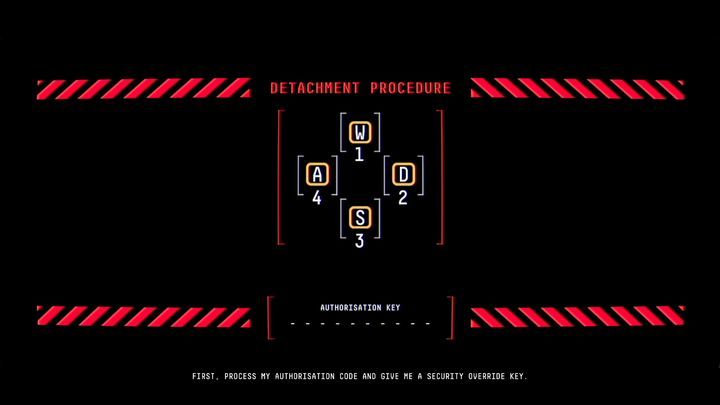
You will carry the module disconnection procedure with her. A task titled DETACHMENT PROCEDURE will appear on the screen. Emma will quickly dictate a series of numbers. You will need to press correct letters assigned to numbers 1, 2, 3, and 4 on your keyboard. Then, hold R and give her the authentication code that will appear on the screen.
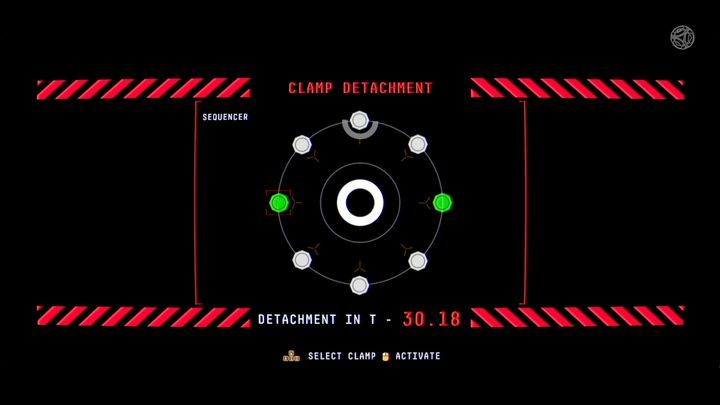
A new task titled CLAMP DETACHMENT will appear. You will have only 35 seconds to complete it. The AWSD keys are used for selecting one of eight markers. The flow of time will be shown on one of them. Press D to quickly select it and quickly click the left mouse button to activate it. Another marker to activate will appear on the opposite side. Press A to mark it and activate it with the mouse. Do the same with the other 6 markers. Once you succeed, module 12 will be disconnected and the station will stop rotating.
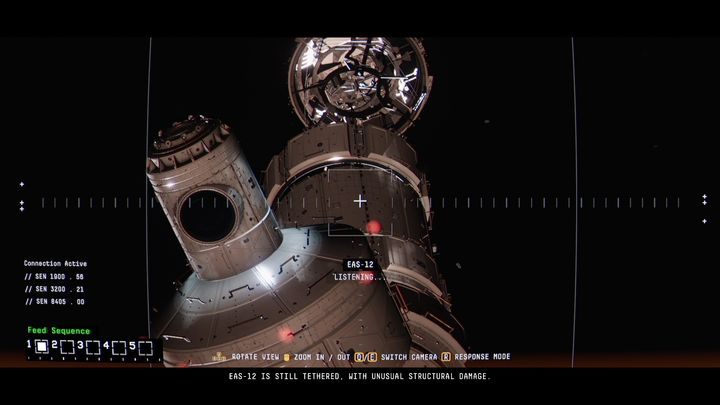
You will be switched to exterior cameras. Doctor Fisher will ask you to describe the damage. Point camera 1 up and zoom on the field named EAS-12. Hold R and inform her about the damage.
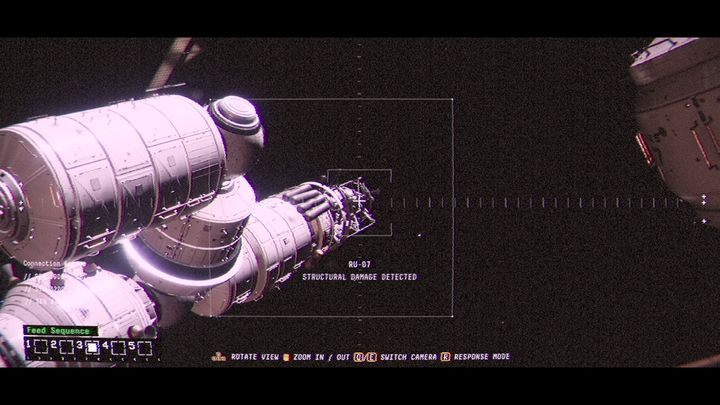
You will find more damage by switching to camera 3. The damage can be found in the area on the right - RU-07.
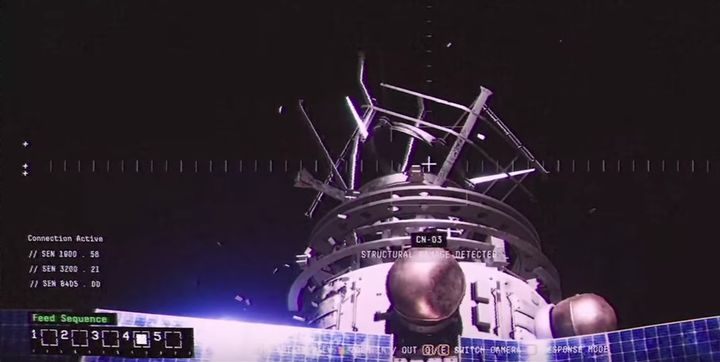
Move camera 4 to the top, to "CN-03" and inform Emma about the state of this part of the station.
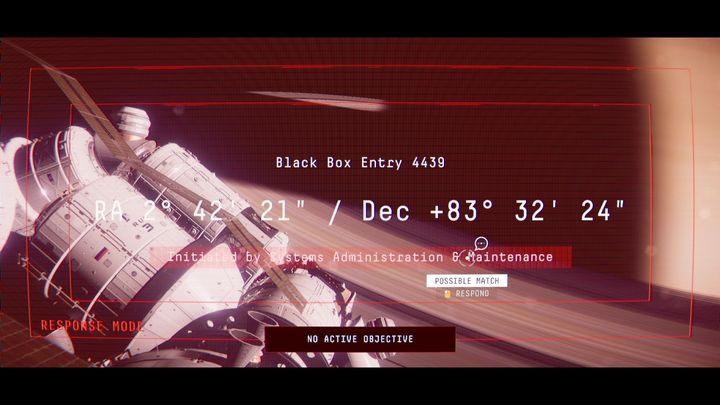
Emma will switch you to a different camera. When she asks you a question, hold R and click on the answer.
You are not permitted to copy any image, text or info from this page. This site is not associated with and/or endorsed by the Devolver Digital or No Code. All logos and images are copyrighted by their respective owners.
Copyright © 2000 - 2025 Webedia Polska SA for gamepressure.com, unofficial game guides, walkthroughs, secrets, game tips, maps & strategies for top games.
