NFS Most Wanted (2005): Black List #4 - JV
First of all, head on to one of the nearest cal saloons. You will be presented with two new vehicles there. You should already know one of them. It's the same Corvette to Webster's car. If you won it, I think it's rather obvious that you shouldn't be buying a second Chevy.
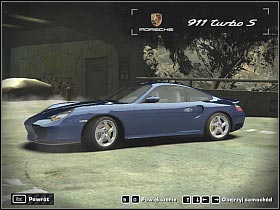
Porsche 911 Turbo S (#1) is a very good car. You were probably thinking that it's the fastest Porsche of this game. Well... you're wrong. Nevertheless, you should be interested in acquiring this vehicle. I mean, it won't replace all of your older cars, but it's an interesting alternative. If you were to tune it properly you could be looking at a very fast and agile car. I must warn you, though. Performance upgrades for this car are very expensive. You'd probably have to spend a few hundred thousand dollars on them.
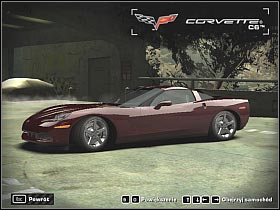
Chevrolet Corvette C6 (#2) is certainly a better car than the Viper (you've managed to unlock it before), however it doesn't mean that it's worth of your attention. Nevertheless, I must say that Corvette handles quite well. It's also fast, although it's not that good as the 911 Turbo S. Chevy is a bit cheaper, but at this point of the Career it'll probably won't make any difference to you.
Just as before, I'd recommend spending extra cash on the most interesting performance upgrades. You might also want to save up some money for later. I have to warn you, that some of the upcoming cars will be VERY expensive.
 |  |
Below is the list of JV's requirements. Notice that you will have to complete five instead of four milestones.
1) Races won: 7
2) Milestones completed: 5
3) Total number of points: 4050000+
Races:
1. Tollbooth - North Bay & Beacon
First of all, remember to use known shortcuts along the way. Most of them will be in very obvious places (especially near the start line), however you may not notice everything (#1). Bear in mind that the police forces will join the pursuit very soon. If you have a fast car you don't have to worry about them, though. Head on to the nearest tunnel. After that, you will have to slow down in order to pass through a very tight turn (#2). You should reach a lighthouse near the end of this challenge. This time you don't have to use the tunnel located beneath this object.
 |  |
2. Lap Knockout - Chancellor Way
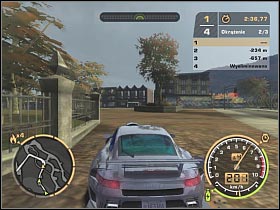
First of all, you will have to watch out for some challenging corners. They've been located near the start line. I'd recommend keeping a decent speed at all times. Don't forget to use your nitro frequently. You will be encountering shortcuts along the way. Two of them have been located near the city square (#1). You should remember them from one of the Black List challenges. The final part of the race is by far the most challenging one. You MUST use the left shortcut (#2). Furthermore, you have to drive a little slower than usual. Thanks to that, you won't hit anything after the jump. You will have to drive through the long right turn without any problems.
 |  |
3. Sprint - Valley & State
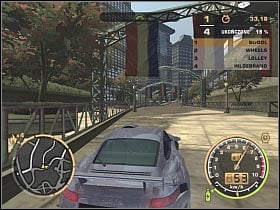
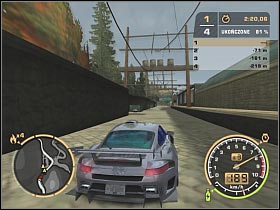
Choose the right path, located near the start. You will have to drive through several mild corners. You should reach a very tight turn within a few seconds (#1). Remember to use your brakes aggressively. Once you're on a straight line activate the nitro in order to get back to the usual speed. Another corner awaits you at the other end of this stretch. Police forces should join the pursuit very soon. Don't forget about cutting through most of the corners. You should also be using shortcuts along the way (#2). There are two difficult left corners near the finish.
 |  |
4. Lap Knockout - Industrial Front
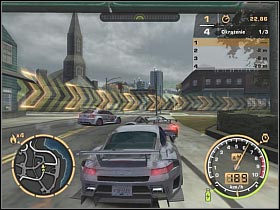
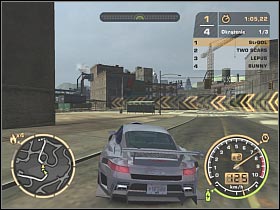
You will have to make a sudden left turn after the start. You might want to take down the huge construction along the way, so you won't have to worry about it in the following laps. There are two DIFFICULT corners nearby. You will have to be very careful at this point of the race (#1). More challenging turns await you. Don't forget about using nitro from time to time. Thankfully, you should be able to cut through the last turn (#2). This should help you to secure your ultimate victory.
 |  |
5. Circuit - Gray Point
I'd recommend picking the right lane after the start. Thanks to that, you should take the lead. Remember to use known shortcuts along the way. You will also need to watch out for some narrow roads. At some point of the race you will have to deal with several tight turns (#1). Remember to use your nitro frequently. There are even more shortcuts located in the industrial district (#2). The final part of this challenge is much easier. I'd recommend going into the main tunnel, rather than choosing a small path.
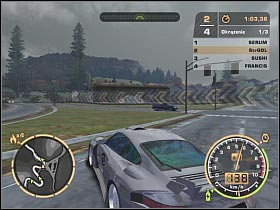 | 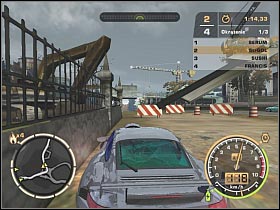 |
6. Tollbooth - Beacon & Riverfront
Start off by cutting through a narrow right turn. You should be very careful, because at some point of this challenge you will need to enter a small passage (#1). Don't hit anything while doing that. Sadly, there aren't any shortcuts nearby. You will have to be careful, though. There's a difficult jump. You should be able to reach it within a few seconds. I'd recommend slowing down, otherwise you would have hit the nearby wall. You shouldn't have any problems with the upcoming corners. After you get on the freeway it's going to get easier. You will have a lot of straight lines ahead of you. After you reach the small junction pick the path located on your left (#2). Change the lane once you've reached the tunnel.
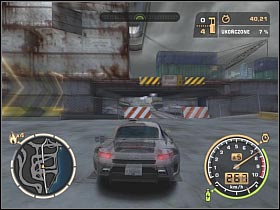 |  |
7. Tollbooth - Industrial & Omega
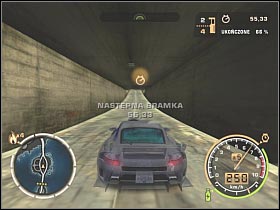
Once you've reached the junction head on to the path located on your left. You will have to deal with several corners. Thankfully, they're not that hard as you might have probably suspected. Use the brakes once you've reached a sharp left turn (#1). Continue moving forward. Don't forget to use the small shortcut located beneath the lighthouse (#2). Use nitro frequently.
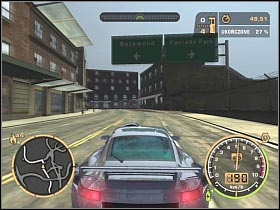 |  |
Milestones:
1. Trade Paint (100000 points)
This time you will have to take care of at least 28 police vehicles. This will probably require to sacrifice at least 8-10 minutes of your precious time. Be sure to stay on of the higher levels of pursuit. Thanks to that, you should be able to complete this challenge much faster.
2. Bounty (100000 points)
You will probably have some major problems with this milestone. You must earn at least 325000 Bounty points during a SINGLE pursuit!! Like I've said before, it would be best to get to one of the higher levels of the pursuit. Try taking down several police vehicles at once or within a short time limit. Thanks to that, you will activate some additional combos. If you're lucky, you could score 5000-7000 points for a single action (even more if you're dealing with SUV's).
3. Cost to State Challenge (100000 points)
This challenge, on the other hand, shouldn't be much of a problem. You will probably complete it automatically, while trying to achieve previous goals.
4. Infractions Challenge (100000 points)
This is a very easy challenge. You will have to score at least six infractions, by breaking all kinds of rules. You might want to consider speeding, crashing into police vehicles, destroying the state property or going off the main road. It shouldn't be much of a problem to you.
5. Photo Ticket (76000 points)
You can choose between three different spots. It would be best to accomplish all of them in order to score extra points. If you're in a hurry, I'd recommend picking the last one. It will require you to achieve 152 MPH (245 KM/H). If you're lucky, you should be going much faster... that is, if you have a powerful car.
MAIN EVENT:
Just as before, you will have to take part in three different events. The Speedtrap challenge is by far the most challenging one. If your car isn't dealing with it properly, I'd recommend leaving the race and spending some extra cash on better performance upgrades.
1. Speedtrap - Dunwich & Hills
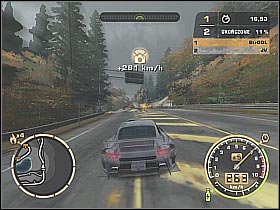
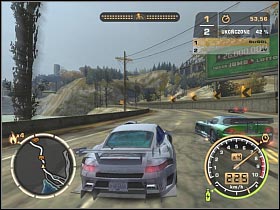
You start off in a very unusual spot. You will have to make a sudden turn in order to get back to the main road. Start accelerating. Don't use the nitro just yet. Head on to the big tunnel. Once you're in a middle of it, activate the nitro. It's very important, because the first speed camera has been located nearby (#1). I'd recommend using the shortcut located on your right. Try to maintain the lead. Watch out for a very challenging left turn, located on the other side of this road. The following cameras have been placed in very difficult spots (#2), mostly in a middle of fast corners. Don't forget about the nitro. Concentrate only on scoring decent speeds. You won't have be the first one to reach the finish line.
 |  |
2. Drag - Rosewood & Heritage
This is a rather challenging Drag race. Thankfully, the start itself is rather easy. After you get past first two vehicles, I'd recommend changing lanes in order to avoid serious crashes (#1). Use the nitro, so you will be able to drive beneath a huge truck. Continue to accelerate. Remember to change lanes frequently.
 |
3. Speedtrap - Petersburg & Hwy 201
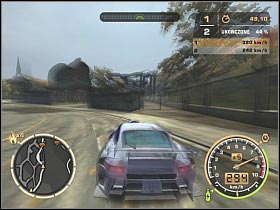
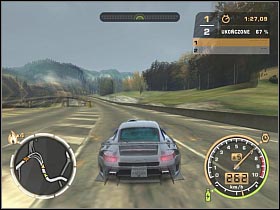
Thankfully, this Speedtrap challenge is much easier than the first one. Furthermore, it's very short. I'd recommend picking the left lane after the start. Use the nitro in order to achieve maximum possible speed near the first camera. Use the shortcut located on your right (#1). Thanks to that, you will be able to score a decent speed near the second checkpoint. You will be encountering rather challenging corners along the way. You should find yourself on a freeway. After reaching the small junction choose the path located on your right (#2). Thanks to that, you will be able to maintain higher speed. The final part of this challenge will require you to drive through several fast corners.
 |  |
JV was driving a fully upgraded Dodge Viper. You might want to consider fighting for this car, mostly for selling purposes. Like I've said before, the Viper isn't too friendly to drive.
- Need for Speed: Most Wanted (2005) Game Guide
- NFS Most Wanted (2005): Game Guide
- NFS Most Wanted (2005): Career
- NFS Most Wanted (2005): Prologue
- NFS Most Wanted (2005): Buying your first car
- NFS Most Wanted (2005): Black List #15 - Sonny
- NFS Most Wanted (2005): Black List #14 - Taz
- NFS Most Wanted (2005): Black List #13 - Vic
- NFS Most Wanted (2005): Black List #12 - Izzy
- NFS Most Wanted (2005): Black List #11 - Big Lou
- NFS Most Wanted (2005): Black List #10 - Baron
- NFS Most Wanted (2005): Black List #9 - Earl
- NFS Most Wanted (2005): Black List #8 - Jewels
- NFS Most Wanted (2005): Black List #7 - Kaze
- NFS Most Wanted (2005): Black List #6 - Ming
- NFS Most Wanted (2005): Black List #5 - Webster
- NFS Most Wanted (2005): Black List #4 - JV
- NFS Most Wanted (2005): Black List #3 - Ronnie
- NFS Most Wanted (2005): Black List #2 - Bull
- NFS Most Wanted (2005): Black List #1 - Razor
- NFS Most Wanted (2005): The End
- NFS Most Wanted (2005): Career
- NFS Most Wanted (2005): Game Guide
You are not permitted to copy any image, text or info from this page. This site is not associated with and/or endorsed by the developers and the publishers. All logos and images are copyrighted by their respective owners.
Copyright © 2000 - 2026 Webedia Polska SA for gamepressure.com, unofficial game guides, walkthroughs, secrets, game tips, maps & strategies for top games.
