LEGO Pirates of the Caribbean: Pelegosto - walkthrough
Free Ride
 | 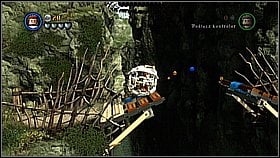 |
First you need to swing. [1] Use the lower path and jump to the right. [2]
 |  |
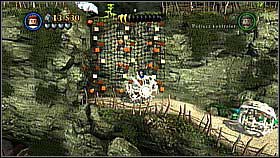
On the other side get to the right wall and put the ball in a bowl (the second character must do the same with the second object). [1] This will open the tunnel in the wall - roll in beneath and destroy the chests.[2]
 |  |
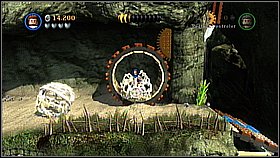
Go up and climb the wall. [1] While up activate the next switch in the bowl in the ground. [2]
 |  |
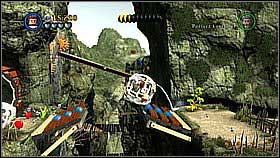
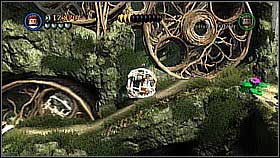
Climb the cliff and another wall. [1] The path will turn right eventually and you will see a spherical cage - jump in it and roll as long as you can. [2]
 | ![Jump over the lifted bridges [1] and land near the big machines - Pelegosto - walkthrough - Dead Man's Chest - LEGO Pirates of the Caribbean: The Video Game - Game Guide and Walkthrough](/legopiratesofthecaribbeanthevideogame/gfx/word/1204885265.jpg) |
Jump over the lifted bridges [1] and land near the big machines. [2]
 |  |
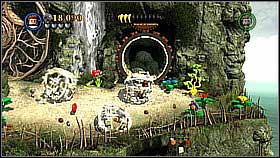
While inside the spherical cage get into the hole in the big wheel - you need to get to the "background". [1] Go up using more elevators of that kind. [2]
 | 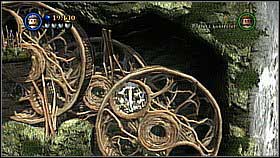 |
In a certain moment one character will have to move the mechanism in order to help the other one travel in the big wheels (when you get to the first of them the AI will deal with the rolling). [1] Get through the rest of the machine's parts. [2]
 | ![While up destroy the brown elements in front of the cave [1] and go down to the right - Pelegosto - walkthrough - Dead Man's Chest - LEGO Pirates of the Caribbean: The Video Game - Game Guide and Walkthrough](/legopiratesofthecaribbeanthevideogame/gfx/word/1204885359.jpg) |
While up destroy the brown elements in front of the cave [1] and go down to the right. You have just unblocked the passage for the other character. [2]
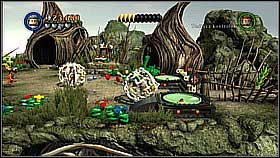 | 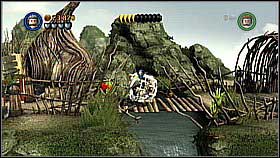 |
Go back using the tunnel and roll through the village till you find space for two spheres. [1] Open the passage and roll on to the right. [2]
 | 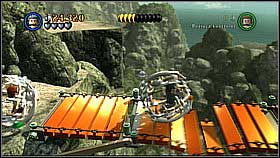 |
Go down the twisty path paying attention to the traps in the wall and on the ground. [1] Roll on the brown bridge. [2]
At the riverside
 | 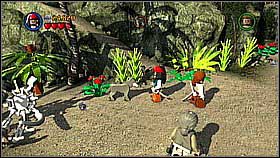 |
Use Jack's compass to find the bone. [1] Give it to the dog. [2]
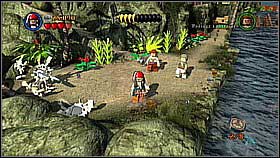 |  |
Use Jack's compass again to find the chest. [1] The dog will dig it up. [2]
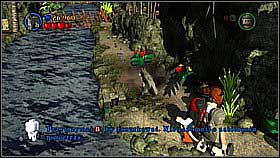 | 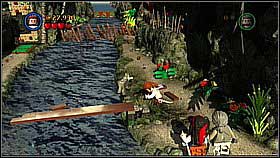 |
As the dog swim to the other bank and look for the buried objects. Dig them up [1] and use them to build a bridge. [2]
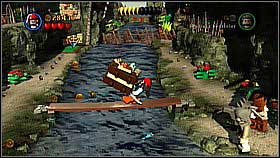 |  |
Move the chest which is on the right bank behind the tree across the bridge. [1] Put two chests on the green floor panels. [2]
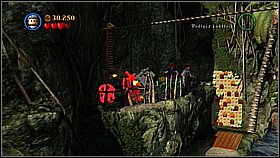 | 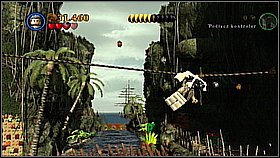 |
Use the bricks from the chest to build a wall to climb. Climb as Mr. Gibbs and repair the mechanism which is up. [1] Jump on the rope above to slide to the other side. [2]
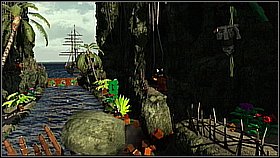 |  |
Grab the liana against the wall. [1] The big rock will unblock the passage. Go down the river and destroy the dam. [2]
- LEGO Pirates of the Caribbean: The Video Game Game Guide & Walkthrough
- LEGO Pirates of the Caribbean: Game Guide
- LEGO Pirates of the Caribbean: Dead Man's Chest
- LEGO Pirates of the Caribbean: Pelegosto - walkthrough
- LEGO Pirates of the Caribbean: Pelegosto - bottles
- LEGO Pirates of the Caribbean: A Touch of Destiny - walkthrough
- LEGO Pirates of the Caribbean: A Touch of Destiny - bottles
- LEGO Pirates of the Caribbean: The Dutchman's Secret - walkthrough
- LEGO Pirates of the Caribbean: The Dutchman's Secret - bottles
- LEGO Pirates of the Caribbean: Isla Cruces - walkthrough
- LEGO Pirates of the Caribbean: Isla Cruces - bottles
- LEGO Pirates of the Caribbean: Kraken - walkthrough
- LEGO Pirates of the Caribbean: Kraken - bottles
- LEGO Pirates of the Caribbean: Dead Man's Chest
- LEGO Pirates of the Caribbean: Game Guide
You are not permitted to copy any image, text or info from this page. This site is not associated with and/or endorsed by the developers and the publishers. All logos and images are copyrighted by their respective owners.
Copyright © 2000 - 2026 Webedia Polska SA for gamepressure.com, unofficial game guides, walkthroughs, secrets, game tips, maps & strategies for top games.
