LEGO Pirates of the Caribbean: Kraken - walkthrough
Under the deck
 |  |
Go left till you reach the cannon and fire a fuse using the torch. [1] Shoot at the 4 purple pieces of a tentacle. [2]
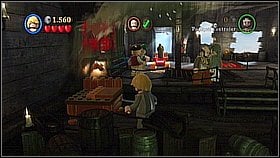 |  |
Go downstairs like you would like to reach the screen and destroy the shelf on the left. [1] Use it to build a chest with dynamite and take it to the one of the green floor panels in the center of the map. [2] Put the other chest there as well (is stands nearby).
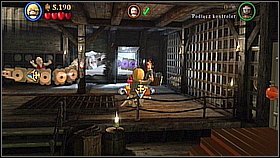 | 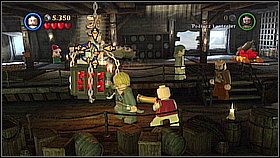 |
Go to the right omitting the tentacle near the stairs and use another cannon - again shoot at the purple pieces of a tentacle. [1] Switch to Marty and shoot at the cage hanging under the ceiling. [2]
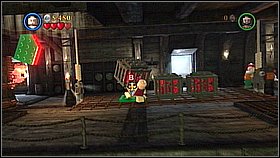 | 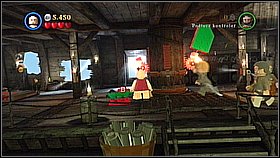 |
Take the third chest to the green floor panel. [1] The tentacle will destroy the elements near the left column. Repair them. [2]
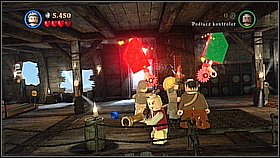 | 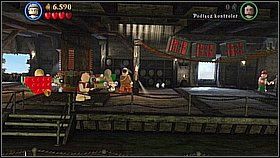 |
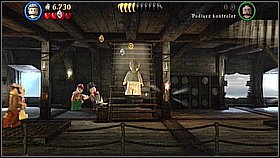
Assembly two parts with the green elements - Mr. Gibbs can take care of it. [1] Now in pair move the mechanism by pushing the green bricks. [2]
 | 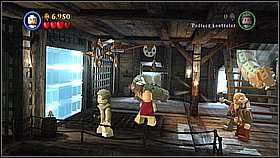 |
Go to the upper deck. [1] Go to the very left and as Marty shoot at the target next to the shining bar. [2] The cannon will fall on the tentacle.
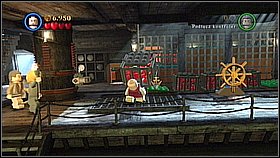 | 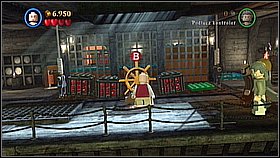 |
Take the chest with dynamite to the elevator (the green place). [1] Move the helm which is in front of the chests twice. [2]
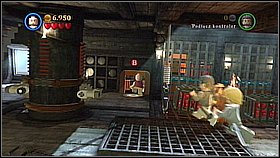 | 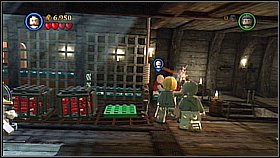 |
As Marty get into the hole in the wall which is on the left from the elevator. [1] When you are on the other side move the chest to the right. [2] Put in the last available place.
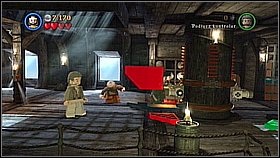 | 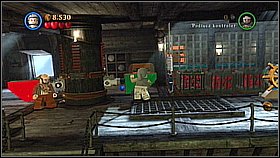 |
Go to the stairs on the left - they will crumble. Use the bricks to build the elements of the mechanism, [1] then turn it. [2] Eventually you will get out using the stairs on the right.
On the deck
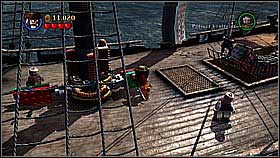 | 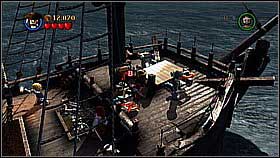 |
As Jack turn the mast on the left pushing two elements as pair. [1] Now go to the right mast and use the hook to climb. [2]
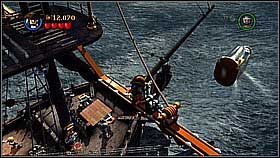 | 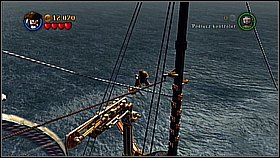 |
At the top of the mast use the narrow path where the rope leads - destroy the handle to get down. [1] Climb and get to the other mast using the rope stretched along the deck. [2] Destroy the other handle on the other mast.
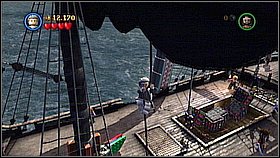 | 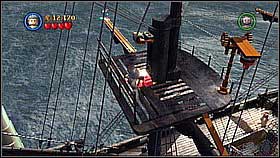 |
Now other characters can climb the masts. As Mr. Gibbs climb the left one. [1] Repair the red bricks. [2]
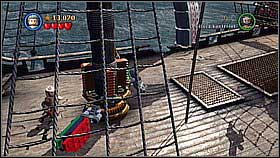 | 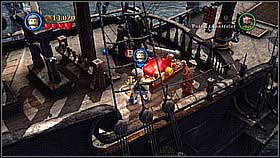 |
Down in pair turn the mast as much as you can. [1] Shoot at the chests on the bridge using the cannon. [2]
Kraken
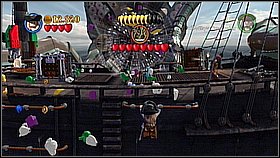 | 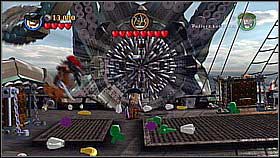 |
In the first part of the fight Kraken will spit out various objects and will try to suck you up. To defend from the sucking up attack take cover on the ship's sides - you need to grab the wooden bars. [1] When the monster will spit out objects grab the silver bricks and throw them to its jaws. [2]
 |  |
After the three attacks of that kind Kraken will change its tactics. It will hit the deck with its tentacles - you need to stay in the center and jump in the moment of the hit. After two attacks of that kind one of the tentacles will stay on the deck. Grab the torch (on the left and on the right). [1] Climb and set fire to the chest. [2]
 | 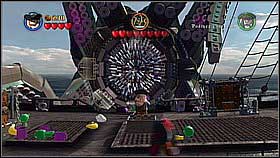 |
By the end of the fight the beast will hit with the tentacles, suck up and spit out objects. [1] One of the objects turns out to be a chest with bombs. Grab them and throw them to the monster's jaws. [2]
- LEGO Pirates of the Caribbean: The Video Game Game Guide & Walkthrough
- LEGO Pirates of the Caribbean: Game Guide
- LEGO Pirates of the Caribbean: Dead Man's Chest
- LEGO Pirates of the Caribbean: Pelegosto - walkthrough
- LEGO Pirates of the Caribbean: Pelegosto - bottles
- LEGO Pirates of the Caribbean: A Touch of Destiny - walkthrough
- LEGO Pirates of the Caribbean: A Touch of Destiny - bottles
- LEGO Pirates of the Caribbean: The Dutchman's Secret - walkthrough
- LEGO Pirates of the Caribbean: The Dutchman's Secret - bottles
- LEGO Pirates of the Caribbean: Isla Cruces - walkthrough
- LEGO Pirates of the Caribbean: Isla Cruces - bottles
- LEGO Pirates of the Caribbean: Kraken - walkthrough
- LEGO Pirates of the Caribbean: Kraken - bottles
- LEGO Pirates of the Caribbean: Dead Man's Chest
- LEGO Pirates of the Caribbean: Game Guide
You are not permitted to copy any image, text or info from this page. This site is not associated with and/or endorsed by the developers and the publishers. All logos and images are copyrighted by their respective owners.
Copyright © 2000 - 2026 Webedia Polska SA for gamepressure.com, unofficial game guides, walkthroughs, secrets, game tips, maps & strategies for top games.
