LEGO Marvel Super Heroes: Rock Up at the Lock Up Minikit Sets
Minikit 1

To receive this minikit, you must destroy five lifebelts hidden in the area. First of them can be found at the very beginning of the stage - break blue-and-silver crate on the right side to uncover it.
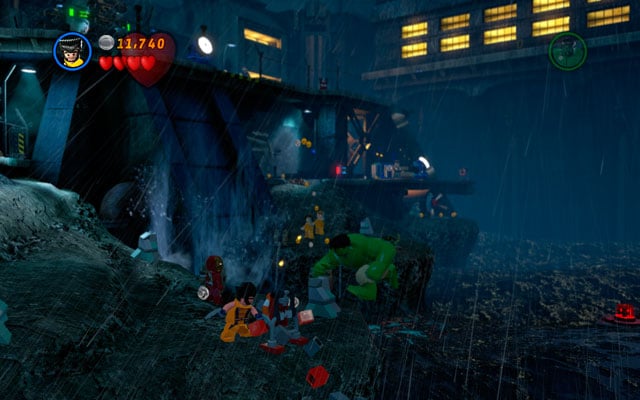
Second lifebelt is located on the right, at the seaside, near to the suspension bridge.
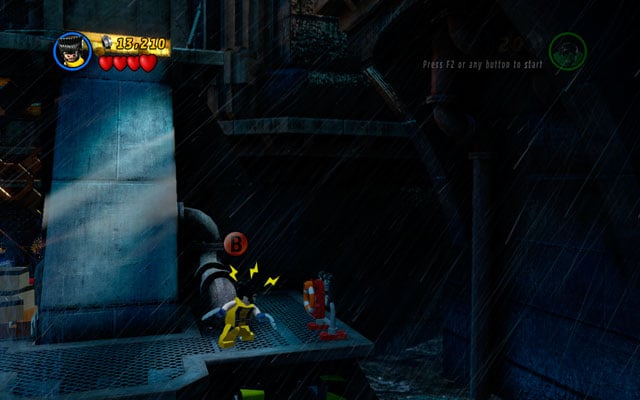
Next lifebelt can be found near the entrance to the prison, on the right side of the platform.
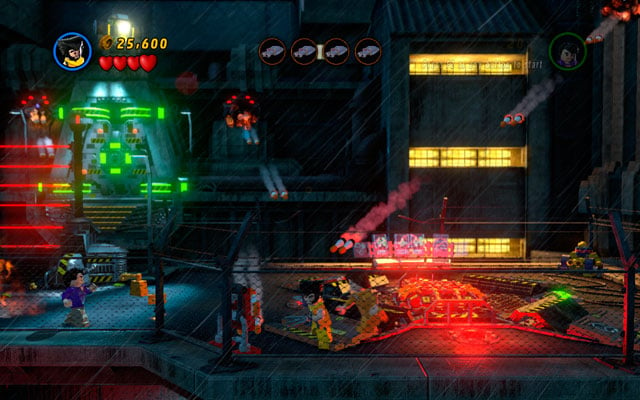
Fourth lifebelt is placed on the roof of the building (near to the lift).

The last lifebuoy can be found on the roof of the same building, but on the left side.
Minikit 2
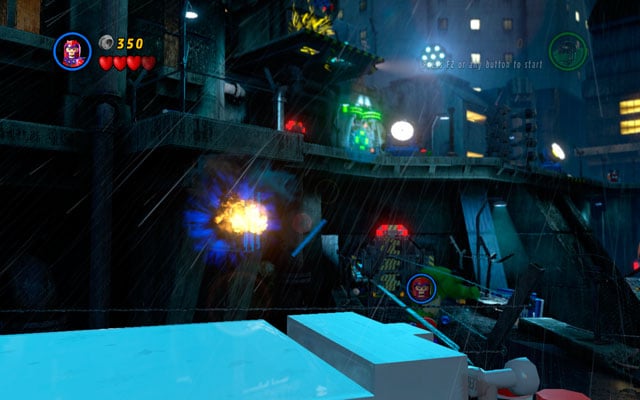
On the left from the starting location some metal bars are placed. Yank them using Magneto magnetic powers, and then pick up a minikit as flying character.
Minikit 3
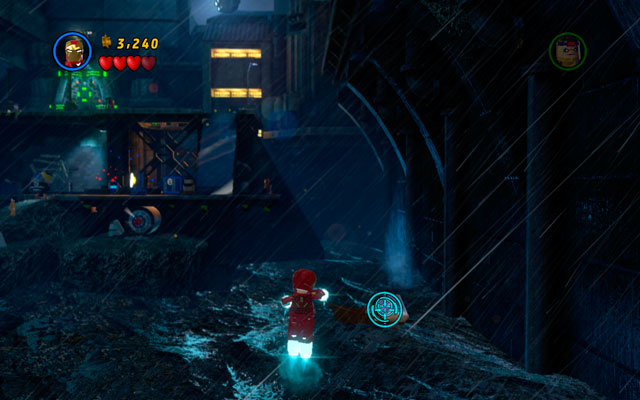
Choose Iron Man and fly to the right corner of the area (above the sea). Destroy silver box floating on the water and wait for the fish with minikit.
Minikit 4
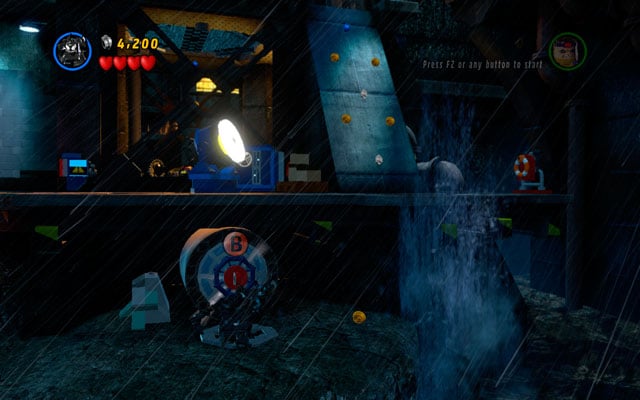
Stand on the seaside under the lift and search for a valve. Use a character with web attack (e.g. Spider-Man or Venom) to yank an attachable point. Wait for water to spill and freeze it using Iceman special ability. Now destroy the ice block to receive a minikit.
Minikit 5
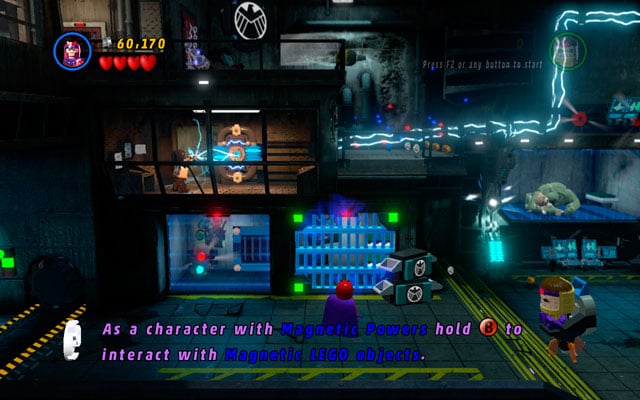
Enter the prison and approach to the metal bar. Destroy it using Magneto abilities, so you can go inside and pick up the next minikit.
Minikit 6
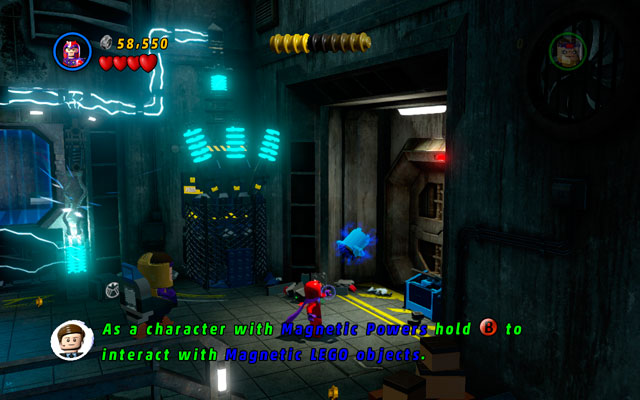
In the same location go to the right, finally approaching to the wall. Use Magneto's magnetic powers to operate an object for free times, so you can unlock a minikit.
Minikit 7
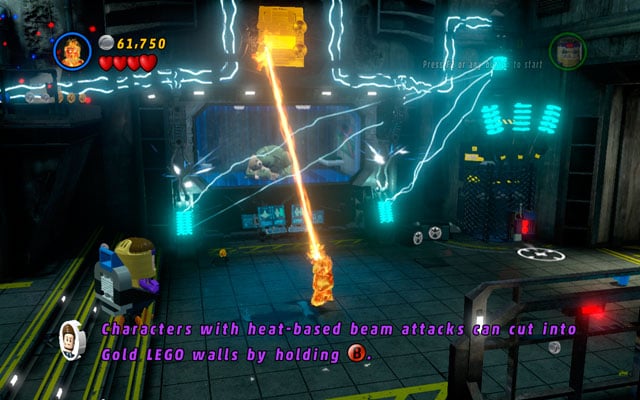
Somewhere above the cage with Abomination locked inside you can find a golden wall - melt it using Human Torch.
Minikit 8
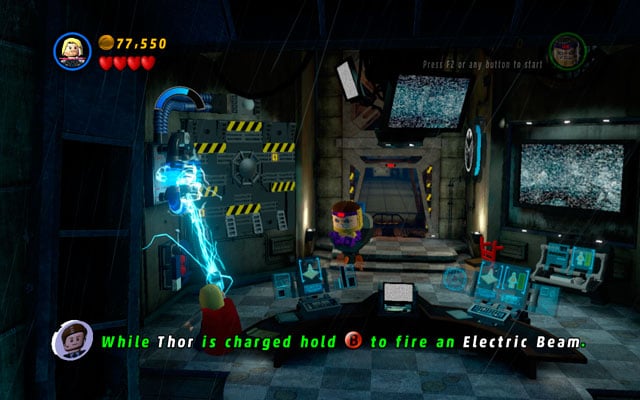
Right before prison exit, but after unlocking the lift, destroy all obstacles in the area. Build a battery from the debris and charge it with electricity using Thor or Storm. Switch the computer on (once more) and find your way in the simple maze.
Minikit 9
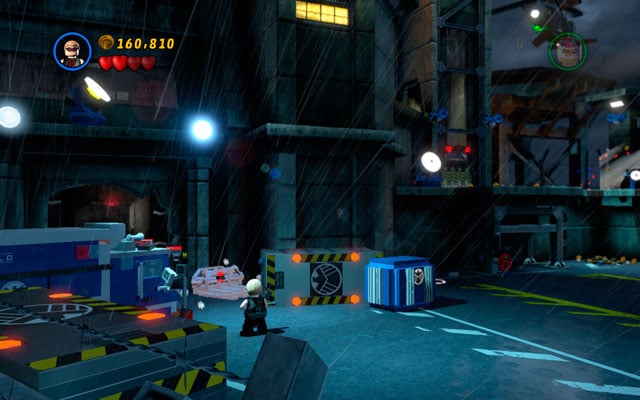
During the fight with Abomination approach to the silver box on the left and destroy it using Hawkeye or Iron Man. Build a blue box from the debris and approach to the computer hidden in the nearby corridor. In this way you will unlock the first chopper-toy - they are two other to go.

Turn right and use Iron Man or Human Torch to melt golden box. After that choose Sandman and dig out second toy.
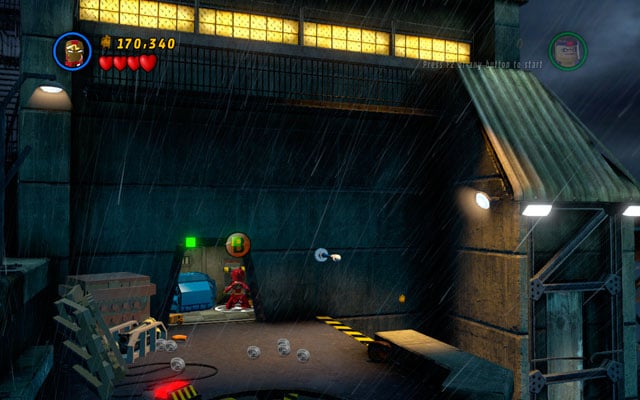
Jump to the tower on the left, destroying all objects in the area. Now go to the room with computer and switch it on to release the last helicopter.
Minikit 10
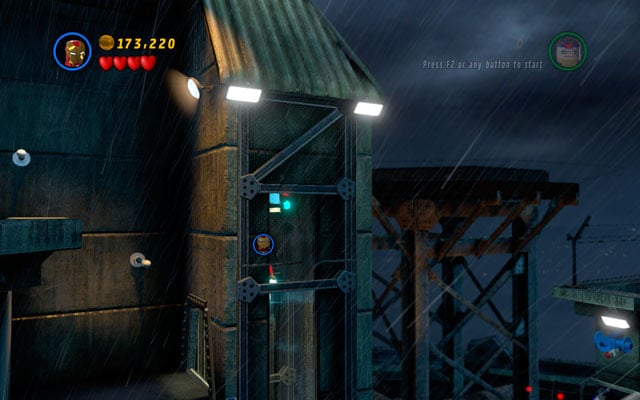
Turn right and fly to the lift pit - minikit is hidden at the top of it.
- LEGO Marvel Super Heroes Game Guide & Walkthrough
- LEGO Marvel Super Heroes: Game Guide
- LEGO Marvel Super Heroes: Collectibles
- LEGO Marvel Super Heroes: Minikit Sets
- LEGO Marvel Super Heroes: Minikit Sets
- LEGO Marvel Super Heroes: Sand Central Station Minikit Sets
- LEGO Marvel Super Heroes: Times Square Off Minikit Sets
- LEGO Marvel Super Heroes: Exploratory Laboratory Minikit Sets
- LEGO Marvel Super Heroes: Rock Up at the Lock Up Minikit Sets
- LEGO Marvel Super Heroes: Rebooted, Resuited Minikit Sets
- LEGO Marvel Super Heroes: Red Head Detention Minikit Sets
- LEGO Marvel Super Heroes: Bifrosty Reception Minikit Sets
- LEGO Marvel Super Heroes: Juggernauts and Crosses Minikit Sets
- LEGO Marvel Super Heroes: Doctor in the House Minikit Sets
- LEGO Marvel Super Heroes: That Sinking Feeling Minikit Sets
- LEGO Marvel Super Heroes: Taking Liberties Minikit Sets
- LEGO Marvel Super Heroes: Rapturous Rise Minikit Sets
- LEGO Marvel Super Heroes: Magnetic Personality Minikit Sets
- LEGO Marvel Super Heroes: A Doom With a View Minikit Sets
- LEGO Marvel Super Heroes: The Good, the Bad and the Hungry Minikit Sets
- LEGO Marvel Super Heroes: Minikit Sets
- LEGO Marvel Super Heroes: Collectibles
- LEGO Marvel Super Heroes: Game Guide
You are not permitted to copy any image, text or info from this page. This site is not associated with and/or endorsed by the developers and the publishers. All logos and images are copyrighted by their respective owners.
Copyright © 2000 - 2025 Webedia Polska SA for gamepressure.com, unofficial game guides, walkthroughs, secrets, game tips, maps & strategies for top games.
