LEGO Harry Potter Years 1-4: Year 2 Part 2 - Walkthrough

guides

Last update:

Download Guide
Table of Contents

From this page of the guide to LEGO Harry Potter Years 1-4 you'll learn how to make Polyjuice Potion, how to survive in Forbidden Forest and how to beat Basilisk. Also look at our page with first quests from second year.

Crabbe and Goyle

1 - LEGO Harry Potter Years 1-4: Year 2 Part 2 - Walkthrough - Walkthrough - LEGO Harry Potter Years 1-4 Guide & Walkthrough
Your main task is to create the Polyjuice Potion - LEGO Harry Potter Years 1-4: Year 2 Part 2 - Walkthrough - Walkthrough - LEGO Harry Potter Years 1-4 Guide & Walkthrough

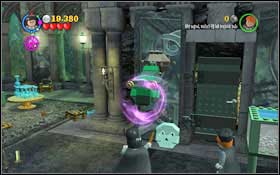
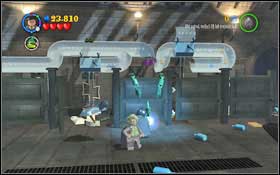
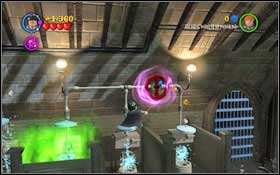
Your main task is to create the Polyjuice Potion. The cauldron can be found on the right side. Head towards the left corner of the room, where you will find the broom. Use it to knock down the valve from the shelf and attach it to the machine. Turn the valve. You will break down the shelf and knock down the cherries - throw them into the cauldron.
2 - LEGO Harry Potter Years 1-4: Year 2 Part 2 - Walkthrough - Walkthrough - LEGO Harry Potter Years 1-4 Guide & Walkthrough
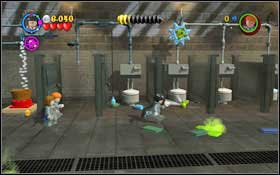
Jump onto the toilet bowl and use Wingardium Leviosa to turn the valve - it will lift you up - LEGO Harry Potter Years 1-4: Year 2 Part 2 - Walkthrough - Walkthrough - LEGO Harry Potter Years 1-4 Guide & Walkthrough

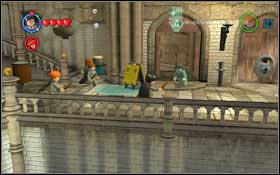
Jump onto the toilet bowl and use Wingardium Leviosa to turn the valve - it will lift you up. Jump two bowls left, closing the first one which was in the air in the beginning.
3 - LEGO Harry Potter Years 1-4: Year 2 Part 2 - Walkthrough - Walkthrough - LEGO Harry Potter Years 1-4 Guide & Walkthrough
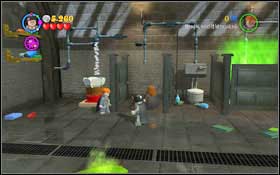
The toilet next door will explode - LEGO Harry Potter Years 1-4: Year 2 Part 2 - Walkthrough - Walkthrough - LEGO Harry Potter Years 1-4 Guide & Walkthrough

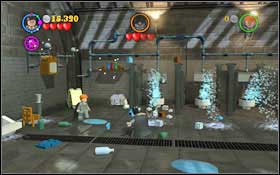
The toilet next door will explode. Place the pipe piece above the container on the left and water will start falling into it. Once the flower blooms, destroy it, afterwards assemble a freshener from the scattered bricks and place it in the toilet filled with bad scent. Pick up the apple lying in the middle and throw it into the cauldron.
4 - LEGO Harry Potter Years 1-4: Year 2 Part 2 - Walkthrough - Walkthrough - LEGO Harry Potter Years 1-4 Guide & Walkthrough
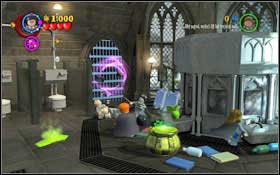
Use Wingardium Leviosa to pick up hair from the heads of both sleeping students #1 and you will get the last ingredient of your potions - drink it - LEGO Harry Potter Years 1-4: Year 2 Part 2 - Walkthrough - Walkthrough - LEGO Harry Potter Years 1-4 Guide & Walkthrough

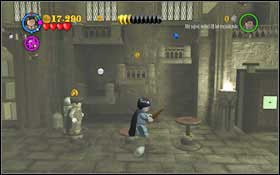
Use Wingardium Leviosa to pick up hair from the heads of both sleeping students #1 and you will get the last ingredient of your potions - drink it. You will end up in the Slytherin Dungeon - go down. Use the Lumos Solem on the Devil's Snare on the right and Wingardium Leviosa on the chest. Put the bricks together with Wingardium Leviosa.
5 - LEGO Harry Potter Years 1-4: Year 2 Part 2 - Walkthrough - Walkthrough - LEGO Harry Potter Years 1-4 Guide & Walkthrough
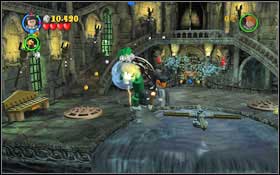
A snake will appear and start to lean out of the four sewages - LEGO Harry Potter Years 1-4: Year 2 Part 2 - Walkthrough - Walkthrough - LEGO Harry Potter Years 1-4 Guide & Walkthrough

A snake will appear and start to lean out of the four sewages. You have to hit it four times - as he leans out of each sewer. You will gain a piece of armour - put it back together using Wingardium Leviosa.
6 - LEGO Harry Potter Years 1-4: Year 2 Part 2 - Walkthrough - Walkthrough - LEGO Harry Potter Years 1-4 Guide & Walkthrough
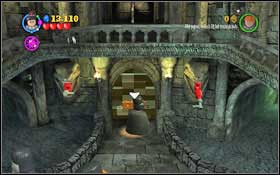
Now you can head to the entrance - you will be let into Slytherin Common Room - LEGO Harry Potter Years 1-4: Year 2 Part 2 - Walkthrough - Walkthrough - LEGO Harry Potter Years 1-4 Guide & Walkthrough

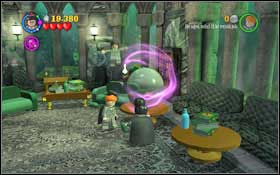
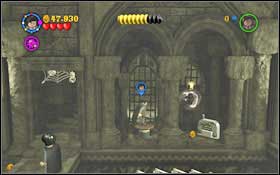
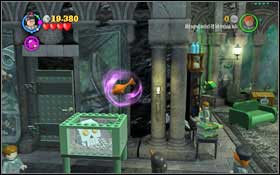
Now you can head to the entrance - you will be let into Slytherin Common Room. Go right and you will find a spherical aquarium. Use Wingardium Leviosa on it.
7 - LEGO Harry Potter Years 1-4: Year 2 Part 2 - Walkthrough - Walkthrough - LEGO Harry Potter Years 1-4 Guide & Walkthrough
Once the fish creeps to the second aquarium (with a skull), once more use the Wingardium Leviosa on the fish - LEGO Harry Potter Years 1-4: Year 2 Part 2 - Walkthrough - Walkthrough - LEGO Harry Potter Years 1-4 Guide & Walkthrough

Once the fish creeps to the second aquarium (with a skull), once more use the Wingardium Leviosa on the fish. Act similarly with the skull which got to the surface - use Wingardium Leviosa on it twice, first to get it out of the water and then to put the eyes into the snake.

Hogwarts
8 - LEGO Harry Potter Years 1-4: Year 2 Part 2 - Walkthrough - Walkthrough - LEGO Harry Potter Years 1-4 Guide & Walkthrough
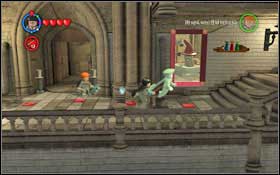
You begin in the Bathroom Hallway - LEGO Harry Potter Years 1-4: Year 2 Part 2 - Walkthrough - Walkthrough - LEGO Harry Potter Years 1-4 Guide & Walkthrough

You begin in the Bathroom Hallway. Head right to the very end and follow Moaning Myrtle into the bathroom.

Tom Riddle's Diary
9 - LEGO Harry Potter Years 1-4: Year 2 Part 2 - Walkthrough - Walkthrough - LEGO Harry Potter Years 1-4 Guide & Walkthrough
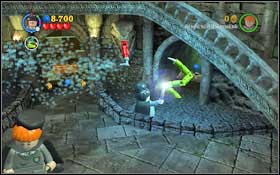
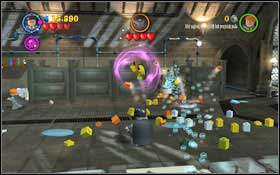
Moaning Myrtle will start throwing stuff at you, while hiding inside one of the cabins - LEGO Harry Potter Years 1-4: Year 2 Part 2 - Walkthrough - Walkthrough - LEGO Harry Potter Years 1-4 Guide & Walkthrough

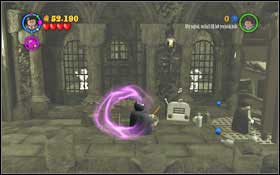
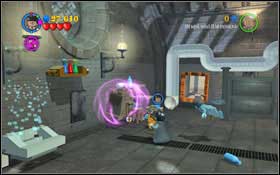
Moaning Myrtle will start throwing stuff at you, while hiding inside one of the cabins. Use Wingardium Leviosa to throw back the items and open the doors. Once you get to Myrtle, attack her with magic. You have to do this four times in total.
10 - LEGO Harry Potter Years 1-4: Year 2 Part 2 - Walkthrough - Walkthrough - LEGO Harry Potter Years 1-4 Guide & Walkthrough
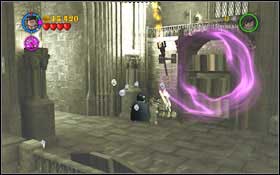
Your first task is to create the Strengthening Potion - LEGO Harry Potter Years 1-4: Year 2 Part 2 - Walkthrough - Walkthrough - LEGO Harry Potter Years 1-4 Guide & Walkthrough

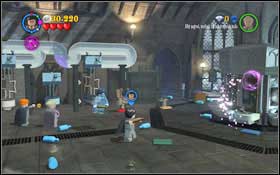
Your first task is to create the Strengthening Potion. Use Wingardium Leviosa on the bookshelf right next to the location entrance - you will get the hand. Jump on the three buttons on the ground and platforms will come out of the wall.
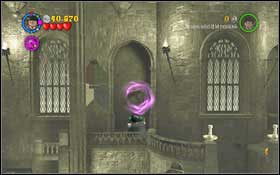
11 - LEGO Harry Potter Years 1-4: Year 2 Part 2 - Walkthrough - Walkthrough - LEGO Harry Potter Years 1-4 Guide & Walkthrough
Firstly go right, take the circle off the wall and then jump onto the button - the platforms will stop moving back into the wall - LEGO Harry Potter Years 1-4: Year 2 Part 2 - Walkthrough - Walkthrough - LEGO Harry Potter Years 1-4 Guide & Walkthrough

Firstly go right, take the circle off the wall and then jump onto the button - the platforms will stop moving back into the wall. Jump to the left side and use magic on the pot - weapons will come out of it. Collect another ingredient and put it into the cauldron.
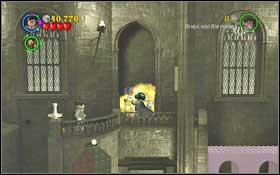
12 - LEGO Harry Potter Years 1-4: Year 2 Part 2 - Walkthrough - Walkthrough - LEGO Harry Potter Years 1-4 Guide & Walkthrough
Jump onto the platforms once again, move right and use magic to destroy the chest - LEGO Harry Potter Years 1-4: Year 2 Part 2 - Walkthrough - Walkthrough - LEGO Harry Potter Years 1-4 Guide & Walkthrough

Jump onto the platforms once again, move right and use magic to destroy the chest. Finish the potion. Now you have to get to the chain. Chase away the Devil's Snare (LS) which are holding the wardrobe and then use Wingardium Leviosa to attach the door. Go inside and put on the earmuffs.
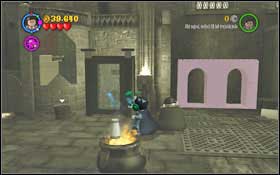
13 - LEGO Harry Potter Years 1-4: Year 2 Part 2 - Walkthrough - Walkthrough - LEGO Harry Potter Years 1-4 Guide & Walkthrough
Grab the Mandrake and break the glass with the chain behind it - LEGO Harry Potter Years 1-4: Year 2 Part 2 - Walkthrough - Walkthrough - LEGO Harry Potter Years 1-4 Guide & Walkthrough

Grab the Mandrake and break the glass with the chain behind it. Drink the Strengthening Potion and pull the chain. Don't forget to put the shouter into the pot on the left. A few brick will appear. Arrange them so that you can get past the little pit.
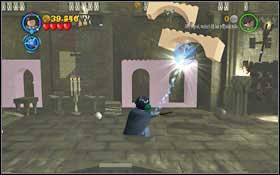
14 - LEGO Harry Potter Years 1-4: Year 2 Part 2 - Walkthrough - Walkthrough - LEGO Harry Potter Years 1-4 Guide & Walkthrough
Move right and use Immobilus to get rid of the Cornish pixies holding two bricks - LEGO Harry Potter Years 1-4: Year 2 Part 2 - Walkthrough - Walkthrough - LEGO Harry Potter Years 1-4 Guide & Walkthrough

Move right and use Immobilus to get rid of the Cornish pixies holding two bricks. Place them one onto another to create a passage.
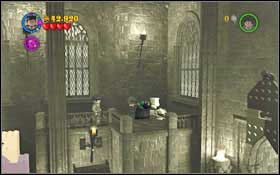
15 - LEGO Harry Potter Years 1-4: Year 2 Part 2 - Walkthrough - Walkthrough - LEGO Harry Potter Years 1-4 Guide & Walkthrough
Return to the beginning, while creating a bit of the Strengthening Potion on your way - LEGO Harry Potter Years 1-4: Year 2 Part 2 - Walkthrough - Walkthrough - LEGO Harry Potter Years 1-4 Guide & Walkthrough

Return to the beginning, while creating a bit of the Strengthening Potion on your way. Jump onto the platforms and then head to the right end. Another chain awaits you there. Jump down and move on right to the next room. You will get to a staircase, which isn't facing the right direction. There's a button at the back - jump on it and the staircase will move.
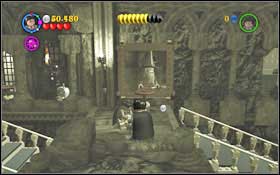
16 - LEGO Harry Potter Years 1-4: Year 2 Part 2 - Walkthrough - Walkthrough - LEGO Harry Potter Years 1-4 Guide & Walkthrough
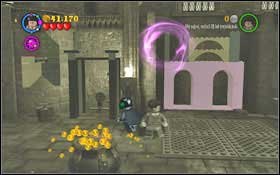
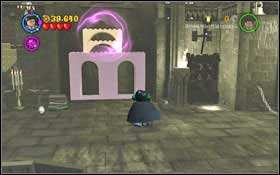
Use magic on the painting - the wizard will give you a circle, which you should then mount and jump onto it - the second staircase will change position - LEGO Harry Potter Years 1-4: Year 2 Part 2 - Walkthrough - Walkthrough - LEGO Harry Potter Years 1-4 Guide & Walkthrough

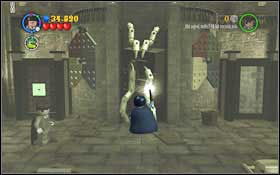
Use magic on the painting - the wizard will give you a circle, which you should then mount and jump onto it - the second staircase will change position. Use Wingardium Leviosa on the valve, so that the second character can move on through the rotating bookcase. Afterwards switch to the second character and also use Wingardium Leviosa on the valve.
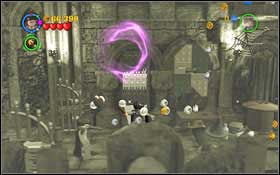
17 - LEGO Harry Potter Years 1-4: Year 2 Part 2 - Walkthrough - Walkthrough - LEGO Harry Potter Years 1-4 Guide & Walkthrough
Use Wingardium Leviosa twice on the banner on the left and you will create a small trampoline - LEGO Harry Potter Years 1-4: Year 2 Part 2 - Walkthrough - Walkthrough - LEGO Harry Potter Years 1-4 Guide & Walkthrough

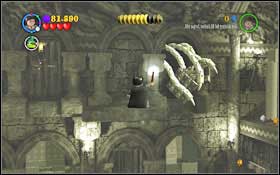
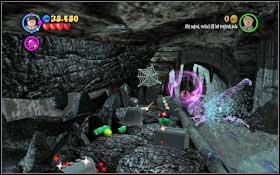
Use Wingardium Leviosa twice on the banner on the left and you will create a small trampoline. Jump onto it and then to the rocky ledge. Use Lumos Solem to chase away the Devil's Snare, which will leave behind a couple bricks.
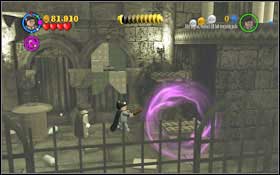
18 - LEGO Harry Potter Years 1-4: Year 2 Part 2 - Walkthrough - Walkthrough - LEGO Harry Potter Years 1-4 Guide & Walkthrough
Place the bricks on the wall using Wingardium Leviosa and you will create two platforms, thanks to which you will be able to jump upstairs - LEGO Harry Potter Years 1-4: Year 2 Part 2 - Walkthrough - Walkthrough - LEGO Harry Potter Years 1-4 Guide & Walkthrough

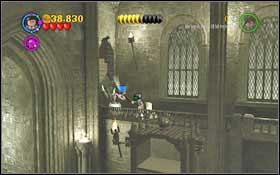
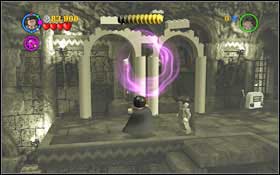
Place the bricks on the wall using Wingardium Leviosa and you will create two platforms, thanks to which you will be able to jump upstairs. Push away the two columns using Wingardium Leviosa.

Hogwarts
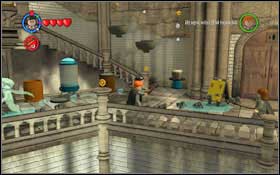
19 - LEGO Harry Potter Years 1-4: Year 2 Part 2 - Walkthrough - Walkthrough - LEGO Harry Potter Years 1-4 Guide & Walkthrough
You begin at the Bathroom Hallway - LEGO Harry Potter Years 1-4: Year 2 Part 2 - Walkthrough - Walkthrough - LEGO Harry Potter Years 1-4 Guide & Walkthrough

You begin at the Bathroom Hallway. Follow Nearly Headless Nick towards Hagrid's Hut.

Follow the Spiders
20 - LEGO Harry Potter Years 1-4: Year 2 Part 2 - Walkthrough - Walkthrough - LEGO Harry Potter Years 1-4 Guide & Walkthrough
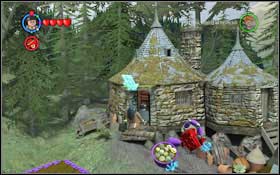
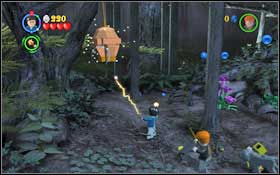
A while after the mission begins, you will be attacked by a hornet - LEGO Harry Potter Years 1-4: Year 2 Part 2 - Walkthrough - Walkthrough - LEGO Harry Potter Years 1-4 Guide & Walkthrough

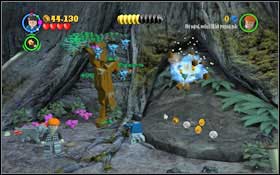
A while after the mission begins, you will be attacked by a hornet. Get rid of the nest. Dig up the machine from the ground using Wingardium Leviosa, jump onto it and head towards the ledge.
21 - LEGO Harry Potter Years 1-4: Year 2 Part 2 - Walkthrough - Walkthrough - LEGO Harry Potter Years 1-4 Guide & Walkthrough
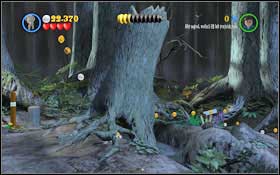
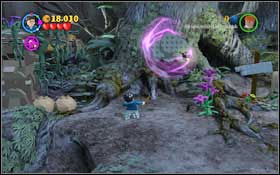
Destroy the grass by the tree, create a cloud from the round blocks and move it right, above the withered tree - LEGO Harry Potter Years 1-4: Year 2 Part 2 - Walkthrough - Walkthrough - LEGO Harry Potter Years 1-4 Guide & Walkthrough

Destroy the grass by the tree, create a cloud from the round blocks and move it right, above the withered tree. Go up the ladder with the other characters and switch to Fang. Dig a bit by the tree on the right, causing it to collapse and create a passage.
22 - LEGO Harry Potter Years 1-4: Year 2 Part 2 - Walkthrough - Walkthrough - LEGO Harry Potter Years 1-4 Guide & Walkthrough
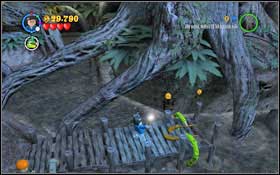
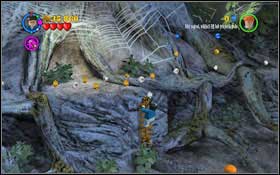
You will find two brooms on the bridge - LEGO Harry Potter Years 1-4: Year 2 Part 2 - Walkthrough - Walkthrough - LEGO Harry Potter Years 1-4 Guide & Walkthrough

You will find two brooms on the bridge. Get rid of the Devil's Snare using Lumios Solem and then cast Wingardium Leviosa on the brooms. Jump onto the brooms and fly to the other side of the lake, destroying the nest above the water. On the second bridge, connect the bricks creating a staircase, so that the other characters can get out of the water.
23 - LEGO Harry Potter Years 1-4: Year 2 Part 2 - Walkthrough - Walkthrough - LEGO Harry Potter Years 1-4 Guide & Walkthrough
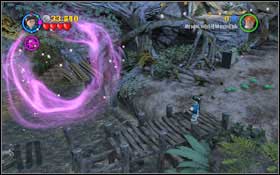
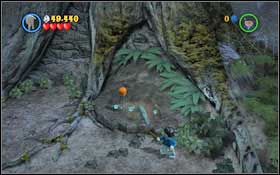
Once the pixies destroy the bridge, a ladder will be made - climb up - LEGO Harry Potter Years 1-4: Year 2 Part 2 - Walkthrough - Walkthrough - LEGO Harry Potter Years 1-4 Guide & Walkthrough

Once the pixies destroy the bridge, a ladder will be made - climb up. Destroy another nest and then eliminate the pixies from the tree using Immobilus.
24 - LEGO Harry Potter Years 1-4: Year 2 Part 2 - Walkthrough - Walkthrough - LEGO Harry Potter Years 1-4 Guide & Walkthrough
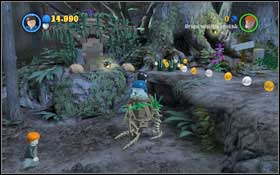
Switch to Fang and dig up a hole - LEGO Harry Potter Years 1-4: Year 2 Part 2 - Walkthrough - Walkthrough - LEGO Harry Potter Years 1-4 Guide & Walkthrough

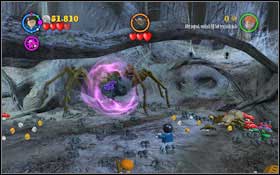
Switch to Fang and dig up a hole. You will have to fight a large spider. Apart from him, small ones will also attack you - try to dodge the boss' attacks and shoot the small ones. Purple spiders don't explode - they flip over. Once they do, use Wingardium Leviosa on the twice to raise them, twist and throw. Do this three times.
25 - LEGO Harry Potter Years 1-4: Year 2 Part 2 - Walkthrough - Walkthrough - LEGO Harry Potter Years 1-4 Guide & Walkthrough
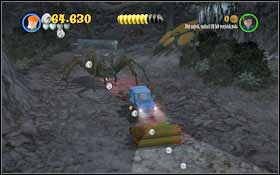
The next task is very simple - drive the car all the way down, running away from the spider - LEGO Harry Potter Years 1-4: Year 2 Part 2 - Walkthrough - Walkthrough - LEGO Harry Potter Years 1-4 Guide & Walkthrough

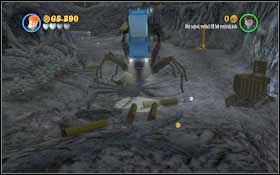
The next task is very simple - drive the car all the way down, running away from the spider. If you drive too slow or stay close to the spider for too long, you'll get caught.

Hogwarts
26 - LEGO Harry Potter Years 1-4: Year 2 Part 2 - Walkthrough - Walkthrough - LEGO Harry Potter Years 1-4 Guide & Walkthrough
You will begin in the Main Hallway - LEGO Harry Potter Years 1-4: Year 2 Part 2 - Walkthrough - Walkthrough - LEGO Harry Potter Years 1-4 Guide & Walkthrough

You will begin in the Main Hallway. Head to the Defense Against the Dark Arts Classroom.

The Basilisk
27 - LEGO Harry Potter Years 1-4: Year 2 Part 2 - Walkthrough - Walkthrough - LEGO Harry Potter Years 1-4 Guide & Walkthrough
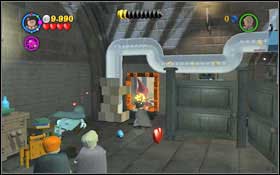
Approach the painting in the left part of the bathroom and use magic on it - LEGO Harry Potter Years 1-4: Year 2 Part 2 - Walkthrough - Walkthrough - LEGO Harry Potter Years 1-4 Guide & Walkthrough

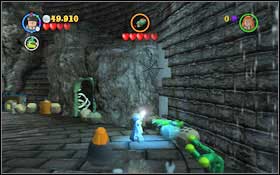
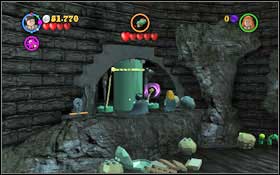
Approach the painting in the left part of the bathroom and use magic on it. The wizard will destroy the tiles blocking the entrance to the pipe. Switch to Ron and enter the tunnel with Scabbers. After getting to around the middle, switch to another character and use Wingardium Leviosa to unlock the further path. Return to Scabbers, press the red button and Devil's Snare will appear in the next cabin. Switch to another character once again and use Lumos Solem on them.
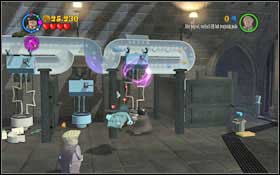
28 - LEGO Harry Potter Years 1-4: Year 2 Part 2 - Walkthrough - Walkthrough - LEGO Harry Potter Years 1-4 Guide & Walkthrough
Fit the missing tunnel piece using Wingardium Leviosa and lower the flush to unblock the passage - LEGO Harry Potter Years 1-4: Year 2 Part 2 - Walkthrough - Walkthrough - LEGO Harry Potter Years 1-4 Guide & Walkthrough

Fit the missing tunnel piece using Wingardium Leviosa and lower the flush to unblock the passage. Switch to Scabbers and move on, pressing the red button. Head to the cabinet and chase out the frog using Wingardium Leviosa.
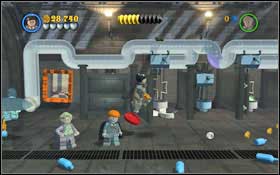
29 - LEGO Harry Potter Years 1-4: Year 2 Part 2 - Walkthrough - Walkthrough - LEGO Harry Potter Years 1-4 Guide & Walkthrough
Connect the bricks into a plunger, fitted with a chair - LEGO Harry Potter Years 1-4: Year 2 Part 2 - Walkthrough - Walkthrough - LEGO Harry Potter Years 1-4 Guide & Walkthrough

Connect the bricks into a plunger, fitted with a chair. Get on it and jump into the clogged toilet. You will get more blocks - connect them all.
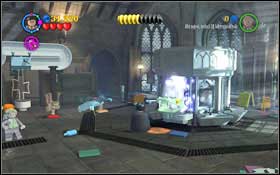
30 - LEGO Harry Potter Years 1-4: Year 2 Part 2 - Walkthrough - Walkthrough - LEGO Harry Potter Years 1-4 Guide & Walkthrough
Talk with the snake and jump down - LEGO Harry Potter Years 1-4: Year 2 Part 2 - Walkthrough - Walkthrough - LEGO Harry Potter Years 1-4 Guide & Walkthrough

Talk with the snake and jump down. Head left and use the plunger on the creature which has appeared.
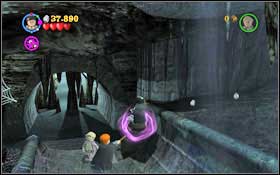
31 - LEGO Harry Potter Years 1-4: Year 2 Part 2 - Walkthrough - Walkthrough - LEGO Harry Potter Years 1-4 Guide & Walkthrough
Use the bricks left and create a platform - LEGO Harry Potter Years 1-4: Year 2 Part 2 - Walkthrough - Walkthrough - LEGO Harry Potter Years 1-4 Guide & Walkthrough

Use the bricks left and create a platform. After you get on it, the second character will lift you up. Go to the very end and put together the skeleton, which will start fishing and will catch the creature. This time it will be blowing upwards. Jump to the ledge on the right, assemble the bricks and create a bridge.
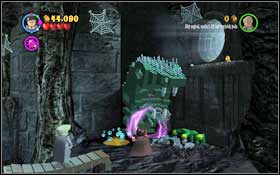
32 - LEGO Harry Potter Years 1-4: Year 2 Part 2 - Walkthrough - Walkthrough - LEGO Harry Potter Years 1-4 Guide & Walkthrough
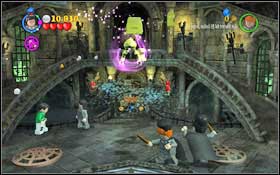
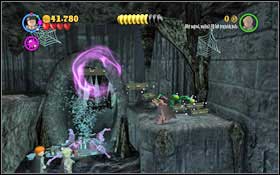
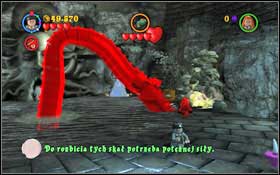
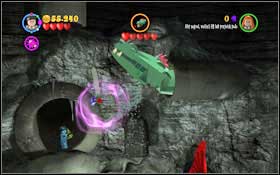
Summon the snake using Wingardium Leviosa, jump into his mouth and enter the pipe - LEGO Harry Potter Years 1-4: Year 2 Part 2 - Walkthrough - Walkthrough - LEGO Harry Potter Years 1-4 Guide & Walkthrough

Summon the snake using Wingardium Leviosa, jump into his mouth and enter the pipe. You will bump into the Basilisk. Run to the pile of rocks and wait until the rays coming out of his eyes stop shining - jump off and the Basilisk will hit the rocks. Repeat this with the other two piles.
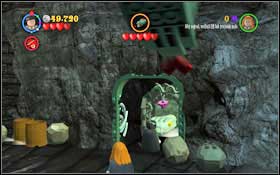
33 - LEGO Harry Potter Years 1-4: Year 2 Part 2 - Walkthrough - Walkthrough - LEGO Harry Potter Years 1-4 Guide & Walkthrough
Each time you will find one ingredient of the Strengthening Potion behind the rocks - LEGO Harry Potter Years 1-4: Year 2 Part 2 - Walkthrough - Walkthrough - LEGO Harry Potter Years 1-4 Guide & Walkthrough

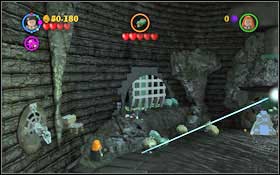
Each time you will find one ingredient of the Strengthening Potion behind the rocks. You will receive another one after speaking with the snake. To get the next one, use Lumos Solem on the Devil's Snare and then Wingardium Leviosa on the box.
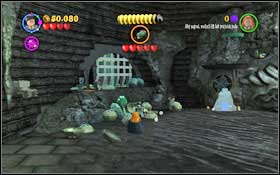
34 - LEGO Harry Potter Years 1-4: Year 2 Part 2 - Walkthrough - Walkthrough - LEGO Harry Potter Years 1-4 Guide & Walkthrough
The last one can be found in the chest - use Wingardium Leviosa on it and then smash up the snake - LEGO Harry Potter Years 1-4: Year 2 Part 2 - Walkthrough - Walkthrough - LEGO Harry Potter Years 1-4 Guide & Walkthrough

The last one can be found in the chest - use Wingardium Leviosa on it and then smash up the snake. After drinking the Strengthening Potion, approach the chain on the left and pull it.
35 - LEGO Harry Potter Years 1-4: Year 2 Part 2 - Walkthrough - Walkthrough - LEGO Harry Potter Years 1-4 Guide & Walkthrough
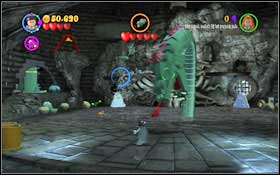
Free the Phoenix, which will poke out the Basilisks eyes - LEGO Harry Potter Years 1-4: Year 2 Part 2 - Walkthrough - Walkthrough - LEGO Harry Potter Years 1-4 Guide & Walkthrough

Free the Phoenix, which will poke out the Basilisk's eyes. Now attack the Basilisk with magic. Attach the chains of the mechanism on the left and jump inside.
36 - LEGO Harry Potter Years 1-4: Year 2 Part 2 - Walkthrough - Walkthrough - LEGO Harry Potter Years 1-4 Guide & Walkthrough
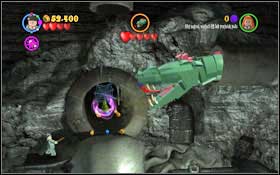
You will end up near the enemy - LEGO Harry Potter Years 1-4: Year 2 Part 2 - Walkthrough - Walkthrough - LEGO Harry Potter Years 1-4 Guide & Walkthrough

You will end up near the enemy. Use Wingardium Leviosa on the Sorting Hat and it will spit out a large sword. Wait for the Basilisk to stop attacking and quickly jump into the tunnel. Grab the sword with and aim it at the Basilisk.

You are not permitted to copy any image, text or info from this page. This site is not associated with and/or endorsed by the Warner Bros Interactive or Traveller's Tales. All logos and images are copyrighted by their respective owners.

Copyright © 2000 - 2025 Webedia Polska SA for gamepressure.com, unofficial game guides, walkthroughs, secrets, game tips, maps & strategies for top games.