Killzone 3: Pyrrhus Evac - p. 2
Ground Zero
 |  |
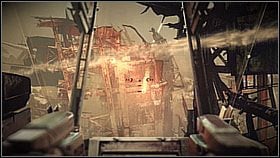
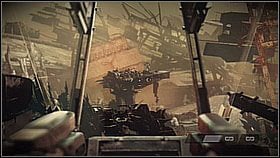
Move the war machine forward. [1] You will reach a convoy. [2] If you're playing on higher difficulty settings don't charge forward - you have to kill enemies with rocket launchers from afar. In other case you will get killed pretty fast. Once your machine gets damaged, be sure to retreat behind some cover and wait a bit. This way you will fix the exobot.
 |  |
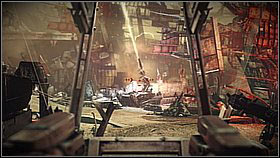
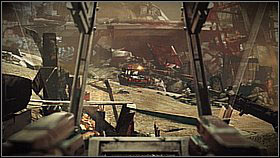
The first enemies can be found on the right side of the bright building in the distance. [1] Another squad is on the island made of a piece of a building on the left. [2]
 |  |
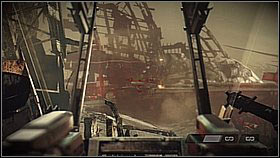
After killing the first enemies move to the right, while sticking to the wall. You will see arc canons in the distance. Destroy the first [1] and look out for the tanks. One will come from the left side of the destroyed cannon. [2]
 | 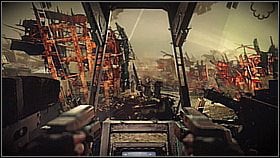 |
The second tank can be spotted on the highway above - around the next Arc Cannon. [1] If you have problems controlling the situation, retreat behind the last building and eliminate the enemies from there. [2]
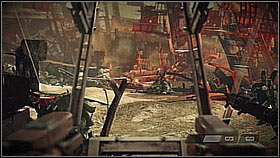 | 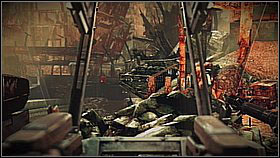 |
Make sure you've gotten rid of the guns and soldiers around the first Arc Cannon (of course destroy it as well). [1] Unleash rockets onto the second artillery post and head towards it. Keep an eye on the right side - the further road leads below a bridge. Before it there's a machine gun stand. [2]
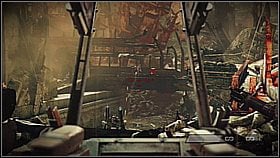 | 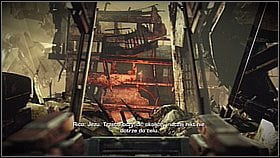 |
On the bridge itself a soldier with a rocket launcher will appear. [1] Go under the flyover - behind it there's a path leading up onto a bigger square. On higher difficulty setting, it's best to stop here and firstly take out the enemies. The ones with rocket launchers are the most dangerous. One of them can be found on the upper floors of the building on the right. [2]
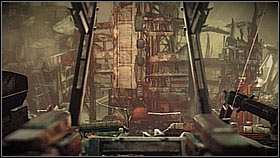 | 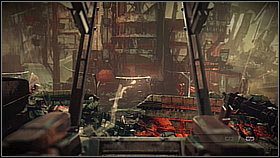 |
The second one is lurking behind the narrow strip of bright wall of the building on the left. [1] Now you can kill off the enemies with machine guns, shooting from behind the sandbags in the lower parts of both buildings. [2]
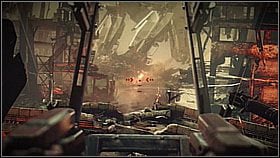 | 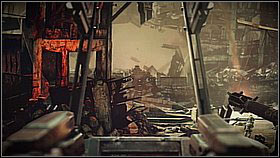 |
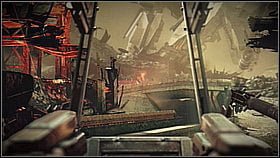
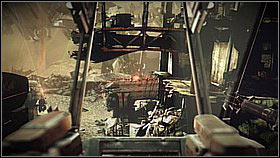
Before moving on, it's worth to destroy the cannon between two buildings in the distance. [1] After clearing the out the field from that early position, jump down and go round the area from the right side. From behind the building on the right you will have to destroy another cannon (deal with it from a distance). [2]
 |  |
After destroying the cannon behind the right building back up to the middle - the road between the buildings leads below the bridge. On its both side there are two Helghan defence points, which previously were impossible to spot. One on the left [1] and the other on the right. [2]
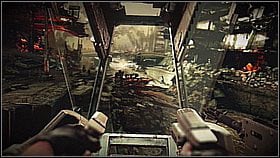 | 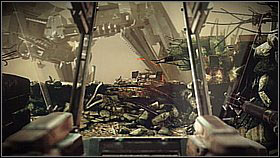 |
Going along the main road you will eventually reach machine guns, soldiers and above all - a tank - it should emerge across you. Back up and get rid of it in the first place. [1] Afterwards slowly move forward (preferably sticking to the right side), looking out for mortar fire and eliminating the Higs.
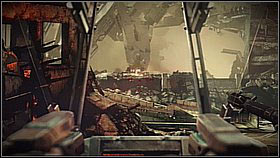 | 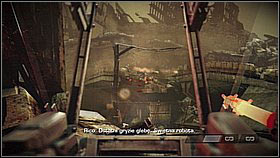 |
The last of the tanks will appear on the bridge in the distance. [1] You will be more or less safe only once receiving the information that all the enemy's armoured vehicles have been neutralised. In the end take care of the infantry. [2]
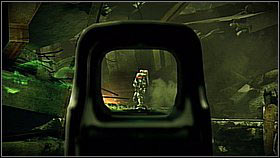 |  |
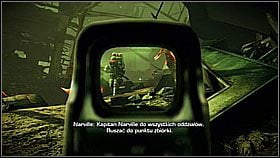
Once you reach trenches, quickly aim forward - you have to eliminate the Hig with a flamethrower who will appear on the slope. [1] Now move along the trenches until they turn left - a couple enemies with machines guns and two with shotguns (especially dangerous! they will charge at your position). Take care of them. [2]
 |  |
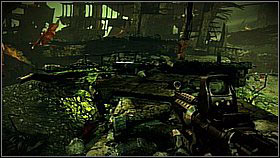
Return to the beginning - you can go up the slope to the top of the trenches. [1] Follow this path and take the flamethrower if you want. [2]
 |  |
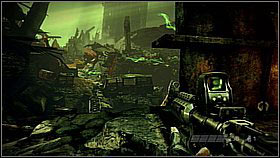
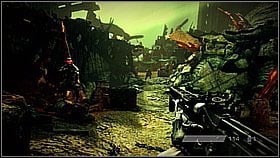
Stop behind the corner - further on the trenches you will see 1-2 enemies with flamethrowers and more with machine guns. Kill them from this position. [1] Move on while keeping an eye on the situation below - sometime single enemies tend to lurk there. Follow the upper path to the other side of the trenches and continue on. [2]
 |  |
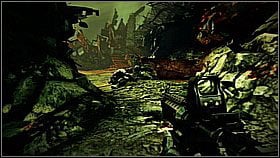
At the end of the road jump down into the trenches and move on. Behind the destroyed van standing on a wider area there's an enemy lurking. [1] Once you go beside the car, you will once again reach a narrower trench. An enemy with a shotgun will come out from the left - eliminate him first. [2]
 | 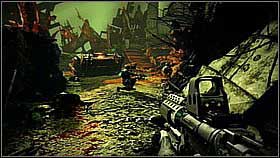 |
Here you will have to eliminate the enemies coming from the front and quickly fight your way forward. You can try using the flamethrower and killing off the enemies with a machine gun. [1] After moving forward, hide behind the last cover - an armoured transported will arrive. At this spot you're rather safe, but you have to eliminate the resistance fast. [2] After killing everyone head towards the stairs.
- Killzone 3 Game Guide & Walkthrough
- Killzone 3: Walkthrough
- Killzone 3: Walkthrough - A New Beginning
- Killzone 3: Evacuation Orders - p. 1
- Killzone 3: Evacuation Orders - p. 2
- Killzone 3: Pyrrhus Evac - p. 1
- Killzone 3: Pyrrhus Evac - p. 2
- Killzone 3: Six Months On - p. 1
- Killzone 3: Six Months On - p. 2
- Killzone 3: Icy Incursion - p. 1
- Killzone 3: Icy Incursion - p. 2
- Killzone 3: Icy Incursion - p. 3
- Killzone 3: Icy Incursion - p. 4
- Killzone 3: Stahl Arms Infiltration - p. 1
- Killzone 3: Stahl Arms Infiltration - p. 2
- Killzone 3: Scrapyard Shortcut - p. 1
- Killzone 3: Scrapyard Shortcut - p. 2
- Killzone 3: The Reckoning - p. 1
- Killzone 3: The Reckoning - p. 2
- Killzone 3: Interception - p. 1
- Killzone 3: Interception - p. 2
- Killzone 3: Walkthrough
You are not permitted to copy any image, text or info from this page. This site is not associated with and/or endorsed by the developers and the publishers. All logos and images are copyrighted by their respective owners.
Copyright © 2000 - 2026 Webedia Polska SA for gamepressure.com, unofficial game guides, walkthroughs, secrets, game tips, maps & strategies for top games.
