Killzone 3: Evacuation Orders - p. 2
Bilgarsk Museum
 | ![Go into the building on the left [1] and climb up together with Rico (CIRCLE once he offers you his help) - Evacuation Orders - p. 2 - Walkthrough - Killzone 3 - Game Guide and Walkthrough](/killzone3/gfx/word/580837812.jpg) |
Go into the building on the left [1] and climb up together with Rico (CIRCLE once he offers you his help). [2]
 | 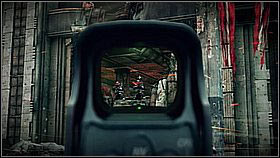 |
Run to the window through the gaps in the wall - you will see a big group of enemies outside. [1] Start off by shooting the two with rocket launchers, who will appear in the hole in the opposite building. [2]
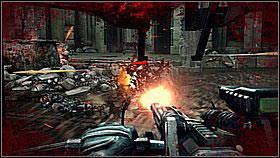 | 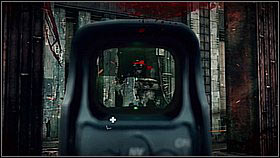 |
Take out the stationary gun and use its power to kill the enemies. While carrying it, you will be able to hide behind a wall (which is essential on higher difficulty setting). [1] Don't forget about the enemies in two holes in the opposite building - more will come after you kill the first two. [2]
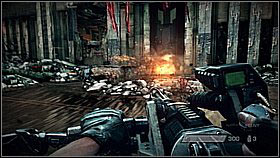 | 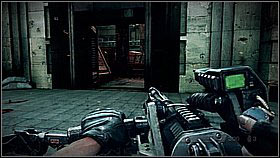 |
Once you clear out the area, Rico will blow out the museum door. [1] Be careful - you will get under enemy fire as soon as you step inside. [2] Take the minigun with you - even if you're out of ammo (you'll restock on it later).
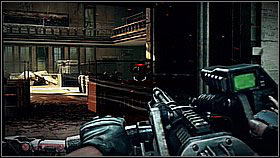 | 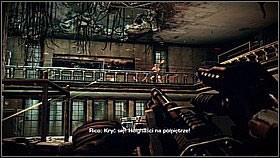 |
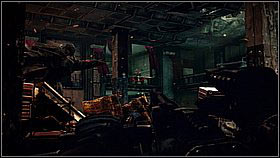
In order to easily clear out the museum, firstly kill three Helghasts below - do it standing right at the threshold (don't go in deeper). [1] Once you enter inside, stop - soldiers will run out below and on the upper floor. Retreat and firstly kill those above - they're hiding behind balustrades. [2]
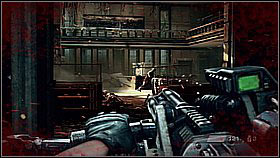 |  |
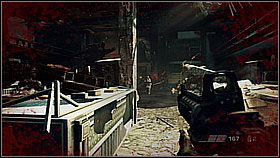
After killing the two enemies below, another two will attack you - get rid of them and go a few steps further. [1] Before you go behind the rubble dividing the room in half, kill one more enemy on the upper floor - he's in the left corner of the room. [1]
 | 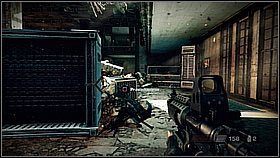 |
Time to clear out the second half of the ground floor - move on and turn left. [1] There are a few enemies here, but luckily covers are also present (and no one will surprise you from above). [2]
 | ![After clearing out the area, take a look into the small storage (grenades) [1] and go up the stairs - Evacuation Orders - p. 2 - Walkthrough - Killzone 3 - Game Guide and Walkthrough](/killzone3/gfx/word/580838031.jpg) |
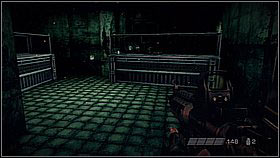
After clearing out the area, take a look into the small storage (grenades) [1] and go up the stairs. [2]
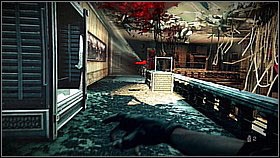 | 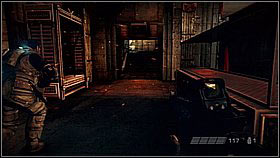 |
On the floor, run along the balustrade with a grenade prepared. Throw it once you see the enemies. [1] Kill them off and get onto the roof. [2]
 | ![After reaching the roof, kill the enemies you see [1] and run behind the opposite fragment of a wall - Evacuation Orders - p. 2 - Walkthrough - Killzone 3 - Game Guide and Walkthrough](/killzone3/gfx/word/580838109.jpg) |
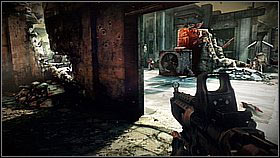
After reaching the roof, kill the enemies you see [1] and run behind the opposite fragment of a wall. [2] Here you will find an ammo crate and a good shooting spot.
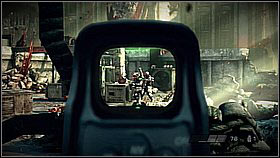 | 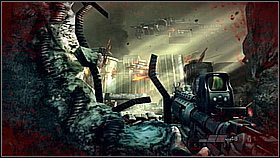 |
Eliminate the enemies from this spot - use the stationary gun (if you have it!) or any other weapon (you have plenty of ammo). [1] At some point a transporter will show up, together with reinforcements. [2]
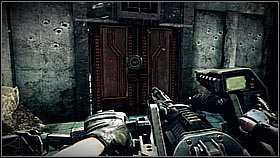 | 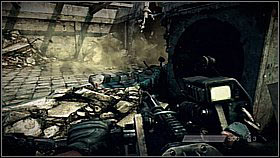 |
Finished clearing the square? If so, head to the opposite door and plant an explosive (CIRCLE and then move the controller to the left and right while holding R1). [1] Step back and detonate the bomb. [2]
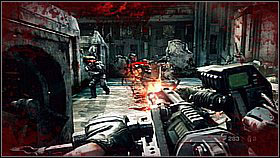 | 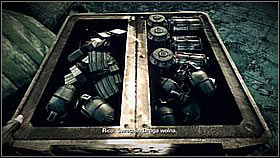 |
Look out, as when you detonate the bomb, enemies will come out of the hole by the door (behind you). [1] Kill the enemies behind the door and collect ammunition. [2]
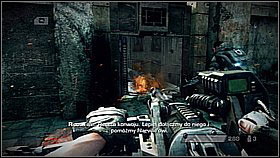 | 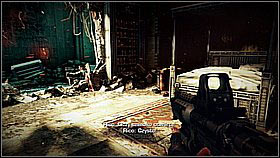 |
Smash the cracked door and go inside. [1] Move forward all the time, destroying obstacles on your way. You will go through a Helghan bedroom amongst others. [2]
Broken Highway
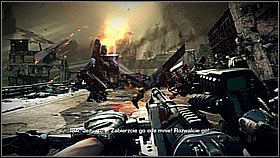 | 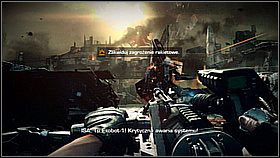 |
Follow the robots. One of them will be attacked - you don't need to help him, so don't waste ammo. [1] A bit further you will be asked to eliminate a rocket threat. The Exoskeleton cannot be saved either way, but focus on the enemy soldiers. [2]
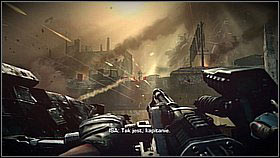 | 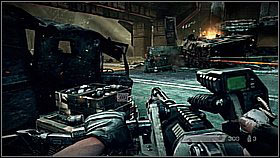 |
Eliminate the enemy with a rocket launcher on the bridge and three foes on the building on the right (you can make the ceiling fall down on them, aim at the pillars). [1] Move on forward. You need to get to the wreck on the left, with an ammo crate beside (including minigun ammunition). From here kill the enemies hiding behind the nearby cover. [2]
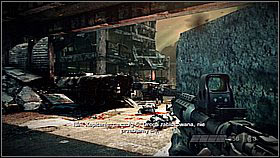 | 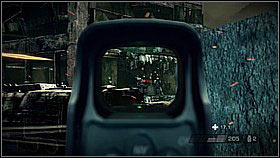 |
Approach the bridge. Hide behind the concrete wall on the right after going below the bridge. From here, you will be able to kill the enemies in the tall building in the front, on the left side of the road. [1] You have to shoot three enemies with rocket launchers and three ordinary ones. [2]
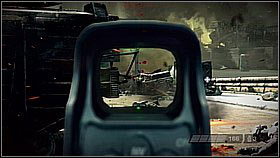 | 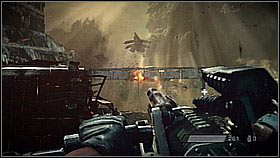 |
Now get rid of the enemies on the highway. [1] After killing a few of them at the end of this part of the highway a flying Helghast transporter will appear. Destroy it with the minigun (it will work even on bigger a distance). [2]
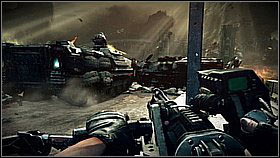 | 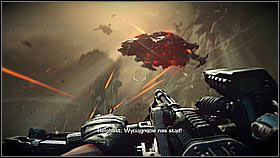 |
The allied vehicles will start moving - clear out the further way until the wrecks blocking the road. [1] After breaking through the ground vehicles, two more airborne transporters will appear. [2]
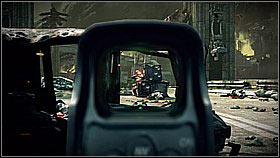 | 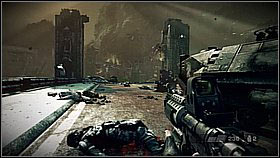 |
Move on - there's one more Helghan squad waiting for you. [1] Soon you will reach an open road. [2]
- Killzone 3 Game Guide & Walkthrough
- Killzone 3: Walkthrough
- Killzone 3: Walkthrough - A New Beginning
- Killzone 3: Evacuation Orders - p. 1
- Killzone 3: Evacuation Orders - p. 2
- Killzone 3: Pyrrhus Evac - p. 1
- Killzone 3: Pyrrhus Evac - p. 2
- Killzone 3: Six Months On - p. 1
- Killzone 3: Six Months On - p. 2
- Killzone 3: Icy Incursion - p. 1
- Killzone 3: Icy Incursion - p. 2
- Killzone 3: Icy Incursion - p. 3
- Killzone 3: Icy Incursion - p. 4
- Killzone 3: Stahl Arms Infiltration - p. 1
- Killzone 3: Stahl Arms Infiltration - p. 2
- Killzone 3: Scrapyard Shortcut - p. 1
- Killzone 3: Scrapyard Shortcut - p. 2
- Killzone 3: The Reckoning - p. 1
- Killzone 3: The Reckoning - p. 2
- Killzone 3: Interception - p. 1
- Killzone 3: Interception - p. 2
- Killzone 3: Walkthrough
You are not permitted to copy any image, text or info from this page. This site is not associated with and/or endorsed by the developers and the publishers. All logos and images are copyrighted by their respective owners.
Copyright © 2000 - 2026 Webedia Polska SA for gamepressure.com, unofficial game guides, walkthroughs, secrets, game tips, maps & strategies for top games.
