Killzone 3: Pyrrhus Evac - p. 1
Senlin Beach
In the first part of the stage you will be mounting a gun - try to shoot as many enemies as you can, as it's connected with a trophy.
 |  |
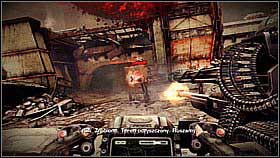
Firstly aim at the enemies with rocket launchers, who are guarding the bright building in the front. [1] Afterwards get rid of the group behind the brown covers. [2]
 | 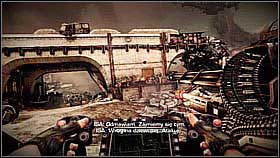 |
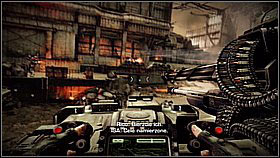
To the left of it you will see a transporter below the bridge and more soldiers. [1] Once you're moving again, note another machine gun nest. [2]
 | 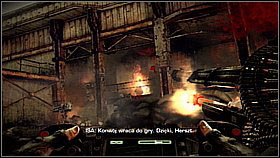 |
A couple seconds later the enemies will be hiding before the covers made of sand bags on the low platform. [1] Don't forget about the enemies on the balcony (behind the pillars). [2]
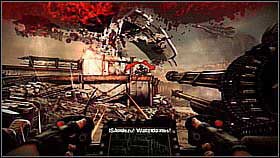 | 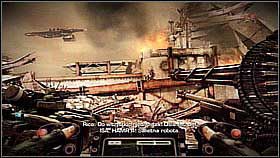 |
After clearing out the above fragment, look to the left of the vehicle - you will note two guns, two transporters and soldiers. Destroy them in that order. [1] Afterwards finish off the enemies with rocket launchers. [2]
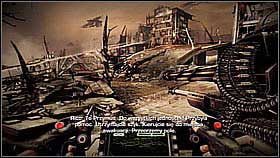 | 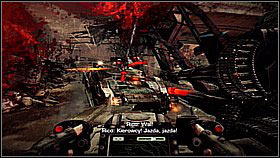 |
In the further part of the road, focus on the right side - you will see a broken road perpendicular to yours. Soldiers will appear below and on it. [1] Afterwards vehicles will ride down from it. Move the gun towards the back and destroy the enemies. [2]
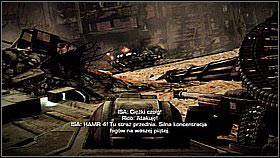 | 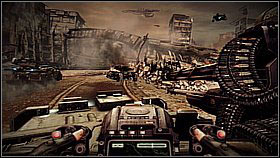 |
Once you hit the open space, get ready for fighting with tanks. One will appear to the right of the rubble hill. [1] Once you get around the hill, finish off the armoured vehicle. [2]
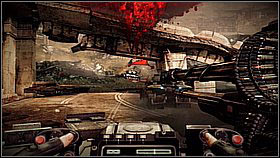 | 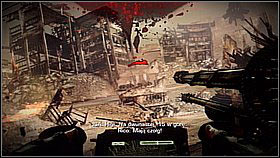 |
The second tank is below the flyover. [1] Also destroy the Helghan posts on the building in the front. [2]
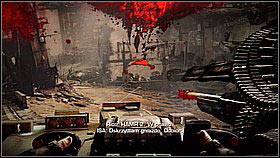 | 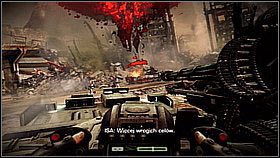 |
Quickly turn to the right - destroy the posts with two guns and kill the enemies. [1] Another tank will appear on the road. [2] Destroy it and defeat the soldiers.
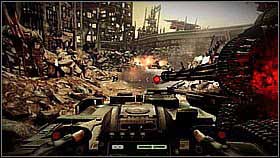 | 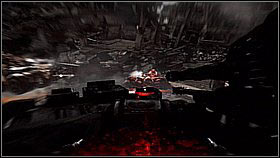 |
In front of you there will one more tank and lots of enemies - focus on the vehicle and then kill off the soldiers. [1] Some of them might hide behind covers. [2]
Salach District
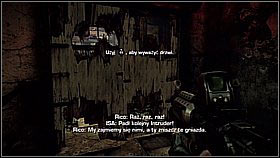 | 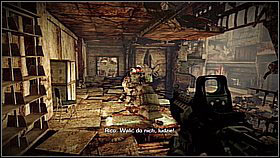 |
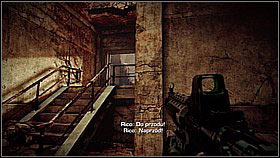
Go up the stairs and break through the door. [1] Ignore the enemies on the street below and go through the next door. Eventually defeat the enemy mounting the stationary gun. [2]
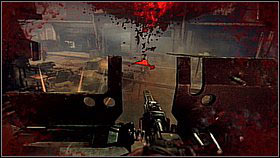 | 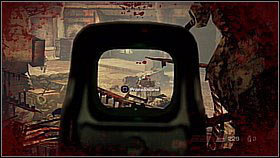 |
If you're playing on a lower difficulty setting, use the stationary gun to kill the enemies on the street. [1] In other cases, shoot from a cover. You have to take out the crew of the next gun and help your friends in breaking through. [2]
 | 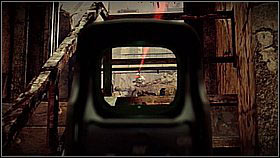 |
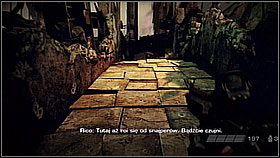
Once your companions reach the part of the road above which you're standing, move on (through the next door). Look out before the stairs [1] - there's a sniper lurking on the other side of the road, on the roof (you can recognize the moment he's aiming at you by the red laser beam). Kill him while standing before the stairs. [2]
 | 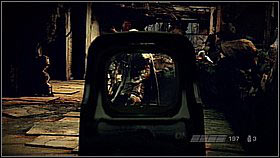 |
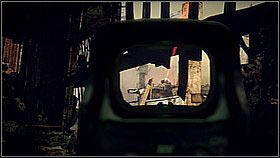
Move on along the highly upwards road. [1] Behind the corner are two sniper - take them out. [2]
 | 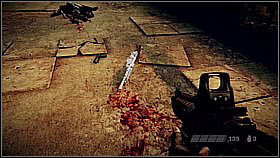 |
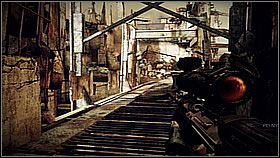
Before you move on, take out one more sniper - you will see him at the corner of the building on the other side of the street. [1] Pick up the sniper rifle and carefully move forwards - you will probably spot yet another enemy trying to shoot you. [2]
 | 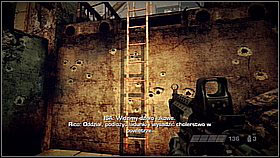 |
Eventually you will reach a passage above the street - there might be an enemy with a rifle lurking on the other side of the platform. [1] Move on and go up the ladder. [2]
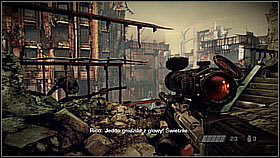 | 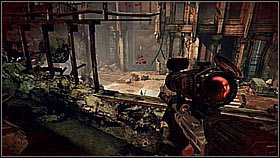 |
Make sure you have the sniper rifle. You have to eliminate the crew of two machine guns. The first is in the corner of the square, above. [1] The second can be found below on the left, behind the arch. [2]
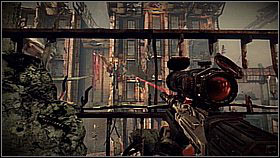 | 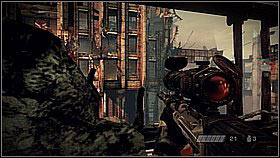 |
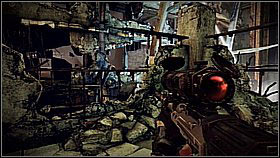
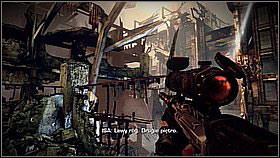
Now you will need to eliminate the snipers. The first of them is on the opposite side of the square - he can be found in one of the windows of the building. [1] The second will show up a bit later in the same building, but more to the right (and one floor higher). [2]
 |  |
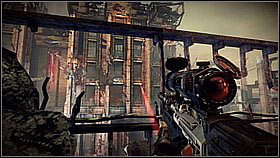
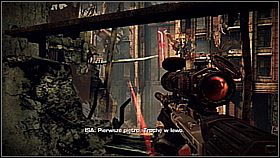
The third sniper is in the building to the left of the last two targets. [1] The fourth can also be found in the ruins of the building in the "rear" part of the square, but higher and more to the right. [2]
 |  |
The fifth and sixth snipers will attack you at the same time - hide behind the fragment of the corner (below which the rifle was lying) and start off by taking out the enemy on the opposite side (in the same building in which the first two enemies were hiding). [1] Now lean out more to the left - in the narrow pass you will see "number six". [2]
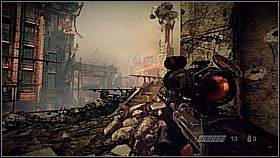 | 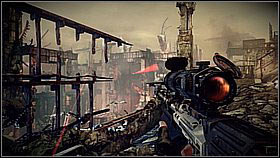 |
The seventh and eighth snipers will come out from an unexpected side - they will be in the white building on the diagonal side of the square. Back up a bit to avoid their shots and start off by taking out the left one from behind the wall [1] and then the right one [2]. In the end help the squad on the square - shoot the enemies there.
- Killzone 3 Game Guide & Walkthrough
- Killzone 3: Walkthrough
- Killzone 3: Walkthrough - A New Beginning
- Killzone 3: Evacuation Orders - p. 1
- Killzone 3: Evacuation Orders - p. 2
- Killzone 3: Pyrrhus Evac - p. 1
- Killzone 3: Pyrrhus Evac - p. 2
- Killzone 3: Six Months On - p. 1
- Killzone 3: Six Months On - p. 2
- Killzone 3: Icy Incursion - p. 1
- Killzone 3: Icy Incursion - p. 2
- Killzone 3: Icy Incursion - p. 3
- Killzone 3: Icy Incursion - p. 4
- Killzone 3: Stahl Arms Infiltration - p. 1
- Killzone 3: Stahl Arms Infiltration - p. 2
- Killzone 3: Scrapyard Shortcut - p. 1
- Killzone 3: Scrapyard Shortcut - p. 2
- Killzone 3: The Reckoning - p. 1
- Killzone 3: The Reckoning - p. 2
- Killzone 3: Interception - p. 1
- Killzone 3: Interception - p. 2
- Killzone 3: Walkthrough
You are not permitted to copy any image, text or info from this page. This site is not associated with and/or endorsed by the developers and the publishers. All logos and images are copyrighted by their respective owners.
Copyright © 2000 - 2026 Webedia Polska SA for gamepressure.com, unofficial game guides, walkthroughs, secrets, game tips, maps & strategies for top games.
