Ghostbusters The Video Game: Level 1 Sedgewick Hotel - part 2
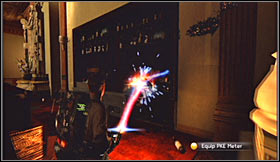 | 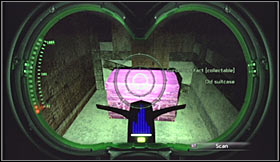 |
Get ready for your final duel with Slimer. Before you decide to attack the ghost, you should focus on finding a new bonus item. Proceed to the opposite end of the ballroom and stand in front of the bar. Notice a wooden section of the wall. You'll have to destroy this entire fragment to unlock a small passageway. Head inside and find the fourth artifact (Voyaging Case International).
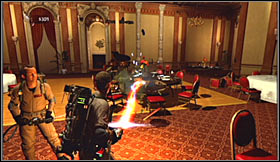 | 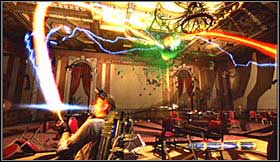 |
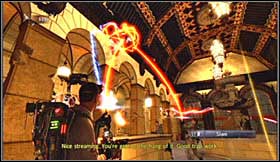
You may now start attacking the ghost. This means you'll have to repeat all three phases you've practiced during your stay in the firehouse. Slimer will hide under the table several times, but thankfully destroying objects from the environment will allow you to continue attacking him. Finish the fight by setting up a trap and capturing him. Get rid of the Slimer to proceed with the rest of the mission.
 | 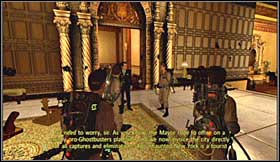 |
Once the battle has ended choose the nearest passageway in order to return to the lobby area. Get ready to defend yourself against new types of ghosts and don't forget to place your own traps. Eliminate all the ghosts using your main gun. Listen to a new conversation afterwards (if it doesn't start make sure you've collected your traps).
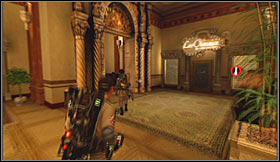 | 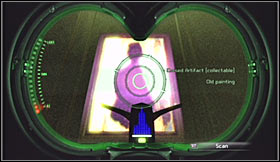 |
Start following Spengler by heading towards a previously unexplored area of the hotel. When you get to the staircase you'll be rewarded with an interesting cut-scene. Wait for the main character to regain consciousness and use the stairs to reach an upper floor. Use your PKE meter on one of the paintings. This will allow you to acquire the fifth artifact - Portrait of G. Sedgewick.
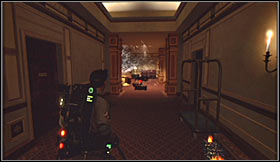 | 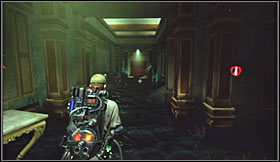 |
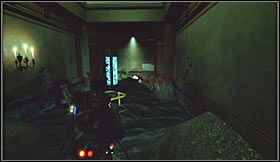
Proceed towards a corridor located to the right of the stairs and the surrounding area is going to be flooded in just a few seconds. This won't modify your initial plan in any way, because you'll have to return to the exact same corridor. Pursue a larger ghost by exploring flooded corridors.
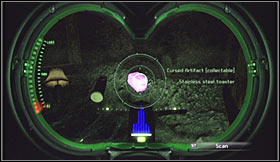 | 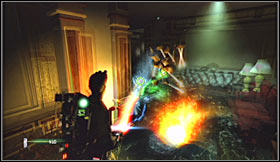 |
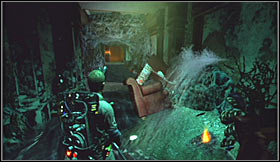
One of the nearby corridors hides the sixth artifact (Toaster of Sights Unseen). It's located behind a sofa, so you must be thorough. You'll also encounter a new type of creatures, called Candelabrum Crawler. Don't forget to take a scan! Thankfully you won't have to place any traps on the ground, because all the crawlers can be killed with your standard attacks. Prevent them from surrounding the main character and you should be fine.
 |  |
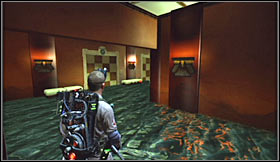
Eventually you should be able to locate a longer corridor with a vending machine seen in the distance. Head to that location to continue going after the ghosts. Watch out for new crawlers along the way, especially since there are going to be a lot of them. Find a partially destroyed corridor which will lead you to a final area of this map.
 | 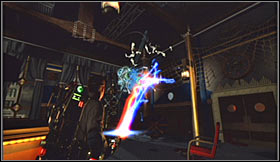 |
You should end up standing near two elevators. Ignore them and proceed towards a much larger area. Get ready to attack the last ghost with your primary weapon (also - take a scan if needed). For now you'll only want to make it weaker, so don't place any traps. Keep attacking the spirit until it escapes. You'll also noticed that your colleagues have arrived in this room.
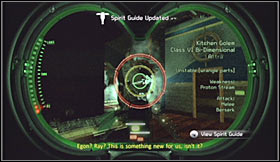 | 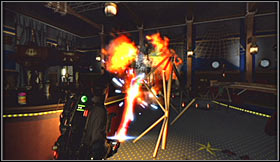 |
Proceed towards the bar and notice that a powerful golem has appeared nearby. Take a quick scan of the Kitchen Golem. Move back and start attacking this creature. It's important to avoid its attacks, because otherwise you may lose a lot of health. I would also recommend reviving your teammates each time they're been knocked out of the battle.
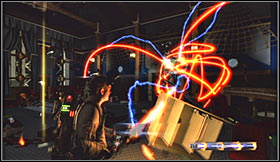 | 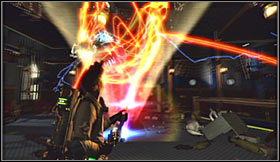 |
Obviously you'll have to destroy the golem with your Proton Gun. This will result in the main ghost reappearing. You can finally go through all three phases of capturing the ghost. Notice that you're going against a more powerful phantom, so it's going to take longer than usual to weaken it. Trapping the ghost will allow you to end this first full mission of the game.
- Ghostbusters The Video Game Game Guide & Walkthrough
- Ghostbusters The Video Game: Walkthrough
- Ghostbusters The Video Game: Training level - Firehouse
- Ghostbusters The Video Game: Level 1 Sedgewick Hotel - part 1
- Ghostbusters The Video Game: Level 1 Sedgewick Hotel - part 2
- Ghostbusters The Video Game: Level 2 Times Square - part 1
- Ghostbusters The Video Game: Level 2 Times Square - part 2
- Ghostbusters The Video Game: Level 3 Public Library - part 1
- Ghostbusters The Video Game: Level 3 Public Library - part 2
- Ghostbusters The Video Game: Level 3 Public Library - part 3
- Ghostbusters The Video Game: Level 4 Museum of History - part 1
- Ghostbusters The Video Game: Level 4 Museum of History - part 2
- Ghostbusters The Video Game: Level 5 Return to Sedgewick Hotel
- Ghostbusters The Video Game: Level 6 Lost Island - part 1
- Ghostbusters The Video Game: Level 6 Lost Island - part 2
- Ghostbusters The Video Game: Level 7 Central Park Cemetery - part 1
- Ghostbusters The Video Game: Level 7 Central Park Cemetery - part 2
- Ghostbusters The Video Game: Level 7 Central Park Cemetery - part 3
- Ghostbusters The Video Game: Walkthrough
You are not permitted to copy any image, text or info from this page. This site is not associated with and/or endorsed by the developers and the publishers. All logos and images are copyrighted by their respective owners.
Copyright © 2000 - 2025 Webedia Polska SA for gamepressure.com, unofficial game guides, walkthroughs, secrets, game tips, maps & strategies for top games.
