Ghostbusters The Video Game: Level 5 Return to Sedgewick Hotel
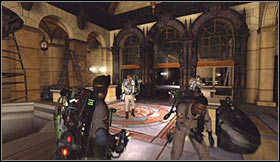 | 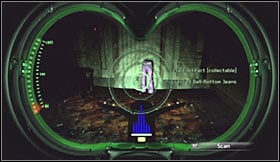 |
Level walkthrough: Start off by heading forward. You won't have to be moving slowly here, because you won't encounter any ghosts for the time being. Follow your colleagues at first, however make sure to explore a dark corridor to your left. Use your PKE meter to find the first artifact - Possessed Bell-Bottom Jeans.
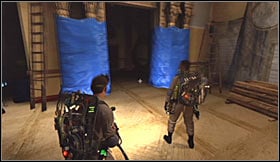 | 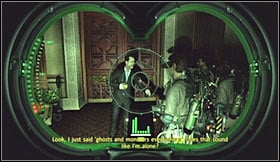 |
You may rejoin with the rest of your squad. Proceed towards the elevators. You shouldn't have any problems navigating through the lobby area, because you've been here before. Listen to a few short statements concerning a new ghost and head on to the next corridor to find the manager.
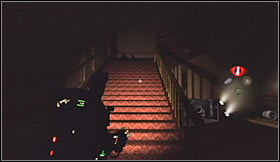 | 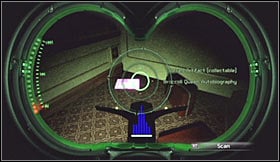 |
Abandon your colleagues once the conversation has ended. This time you'll want to explore the stairs by heading towards an upper floor. Check the corner behind a wheelcart to find the second artifact - Broccoli Queen Autobiography. Head back down and resume your previous actions by following your squad members. Watch a new cut-scene and listen to a conversation about the location of the fuse box.
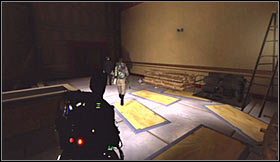 | 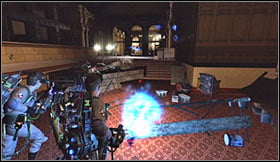 |
Your next target area is the kitchen, however be careful, because on your way to that location you're going to be attacked by very agile creatures, called Webbed Fiends. You can deal with them on your own or you can wait for your colleagues to provide assistance. Once you've won choose the door leading to the kitchen.
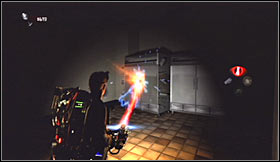 | 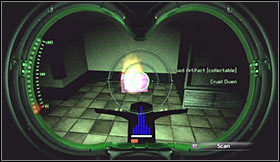 |
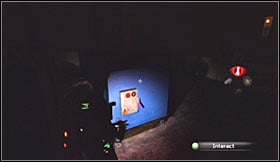
Thankfully you won't encounter any new ghosts right now, because they won't appear until you've restored power. Check the area to your right when you enter the kitchen. Use the capture stream on the left refrigerator. Doing this will allow you to uncover the location of the third artifact - Cruel Oven.
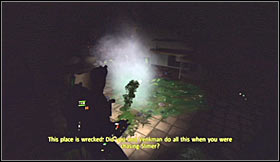 | 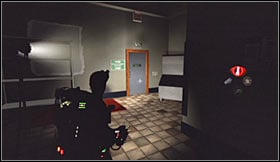 |
You may now begin exploring the kitchen area. Destroy black slime with your Slime Gun if you want to, however this is optional. Focus on finding a small door on the other side of the kitchen. Open the door to reach your current destination.
 |  |
Head down, open a nearby gate by pressing the action key and proceed to your right. Locate a light switch and use it to restore power. Notice that you're now surrounded by electrical discharges. Choose the Slime Gun from your inventory. You'll have to attach the rope to a round lamp seen in the water and the other end to the wall.
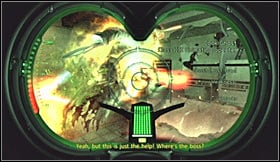 | 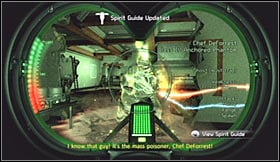 |
If you've done everything according to the plan the lamp should be raised and it'll be safe to leave this area. Open the gate again and return to the kitchen. Approach a burning stove and get ready to take scans of three new types of ghosts (Cook Ghost, Chef DeForrest and Kitchen Flier).
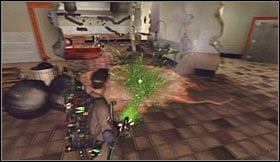 | 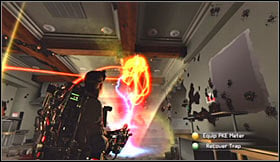 |
I would recommend that you start off by dealing with the flying objects using your Shock Blast attacks. Patch up two portals found in the kitchen using the Slime Gun. Finish off by dealing with the cooks and with the chef who obviously is going to be the most powerful one. Don't forget to trap the ghosts and once they're gone return to the lobby area.
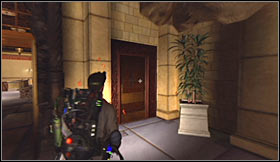 | 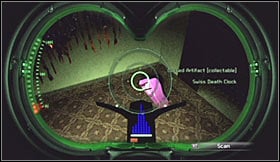 |
Leave the rest of your team behind for a short while and return to the area where you've started this level. There's going to be a small door to the left of the main entrance. You can open it thanks to restoring the power earlier on. Once inside take out your PKE meter and scan the area for the fourth artifact - Swiss Death Clock.
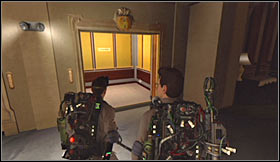 | 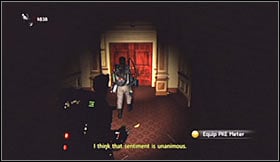 |
You may now rejoin with the rest of your squad. Start moving towards the elevators and enter the one that will open once you're close enough. Listen to an interesting conversation on your way to a higher floor. Start following your colleague and stay close to him until he pries open one of the doors.
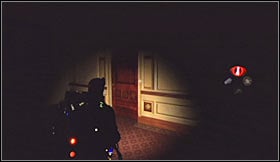 | 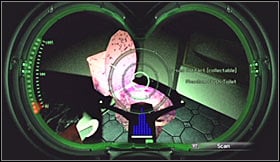 |
You should separate from your teammate here. Choose a corridor located to your left. You'll have to open the last door to your right which will allow you to enter one of the apartments. Locate a door leading to the bathroom and use your PKE meter to find the fifth artifact -Phantom Flush Toilet. You may return to the corridor where your colleague is waiting.
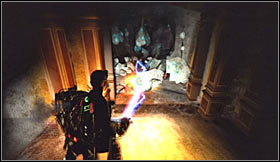 | 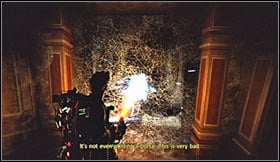 |
Watch out, because you'll be dealing with a lot of Spider Crawlers from now on. Don't forget to take a scan of one of these creatures. As for means of eliminating them, Proton Gun is your best choice here. Keep pushing forward until you come across a large web. Destroy this obstacle with a single Boson Dart.
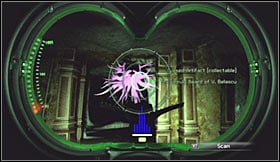 | 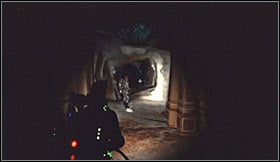 |
Watch a short cut-scene and once it's over explore the corridor to your right. Doing this will allow you to get your hands on the final sixth artifact - The Unruly Beard of V. Belascu. Return to Spengler and follow him to a new corridor. Obviously you should be ready to get rid of more spiders along the way.
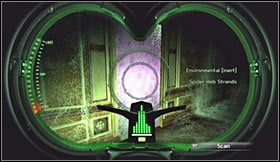 | 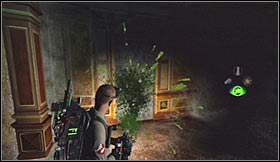 |
It shouldn't take long to reach the area where the hotel room is supposed to be located. Use your PKE meter and scan the left wall to uncover a door. Destroy this obstacle with your Slime Gun, so you'll be allowed to head inside. Continue exploring nearby rooms until a new cut-scene is displayed on your screen.
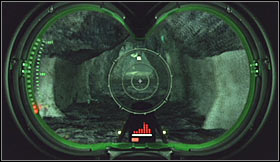 | 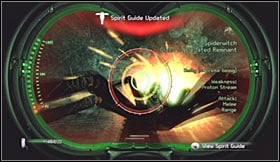 |
Once again you must use the PKE meter to scan your surroundings. Your objective here will be to find out where the boss is hiding. Wait for the Spiderwitch to appear and take her scan before engaging her in an open combat.
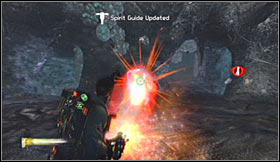 | 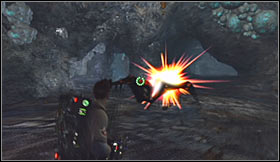 |
Remember to keep moving, so you won't be an easy target. Keep attacking the queen with Boson Darts. It would also be a good idea to upgrade your Proton Gun prior to this boss battle. Don't forget to vent your weapon frequently, because you can't afford any mistakes, such as allowing your weapon to overheat.
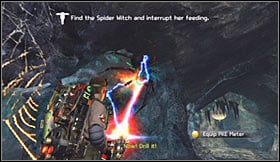 | 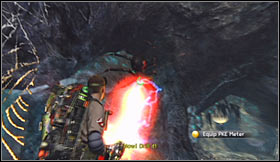 |
Once the queen has lost a few health points you should notice that she ran away. Don't even bother using your PKE meter to find her. Instead go back to the area where you've seen a couple of cocoons. You must attack the queen before she fully regenerates her life energy, because otherwise you would start this fight from the beginning.
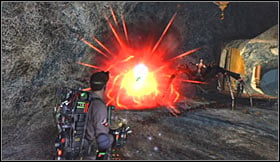 | 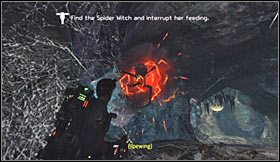 |
You won't be surprised by anything new from now on. Keep attacking the witch using Boson Darts and follow her each time she tries to regenerate in order to prevent her from regaining health points. Focus only the boss once you're close to a win. Killing the queen will end this mission.
- Ghostbusters The Video Game Game Guide & Walkthrough
- Ghostbusters The Video Game: Walkthrough
- Ghostbusters The Video Game: Training level - Firehouse
- Ghostbusters The Video Game: Level 1 Sedgewick Hotel - part 1
- Ghostbusters The Video Game: Level 1 Sedgewick Hotel - part 2
- Ghostbusters The Video Game: Level 2 Times Square - part 1
- Ghostbusters The Video Game: Level 2 Times Square - part 2
- Ghostbusters The Video Game: Level 3 Public Library - part 1
- Ghostbusters The Video Game: Level 3 Public Library - part 2
- Ghostbusters The Video Game: Level 3 Public Library - part 3
- Ghostbusters The Video Game: Level 4 Museum of History - part 1
- Ghostbusters The Video Game: Level 4 Museum of History - part 2
- Ghostbusters The Video Game: Level 5 Return to Sedgewick Hotel
- Ghostbusters The Video Game: Level 6 Lost Island - part 1
- Ghostbusters The Video Game: Level 6 Lost Island - part 2
- Ghostbusters The Video Game: Level 7 Central Park Cemetery - part 1
- Ghostbusters The Video Game: Level 7 Central Park Cemetery - part 2
- Ghostbusters The Video Game: Level 7 Central Park Cemetery - part 3
- Ghostbusters The Video Game: Walkthrough
You are not permitted to copy any image, text or info from this page. This site is not associated with and/or endorsed by the developers and the publishers. All logos and images are copyrighted by their respective owners.
Copyright © 2000 - 2026 Webedia Polska SA for gamepressure.com, unofficial game guides, walkthroughs, secrets, game tips, maps & strategies for top games.
