Ghostbusters The Video Game: Level 4 Museum of History - part 1
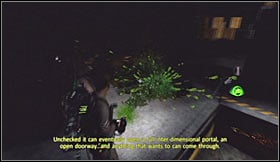 | 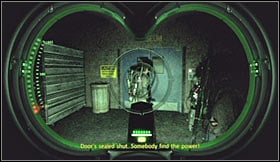 |
Level walkthrough: You start this level standing in a dark warehouse area of the museum. Ignore objects from the environment and follow your colleagues to the first checkpoint. You'll come across black slime along the way and it would be a good idea to use the Slime gun to clear your path. Eventually you'll find a locked door.
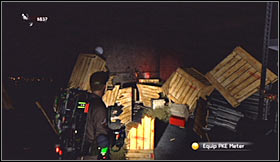 | 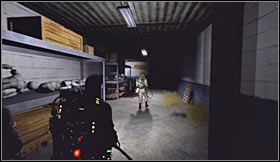 |
Turn around. You can find the power switch on your own or you can use the PKE meter to help you in uncovering its location. Either way you'll have to destroy a couple of crates found in the corner of the room. Flip the switch, return to the door and enter the next room.
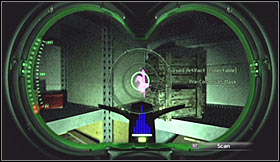 | 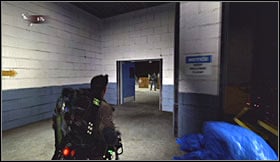 |
Continue moving forward. Ignore black slime stains seem along the way, because you won't have to destroy them and they won't pose a threat. Reach a larger room and inspect the area to your left to find the second artifact - Ritual Mask of Bad Advice. You may proceed to the next section.
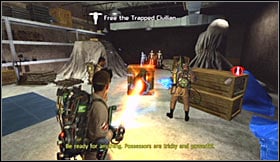 | 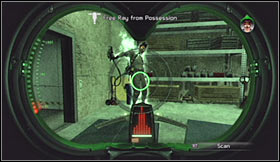 |
Approach a large crate located in the central area of the warehouse and destroy it with your primary gun to free the museum curator. Wait for a new cut-scene to be displayed on your screen and take a quick scan of Ray's body to add a new entry to your list of ghosts (Possessed Human).
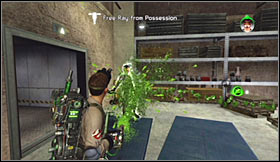 | 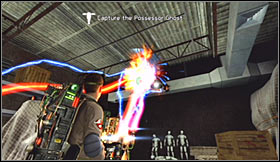 |
Choose the Slime Gun from your list of weapons and use the slime to help your possessed friend by sending the ghost away from his body. Quickly choose the PKE meter and scan the actual Possessor Ghost. You may now get rid of this phantom by going through all three steps and by using one of carried traps.
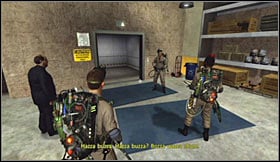 | 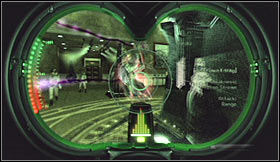 |
You may finally enter a nearby elevator. Wait for it to reach the ground floor of the museum where you'll be presented with yet another cut-scene. Once the cut-scene has ended make sure to take a scan of Beauty Queen Ghost.
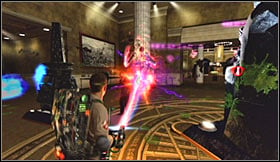 | 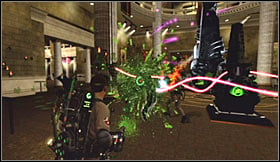 |
I guess I should tell you that you'll be dealing with a lot of nasty ghosts here, especially since you'll have to trap most of them. Some of the phantoms will also possess civilians from time to time. Ignore them unless it's your colleagues we're talking about. Leave them for later and focus on eliminating more powerful wraiths in the first place.
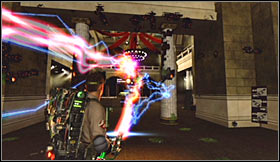 | 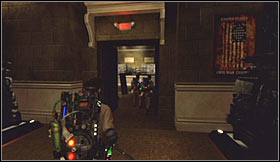 |
Once you've eliminated all flying ghosts you may focus on rescuing the possessed ones with your Slime Gun. Your final objective here will be to secure two large areas. Thankfully you won't have to go anywhere afterwards, because you'll be presented with a new cut-scene right away. Follow your colleagues and notice stains on the floor along the way (you won't have to scan anything).
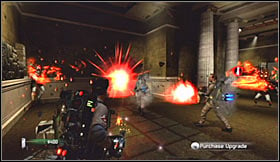 | 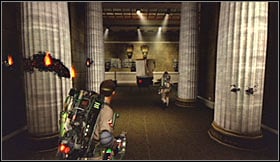 |
Choose the PKE meter from your inventory when you reach the first area with the exhibits, because you'll have a chance to take a scan of a Possessed Statue. Use Dark Matter Generator to eliminate these beasts (preferably Shock Blast ability), because Proton Gun is slightly less effective. Nevertheless it won't take too long to eliminate each group. Take out all hostile units and find a passageway between four large columns.
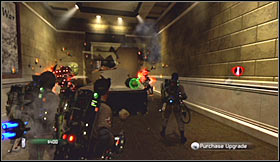 | 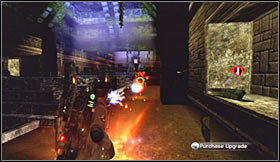 |
Turn right an get ready to eliminate other creatures along the way. It would be a good idea to neutralize them from a larger distance, so you won't have to risk your life too often. Proceed towards a door and press the action key to open it. Notice an escaping ghost in the next room, however for now focus on getting rid of less powerful targets.
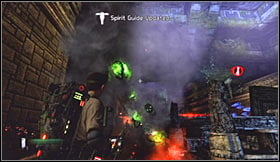 |  |
Keep pushing forward and use small bridges to get closer to your destination. You'll soon notice that a large group of Flying Skulls has appeared near your position. You must use the Shock Blast attack to get rid of the skulls quickly, so it's going to be very similar to fighting flying books from the library level. Eventually you'll reach a new door located to the left of a large pyramid.
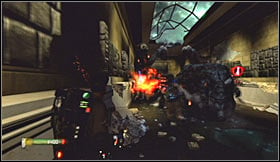 |  |
Proceed to your right and get ready to engage more spirits when you're close enough to the statues. Just as before, attack them from a safe distance and revive your colleagues when they suffer major injuries. Open a new door and listen to a short dialogue when you get to the gate. You'll soon reach an area with the Civil War exhibit.
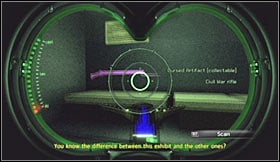 | 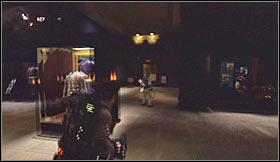 |
Start this tour by going to your left and examining some of the nearby exhibits. This will allow you to get your hands on the second artifact - Cursed Musket of C. Starkey. You may proceed towards the exit where you'll be rewarded with a cut-scene showing ghosts from two opposite sides going after each other.
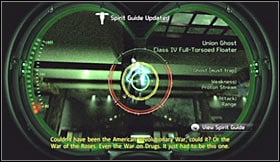 | 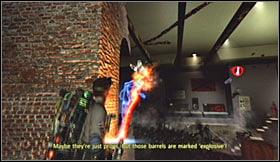 |
It would be a good idea to scan two new types of ghosts - Union Ghosts and Confederate Ghosts. You may now begin attacking them. It's not going to be easy here, so you should always focus on eliminating single targets. Stay away from larger groups and dodge their attacks, so you won't have to be saved too often by your colleagues.
 |  |
Once you've won go to the door you were trying to open before. This time you'll be allowed to proceed and you'll also witness a new cut-scene. When you get to the Egyptian exhibit get ready to defend yourself against a large group of flying skulls. Don't forget that you should be using the Dark Matter Generator to destroy them.
- Ghostbusters The Video Game Game Guide & Walkthrough
- Ghostbusters The Video Game: Walkthrough
- Ghostbusters The Video Game: Training level - Firehouse
- Ghostbusters The Video Game: Level 1 Sedgewick Hotel - part 1
- Ghostbusters The Video Game: Level 1 Sedgewick Hotel - part 2
- Ghostbusters The Video Game: Level 2 Times Square - part 1
- Ghostbusters The Video Game: Level 2 Times Square - part 2
- Ghostbusters The Video Game: Level 3 Public Library - part 1
- Ghostbusters The Video Game: Level 3 Public Library - part 2
- Ghostbusters The Video Game: Level 3 Public Library - part 3
- Ghostbusters The Video Game: Level 4 Museum of History - part 1
- Ghostbusters The Video Game: Level 4 Museum of History - part 2
- Ghostbusters The Video Game: Level 5 Return to Sedgewick Hotel
- Ghostbusters The Video Game: Level 6 Lost Island - part 1
- Ghostbusters The Video Game: Level 6 Lost Island - part 2
- Ghostbusters The Video Game: Level 7 Central Park Cemetery - part 1
- Ghostbusters The Video Game: Level 7 Central Park Cemetery - part 2
- Ghostbusters The Video Game: Level 7 Central Park Cemetery - part 3
- Ghostbusters The Video Game: Walkthrough
You are not permitted to copy any image, text or info from this page. This site is not associated with and/or endorsed by the developers and the publishers. All logos and images are copyrighted by their respective owners.
Copyright © 2000 - 2026 Webedia Polska SA for gamepressure.com, unofficial game guides, walkthroughs, secrets, game tips, maps & strategies for top games.
