Fallout 3 The Pitt: The Mill Worker - part 6
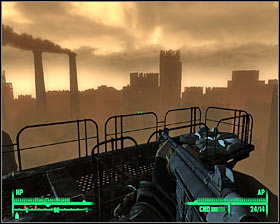
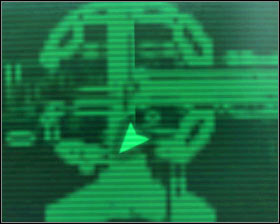
Once you've disabled or destroyed the turret and taken care of all hostile units go to the stairs leading to the top of this tower. You shouldn't encounter any additional enemies along the way. Keep heading upwards and eventually you'll get to the top. Examine medical cases and begin collecting ingots. There's going to be TWELVE of them here!!!
INGOTS #75, #76, #77, #78, #79, #80, #81, #82, #83, #84, #85, #86 | Location: On top of a huge tower. |
 |  |
Make sure that you've taken all ingots and begin descending slowly. Reach one of the lower platforms and find an opening that will allow you to get to a large conveyor belt [#73]. Use this structure and start moving forward. Once again, you'll be perfectly safe.
![[#73] - Additional quest - QUEST 4: The Mill Worker - part 6 - Additional quest - Fallout 3: The Pitt - Game Guide and Walkthrough](/fallout3thepitt/gfx/word/1655768578.jpg)
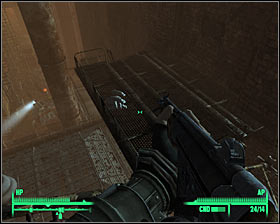
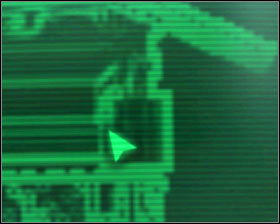
Like I've already said, you shouldn't encounter any monsters nor wildmen. Get to the opposite end of the conveyor belt, find a small ledge to your left and collect seven new ingots.
INGOTS #87, #88, #89, #90, #91, #92, #93 | Location: On a small ledge. |
 |  |
There's only one more set of ingots for you to find here in The Steelyard. In order to avoid serious complications you should follow my instructions carefully. Once you've taken the last pack of ingots go back to the conveyor belt and go back the same way you came before. Once you're there go to the platform where you disabled the turret and continue your descent using nearby balconies and staircases. Get to the lower section of the roof where you defeated a single wildman or some creatures. It's to the left of the final staircase [#74]. You can find this area quite easily, especially if you search for the large domes.
![[#74] - Additional quest - QUEST 4: The Mill Worker - part 6 - Additional quest - Fallout 3: The Pitt - Game Guide and Walkthrough](/fallout3thepitt/gfx/word/1655768625.jpg)
Proceed directly to the south until you've been stopped by a large fence. Turn east and try to get past the fence without actually falling down. This will allow you to approach the southern wall of the building. Once again you must turn east. Approach the ledge very carefully and try sliding down near a large pipe [#75]. If you're lucky, you'll hit a few bumps along the way, so you won't lose any health due to the fall.
![[#75] - Additional quest - QUEST 4: The Mill Worker - part 6 - Additional quest - Fallout 3: The Pitt - Game Guide and Walkthrough](/fallout3thepitt/gfx/word/1655768640.jpg)
This isn't over yet. You should now be standing on a lower part of the roof. Make a few steps to the east and you'll notice an isolated area of the compound beneath your current position [#76]. Slide down once again. This time you won't be dealing with large heights, so you won't sustain any injuries.
![[#76] - Additional quest - QUEST 4: The Mill Worker - part 6 - Additional quest - Fallout 3: The Pitt - Game Guide and Walkthrough](/fallout3thepitt/gfx/word/1655768656.jpg)
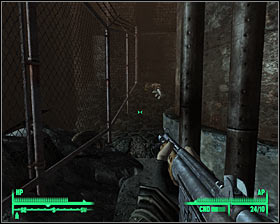
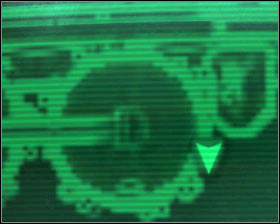
You may finally proceed eastwards. Keep going straight until you've been stopped by yet another large fence. This means you'll have to turn south. It shouldn't take you too long before you find a body of a dead slave. There's an improved autoaxe here, but you already have a better model from the plant. The most important thing is that you collect all four ingots.
INGOTS #94. #95, #96, #97 | Location: In the corner, next to a dead slave. |
 |  |
You'll now have to leave not only this area but also The Steelyard, because the other three ingots can be found somewhere else. Sadly picking up the last set of ingots has resulted in new monsters heading your way. I wouldn't recommend fighting them. Go to the south-east quickly and jump over the fence [#77] before you're attacked. You will find yourself standing next to a large container where you've already found some ingots a long time ago.
![[#77] - Additional quest - QUEST 4: The Mill Worker - part 6 - Additional quest - Fallout 3: The Pitt - Game Guide and Walkthrough](/fallout3thepitt/gfx/word/1655768703.jpg)
You may now begin moving towards the exit. If you can't remember where it is head north and then turn east. You'll probably walk past the carriages along the way. Confirm that you won't to go back to the Abandoned Area. Star moving forward, using the path shown to you by Everett. Defeat a single Trog and locate a hole in the fence that can be found to your right [#78].
![[#78] - Additional quest - QUEST 4: The Mill Worker - part 6 - Additional quest - Fallout 3: The Pitt - Game Guide and Walkthrough](/fallout3thepitt/gfx/word/1655768718.jpg)
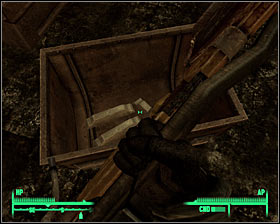
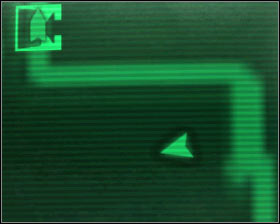
Head on to the unexplored area and proceed to the north-east. You should be able to find the remaining three ingots inside a mine cart.
INGOTS #98. #98, #100 | Location: In the mine cart. |
 |  |
You may finally return to The Mill district using a nearby door. Once you've arrived at your new destination you'll automatically trigger a conversation with Everett. Remember that you had to find at least 10 ingots to be able to continue with the second quest, however you can continue giving him more of these objects [#79]. Obviously Everett will reward you for finds. Go to the chapter titled Rewards for completing The Pitt if you want to find out more. If you plan on going back to Midea, go to section titled QUEST 2: Unsafe Working Conditions and keep reading to find out what has to be done to get to Ashur's location.
![[#79] - Additional quest - QUEST 4: The Mill Worker - part 6 - Additional quest - Fallout 3: The Pitt - Game Guide and Walkthrough](/fallout3thepitt/gfx/word/1655768765.jpg)
You are not permitted to copy any image, text or info from this page. This site is not associated with and/or endorsed by the developers and the publishers. All logos and images are copyrighted by their respective owners.
Copyright © 2000 - 2026 Webedia Polska SA for gamepressure.com, unofficial game guides, walkthroughs, secrets, game tips, maps & strategies for top games.
