Fallout 3 The Pitt: The Mill Worker - part 1
Received from: Midea [Downtown - Midea's Quarters]
Solution: Important! In order to fulfill Midea's request you'll only have to find ten steel ingots, but in order to complete this quest you must locate all of them. There are 100 ingots for you to find and you should keep reading if you don't plan on looking for them on your own. Obviously you can change the route depending on how much time you want to spend in The Steelyard. Each find has two pictures in my guide. The first picture shows the ingot (or ingots) in the game world and the second screen shows the location on the map.
Once you've arrived at The Steelyard make a few steps forward and located a body of a killed slave. There are first two ingots here, but the more important activity is to collect an assault rifle, as well as some ammunition. You can now continue using an autoaxe from Marco or you can switch to your new gun. Inspect the body of the slave for more bullets, as well as several bobbypins.
INGOTS #1, #2 | Location: Next to a dead slave. |
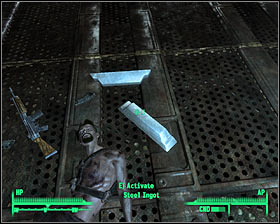 | 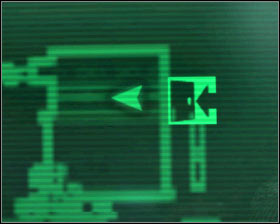 |
You may proceed forward, towards large carriages seen in the distance. Inspect the area to your right and you'll notice a "conversation" taking place between one of the slaves and his brother who is now a Trog. You can react as soon as the Trog attacks his brother by firing at the creature or you can allow the beast to get its hands on fresh meat. For now focus on reaching the stairs leading to a hood of a large truck. Get on top of the truck, make a few steps forward and turn left. There's a large container in front of you and you must jump towards the container.
INGOTS #3, #4 | Location: Container next to the truck. |
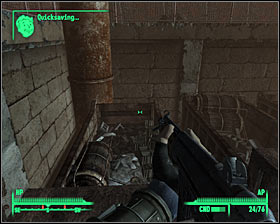 | 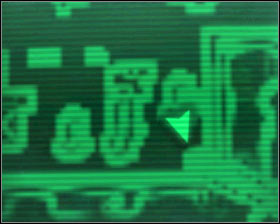 |
Turn right and you'll notice a similar second container. Make a jump towards the container, but watch out not to lose balance, because you would have to start the jumps from the beginning.
INGOTS #5, #6 | Location: Second container from the left. |
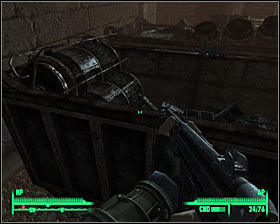 |  |
There's one more large container here, but you wouldn't find any new ingots inside. Instead jump down to the ground and check the corner near the third large container. You'll come across a smaller container here. Ignore the body of a dead slave and take a look inside the container to collect three new ingots.
INGOTS #7, #8, #9 | Location: Smaller container with a body of a dead slave. |
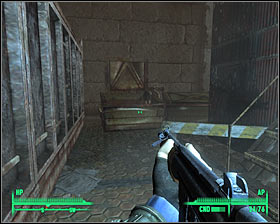 | 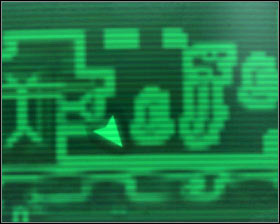 |
Once you've collected ingots from a small container turn around and proceed to the stairs located to your left. Use the stairs to get to the upper level and head towards wooden boards. Go right and head over to a small alley found to your left. Be careful, because once you've collected new ingots you may be attacked by the first creature. Don't forget to inspect bodies of fallen Trogs, because you'll find a lot of interesting items, including drugs and bobbypins.
INGOTS #10, #11 | Location: Dark alley. |
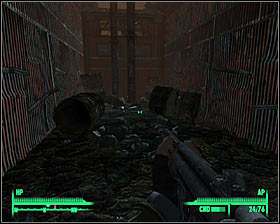 |  |
Go back to the narrow passageway where you've used the wooden boards to get through. Turn left and start moving near the ledge. You should be standing to the right of a large fence. Look at the screen [#57] to find out where you'll have to stop. It should be the third metal platform counting from the end. If you're facing the platform, you should be able to notice a Trog and the slave from one of the previous encounters.
![[#57] - Additional quest - QUEST 4: The Mill Worker - part 1 - Additional quest - Fallout 3: The Pitt - Game Guide and Walkthrough](/fallout3thepitt/gfx/word/1655477265.jpg)
Jump onto the platform CAREFULLY. Remember that you can't be standing in the middle of the platform or otherwise you'll lose balance and fall. Start moving forward while still standing on the platform, but don't go all the way to the end. Instead make a stop at about a half way through. Look down and you should be able to locate a carriage with two ingots on top of it. Slide down to land on that carriage. Take the ingots and defeat a Trog, preventing the creature from making a surprise attack.
INGOTS #12, #13 | Location: On top of one of the carriages. |
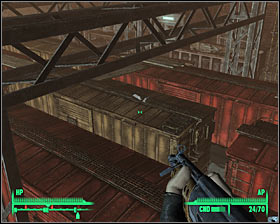 | 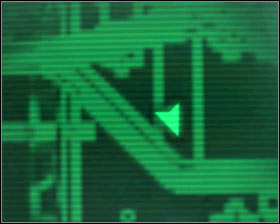 |
In order to get to other ingots you'll have to go back to the upper platform. This means going to the stairs and to the wooden boards. Use the same metal platform as before (third from the end), but now go all the way to the end. Look down and you should notice three new ingots in an opened container. Slide down in order to land inside the container.
INGOTS #14, #15, #16 | Location: Container near the fence and under the platform. |
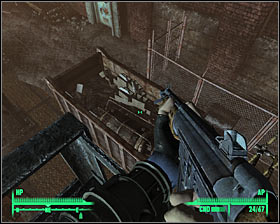 | 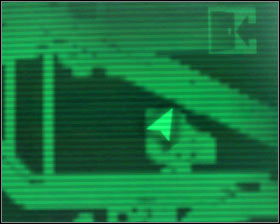 |
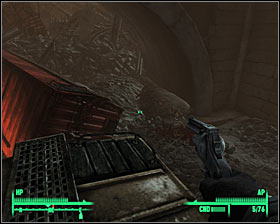
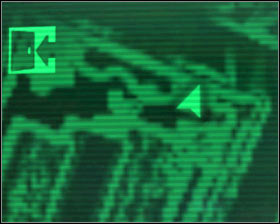
Go back to the upper ledge for the last time and start moving next to a fence. This time ignore the third platform from the end and proceed to the final metal platform. Hop onto the platform and from there get to one of the carriages. Slide down to land on top of the carriage and start moving north. You should notice a few Trogs located nearby, but since you're standing on a carriage killing them with a rifle should be very easy. Make sure they've all been killed, get to the ground level and find two new ingots near the collapsed tunnel.
INGOTS #17, #18 | Location: Near the collapsed tunnel entrance. |
 |  |
You are not permitted to copy any image, text or info from this page. This site is not associated with and/or endorsed by the developers and the publishers. All logos and images are copyrighted by their respective owners.
Copyright © 2000 - 2025 Webedia Polska SA for gamepressure.com, unofficial game guides, walkthroughs, secrets, game tips, maps & strategies for top games.
