Drakensang Phileasson's Secret: The Faith of the High King
Received: After quest 5. Another way to Phileasson.
1) Defend yourself against Orima's priestess

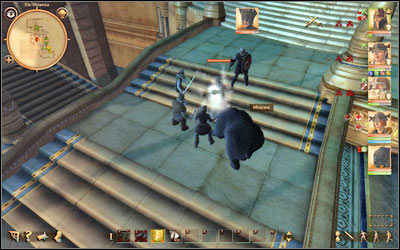
When you return to Tie'Shianna you will meet there Phileasson which Mhayana (M9, 2) presented the glowing stone from her mask. Phileasson considered himself for the High King, the ruler of the High Elves. Moments later the Orima's priestess rushes to attack you. The opponent is demanding and persistent, albeit Phileasson helps you, but you are not able to guide him yet. Mhayana can convert enemies into stone for a one and a half minutes. When combat ends, the new High King will go to the Rose Portal, which will take them to the Lion Gate - currently located under attack of Kazak.
2) Stop the attacking troops
 |  |
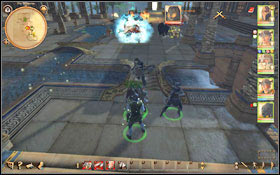
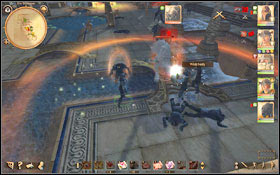
Unfortunately you won't be able to run up to the portal after Phileasson, arrives Nameless Horde (M9, 4). After breaking the first wave another will appear. This time, have an attention to the Leader of the horde, which has the highest durability and strength. It is true that there are Guardians of the Palace, but you will be the main target of the opponents.
3) Go after the Phileasson to the Lion Gate
Go through the Rose Portal (M9, 3), but unfortunately you won't be direct to the Lion Gate, but to the Halls of Oblivion. Perform the task 7. Halls of Oblivion. After completing the tasks automatically activates the task 8. Kazak, Wading in Blood.
- Drakensang: Phileasson's Secret Game Guide
- Drakensang Phileasson's Secret: Game Guide
- Drakensang Phileasson's Secret: Main quests
- Drakensang Phileasson's Secret: Guard in trouble
- Drakensang Phileasson's Secret: Thorwalians on the Great River
- Drakensang Phileasson's Secret: Heal the Nurti chapel
- Drakensang Phileasson's Secret: Interrupted conversation
- Drakensang Phileasson's Secret: Another way to Phileasson
- Drakensang Phileasson's Secret: The Faith of the High King
- Drakensang Phileasson's Secret: Halls of Oblivion
- Drakensang Phileasson's Secret: Kazak, Wading in Blood
- Drakensang Phileasson's Secret: Back to the world in a bubble
- Drakensang Phileasson's Secret: The Fall of Tie'Shianna
- Drakensang Phileasson's Secret: Tarkath the traitor
- Drakensang Phileasson's Secret: Main quests
- Drakensang Phileasson's Secret: Game Guide
You are not permitted to copy any image, text or info from this page. This site is not associated with and/or endorsed by the developers and the publishers. All logos and images are copyrighted by their respective owners.
Copyright © 2000 - 2025 Webedia Polska SA for gamepressure.com, unofficial game guides, walkthroughs, secrets, game tips, maps & strategies for top games.
