Death Stranding: How to use a zip-line?
Zip-line - is a large construction that can be placed and used while playing Death Stranding. On this guide page of our guide you will find information on when the Zip-line is unlocked, where to build Zip-line towers and how to travel with the use of Zip-line.

Zip-line becomes available after advancing to Chapter 5: Mother. After visiting crafting menu, you will learn that you can use second level assemblers (PCC Lvl 2) to construct a Zip-line.

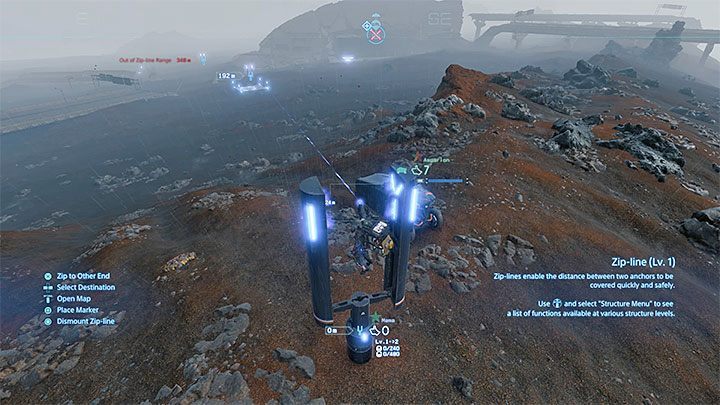
Zip-lines are U-shaped towers. It is worth remembering that you don't have to build them all yourself, because when you travel around the game world you can also come across Zip-lines set by NPCs or other players (the latter is available only in online mode).

A single Zip-line has no application yet - you have to combine 2 or more of them in the same area. The default range of each Zip-line is 300 meters (it can be increased by improving the construction). It means that zip-lines cannot be placed too far from each other. In addition, they cannot be separated by any obstacles.
An example of a correct connection is shown in the attached image - a blue line indicates that the two towers are correctly connected.

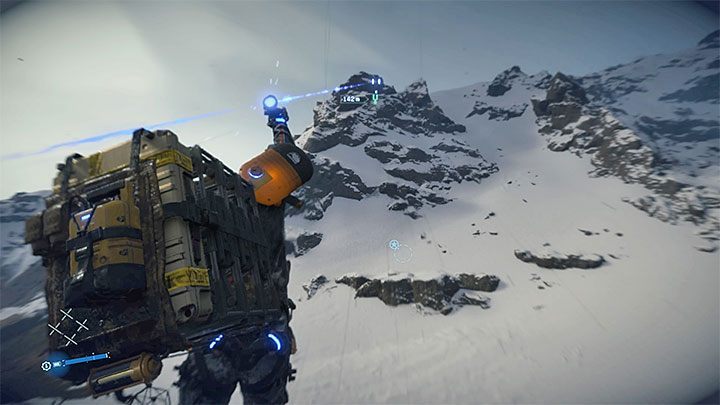
A correct combination of zip-lines allows you to get a quick ride on the rope. If you can't see the blue line, remove the zip-line tower and try to place it somewhere else.

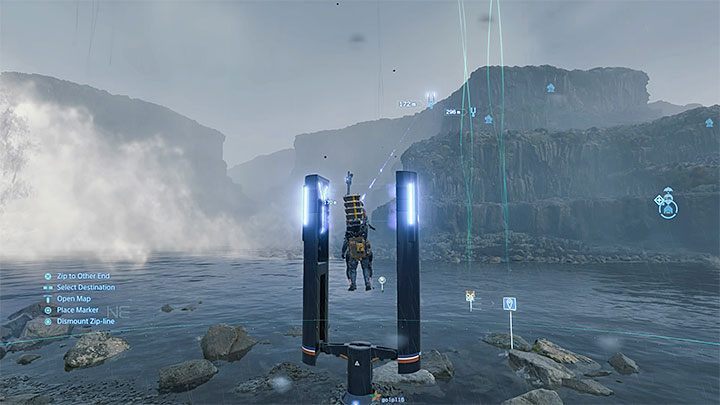
For the first time, zip-lines come handy during the Order no. 42 (Collection: Scattered Rare Material Resources), which consists in collecting raw materials scattered around a waterfall. The best tactic is to set up zip-lines on opposite banks of the river. In addition, it would be great if at least one of zip-line towers was placed on top of the hill. You won't have to complete an extra climb when you finish your rope ride.
- Death Stranding Guide
- Death Stranding: Game Guide
- Death Stranding: FAQ
- Death Stranding: Exploration and cargo transportation
- Death Stranding: How and why it's worth to expand the road network?
- Death Stranding: Are there any traditional firearms in the game?
- Death Stranding: What is premium delivery?
- Death Stranding: How to use a zip-line?
- Death Stranding: How to get the armor?
- Death Stranding: How to get crafting materials?
- Death Stranding: Where can I find Conan O'Brien?
- Death Stranding: Where should I go next?
- Death Stranding: What is the Porter Grade?
- Death Stranding: What happens after the hero dies?
- Death Stranding: How to increase the load capacity limit?
- Death Stranding: What role does BB (Bridge Baby) play?
- Death Stranding: Where to store unnecessary equipment?
- Death Stranding: What should I do if my shoes wear out?
- Death Stranding: How to repair a damaged cargo?
- Death Stranding: What is a Timefall?
- Death Stranding: Is it possible to change the appearance of the character?
- Death Stranding: How to get an exoskeleton?
- Death Stranding: How to collect Chiral Crystals?
- Death Stranding: How to get and start a new motorcycle?
- Death Stranding: Is there a fast travel option?
- Death Stranding: What are memory chips for?
- Death Stranding: Exploration and cargo transportation
- Death Stranding: FAQ
- Death Stranding: Game Guide
You are not permitted to copy any image, text or info from this page. This site is not associated with and/or endorsed by the developers and the publishers. All logos and images are copyrighted by their respective owners.
Copyright © 2000 - 2025 Webedia Polska SA for gamepressure.com, unofficial game guides, walkthroughs, secrets, game tips, maps & strategies for top games.
