Mission 9 - part 5 | Mission 9 - Exodus
Teaming up with major Strickland's forces

Map legend:
1 - starting area
2 - destination
For the first time since the previous mission, you'll be allowed to go somewhere on your own. Sadly, this isn't going to be a long trip and there's only one good passageway leading to your current destination. Obviously you will have to go north, because that's where allied forces are currently defending themselves. You will come across a river in just a few seconds. This means you're heading the right way.

I wouldn't recommend staying near the river. Instead, head on to a small road which can be found to your left (screen). This will allow you to avoid some of the alien creatures and it won't you take much time to get to your current target area.
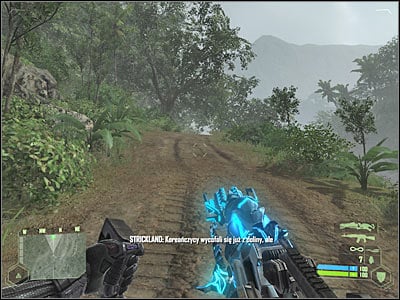
Be careful, because you will encounter several monsters along the way. Thankfully, you won't be going against larger foes, so it should be fairly easy to get rid of them, as long as you stay away from their exploding bodies. Keep heading towards your current destination. Choose the main road leading to the camp, so you won't get lost. You should receive new orders once you're close enough to the village.
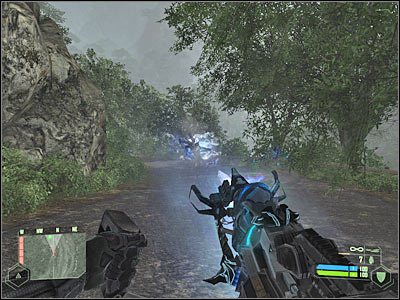
Defending the village
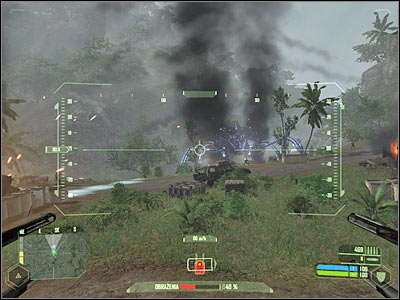
This is going to be your final main task for this mission. Thankfully, it's going to be much easier this time. You won't have to protect anyone in particular and there are a lot of allied soldiers in the vicinity. You'll also notice two active AA guns. Proceed to the third AA unit (screen), because it's not being used by anyone.
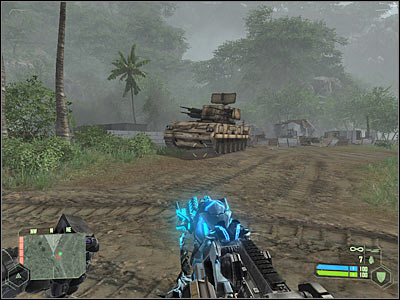
You should be able to spend more time inside this AA gun, mostly because alien creatures will attack other AA units. Additionally, some of the toughest battles will take place near the river and you're far away from there. Use your turrets to take down as many alien creatures as possible. Don't worry about the ammunition. Just keep shooting at enemy units.
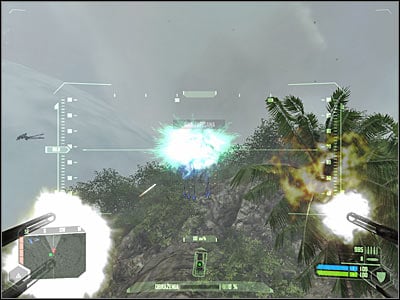
You shouldn't stop shooting at alien monsters. You'll probably notice that a huge alien spider has appeared near the river. You won't have to attack it, because it's immune to your fire. Instead, focus all your attention on standard alien units. You will have to wait for the final objective to pop up on your screen. Remember to leave the AA gun if it's badly damaged.
Reaching the plane
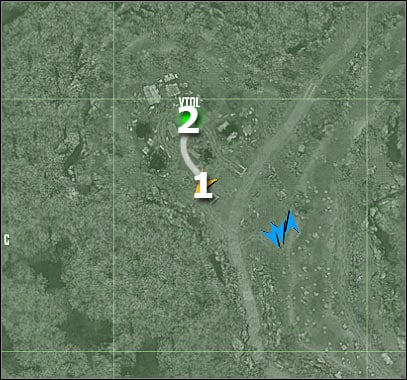
Map legend:
1 - starting area
2 - destination
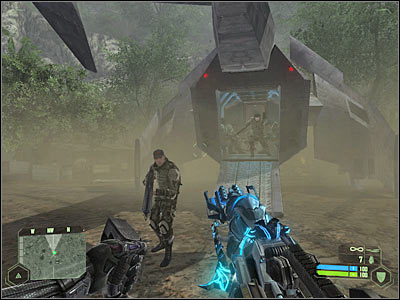
Exit the AA gun, because you won't be able to move it. As you've probably noticed, an allied plane has landed near the village. Start running towards it. Don't worry about some of the ongoing fights, because you won't have to participate in them anymore. Board the plane (screen) and witness an interesting cut-scene. It's the end of this fairly short mission.
You are not permitted to copy any image, text or info from this page. This site is not associated with and/or endorsed by the Electronic Arts or Crytek Studios. All logos and images are copyrighted by their respective owners.
Copyright © 2000 - 2025 Webedia Polska SA for gamepressure.com, unofficial game guides, walkthroughs, secrets, game tips, maps & strategies for top games.
