Crysis: Mission 2, Recovery - part 4, walkthrough
Rescuing the hostage
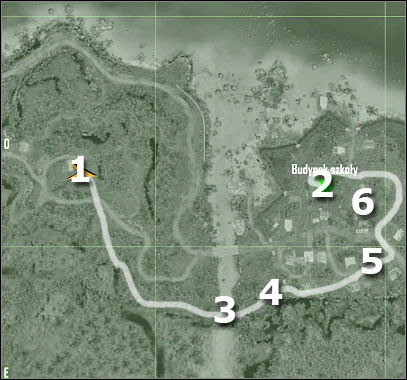
Map legend:
1 - starting area
2 - destination
3 - safest passageway to cross the river
4 - mine field
5 - parking lot
6 - town hall
As you've probably noticed by looking at the map, there's a long walk ahead of you. I wouldn't recommend trying to enter the village through the main bridge, because that area is heavily guarded. Instead, we'll try to sneak our way in. First off, you will have to leave this hill area. I wouldn't recommend going back to the junction. Instead, make sure that no one's in the area and start moving south (screen).
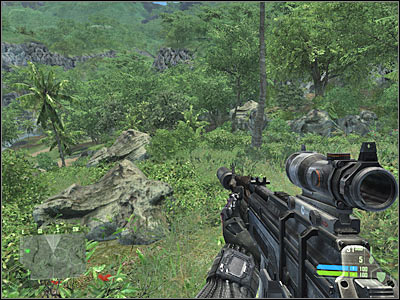
Once you've reached a larger road, I would recommend that you hide somewhere in the bushes. Take your time and observe your surroundings. There's a high probability of encountering an enemy patrol. I wouldn't recommend attacking enemy units. Instead, wait for them to leave. They will go either north or towards the bridge. Head on south. This means you will have to enter a new jungle area.
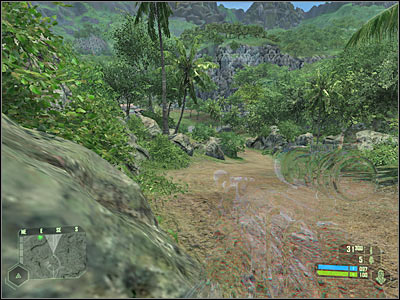
Look at my map, because that's where you'll have to go. Thankfully, you won't encounter anyone while going through the jungle. Nevertheless, you shouldn't be in a lot of hurry. You will probably get closer to a new road very soon (screen), so you must be careful. Once again, you should allow the opponents to leave, so they won't see you coming.
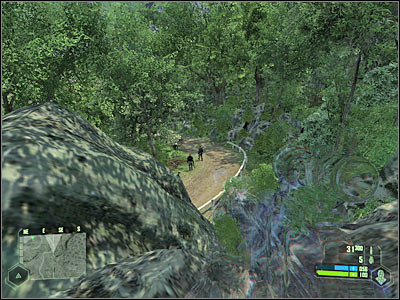
Eventually you will have to get closer to the river (3 on the map). Be careful here, because one of the enemy soldiers will appear in front of you. Kill him quickly, but make sure that your weapon has a silencer attached to it. Once he's gone, cross the river and move closer to the village. You will have to "disappear" here, so activate cloaking device.
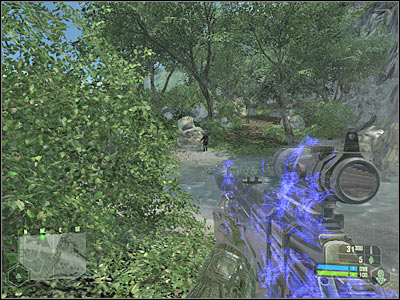
Make a few steps forward. There's a heavy machine gun nest to your left and your first task here will be to neutralize it. As a result, you will have to use a scope in order to take out one of the enemy soldiers. Make sure that he dies instantly. Otherwise you would have raised an alarm. Now you must act quickly, so no one replaces him at the nest.
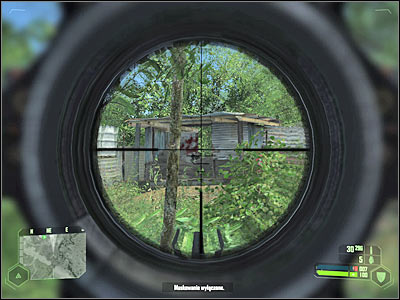
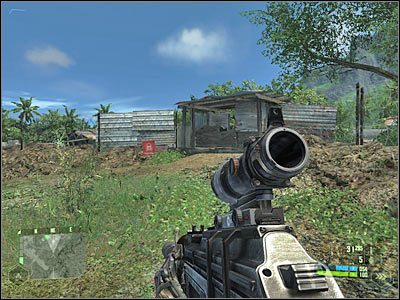
As you've probably noticed by now, there's a large mine field ahead. Sadly, you won't be able to destroy the mines and you can't get around them. Also, you can't use maximum strength in order to jump over the barbed wire, because your character would have been killed. Instead, activate maximum speed and start running towards the neutralized machine gun nest. Some of the mines will explode, but you won't suffer any injuries. Once you've arrived at the rest, activate your cloaking device.
You are not permitted to copy any image, text or info from this page. This site is not associated with and/or endorsed by the Electronic Arts or Crytek Studios. All logos and images are copyrighted by their respective owners.
Copyright © 2000 - 2025 Webedia Polska SA for gamepressure.com, unofficial game guides, walkthroughs, secrets, game tips, maps & strategies for top games.
