CSI: Hard Evidence: Case 4 - Crime scene - part 2 In Your Eyes
Now you have to inspect the main corridor leading to the crime scene. You shouldn't have any problems finding the fire poker. Click on it. Obviously you will have to pick it up with Latex Gloves.
New evidence: Fire Poker
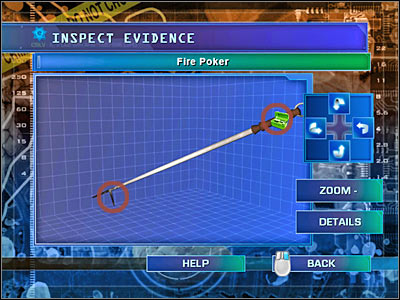
Don't close this window right away. There are two active areas on the fire poker and you have to find them. Look at the screen if you're having some problems with that. Let's start off by clicking on a fingerprint. You will have to use a Fingerprint Brush and Powder here. Follow it with an Adhesive Lifting Tape.
New evidence: Fingerprint from Fire Poker)
Now you will have to click on the bloody tip of the fire poker. Choose Leuko Crystal Violet from your equipment bar. Once this is done, use an IntegriSwab to collect a sample of the blood.
New evidence: Blood from Fire Poker
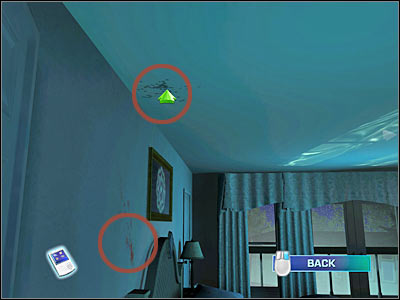
Click on the cupboard which is located at the far end of this corridor. This will allow you to score a bonus for thoroughness. Enter the bedroom which is your crime scene. Before you decide to touch anything, you will have to make a few photographs. Start off by clicking on two blood stains. One of them is on the ceiling and the second one can be found on the left wall. In both cases, you will have to use a Digital SLR Camera. You will be rewarded with two new pieces of evidence material.
New evidence: Photo of Ceiling Spatter
New evidence: Photo of Wall Spatter
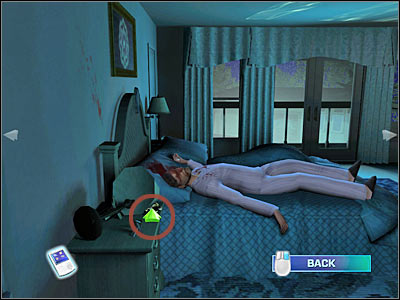
Now you should consider clicking on the left night stand (screen). Wait for the game to zoom in on that location. You will have to pick up a broken teacup. In order to do that, you must use Latex Gloves.
New evidence: Broken Teacup
That's not all. There was a yellow substance underneath the broken cup. You will have to take a sample of it as well, so choose an IntegriSwab from your equipment bar.
New evidence: Liquid from Teacup
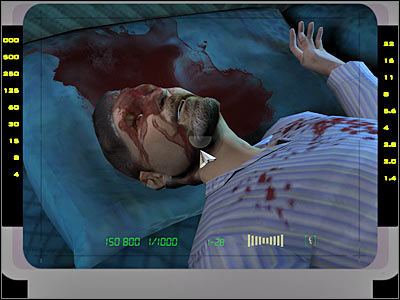
Click on the body of the killed surgeon. Obviously you won't be allowed to take any samples right away. Instead, choose Digital SLR Camera, because you'll need a photograph of the victim's body (upper part of it, to be exact).
New evidence: Photo of Victim
Once you've taken a photo, click on the head of the victim. This time you're going to have to choose an IntegriSwab from your inventory. Click on one of the blood stains in order to collect a sample of victim's blood.
New evidence: Dr. Bandereet's DNA
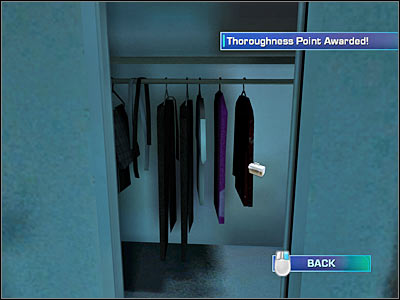
Now you will have to inspect other area of the bedroom. Click on a family photo which is located near a small lamp. You should also investigate a nearby closet (screen). You won't have to click on the clothes. Instead, go back to Greg and Amita. You will have to ask Amita two new questions:
- Your answering machine is missing the tape...
- What size shoe do you wear?
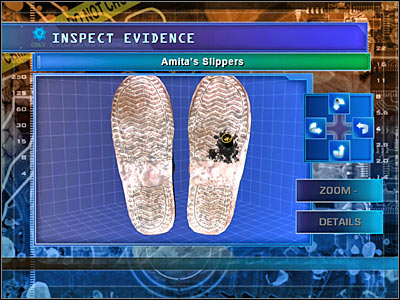
Amita will give you her slippers.
New evidence: Amita's Slippers
I guess you won't be surprised by the fact that you will have to examine the slippers. Use the rotation buttons, so you will be able to examine the sole of each shoe. Click on the black residue and choose Adhesive Mount from your equipment bar.
New evidence: Residue from Slipper
That's it for now. You've gathered all the evidence there was to find. Now you must go to Morgue.
- Crime Scene Investigation: Hard Evidence Game Guide
- CSI: Hard Evidence: Game Guide
- CSI: Hard Evidence: Case 4 - In Your Eyes
- CSI: Hard Evidence: Case 4 - CSI Office | Case 4 - In Your Eyes
- CSI: Hard Evidence: Case 4 - Crime scene - part 1 In Your Eyes
- CSI: Hard Evidence: Case 4 - Crime scene - part 2 In Your Eyes
- CSI: Hard Evidence: Case 4 - part 1 In Your Eyes
- CSI: Hard Evidence: Case 4 - part 2 In Your Eyes
- CSI: Hard Evidence: Case 4 - part 3 In Your Eyes
- CSI: Hard Evidence: Case 4 - part 4 In Your Eyes
- CSI: Hard Evidence: Case 4 - part 5 In Your Eyes
- CSI: Hard Evidence: Case 4 - part 6 In Your Eyes
- CSI: Hard Evidence: Case 4 - part 7 In Your Eyes
- CSI: Hard Evidence: Case 4 - part 8 In Your Eyes
- CSI: Hard Evidence: Case 4 - part 9 In Your Eyes
- CSI: Hard Evidence: Case 4 - final In Your Eyes
- CSI: Hard Evidence: Case 4 - In Your Eyes
- CSI: Hard Evidence: Game Guide
You are not permitted to copy any image, text or info from this page. This site is not associated with and/or endorsed by the developers and the publishers. All logos and images are copyrighted by their respective owners.
Copyright © 2000 - 2025 Webedia Polska SA for gamepressure.com, unofficial game guides, walkthroughs, secrets, game tips, maps & strategies for top games.
