CSI: Hard Evidence: Case 1 - part 1 Burning for You
Mobile Lab
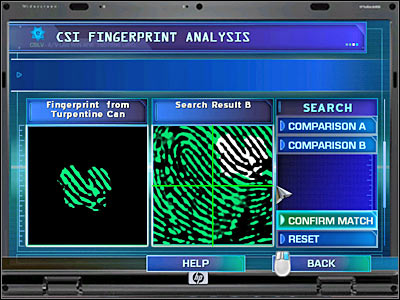
You will have to analyze only one thing here, because we'll deal with the rest of the collected objects once we're inside the CSI lab. Choose the computer and open the first category (Fingerprints). You will have to drag a Fingerprint from Turpentine Can to the left window. As for the right one, you will have to find a match in LVPD Records. Choose the second set of fingerprints (Search Result B). Now you will have to drag the partial left print to the right window. It's going to be the upper right one (screen). As a result, you will be allowed to read police file on Edsel Danville. Go to Morgue.
New evidence: Ed's Fingerprints
Morgue
First of all, you will have to ask Doc Robbins to recover the body of the cab driver:
- Can you recover the victim's body for us?
Click on the body of the killed cab driver and listen to a short comment regarding his tattoos. Now you will have to ask some new questions:
- Were the burns the cause of death?
- What about the time of death?
- Has the family been notified?
Robbins will grant you with some new evidence.
New evidence: Victim's Fingerprints
New evidence: Victim's DNA
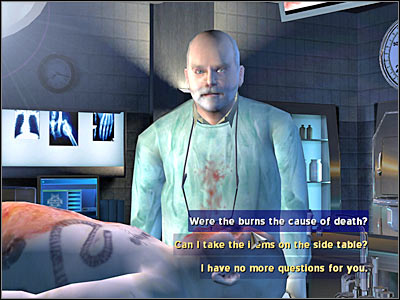
You will have to talk to Doc Robbins once again:
- Can I take the items on the side table?
Obviously these items belonged to the deceased. Click on a small table which is going to be located to your right. Use Latex Gloves here.
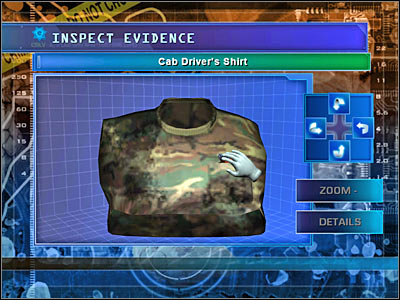
New evidence: Cab Driver's Shirt
Don't close this window just yet. Once again, you will have to use Latex Gloves. You should be able to notice a small object in one of the pockets of the shirt (the left one). Pick it up.
New evidence: Burnt Flyer
There's only more question left:
- What about items in the pants? Wallet?
You may proceed to the Lab.
Lab
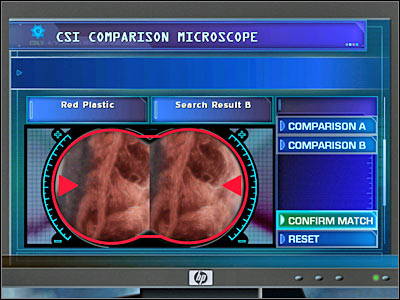
Start off by using a comparison microscope which is located to your left. You will have to perform a single comparison here. Drag the Red Plastic to the left field. Click on Comparison B and CSI Samples. You will have to choose a second sample. Once this is done, click on Confirm Match. You may close this window. Listen to a short conversation between Nick and Sara.
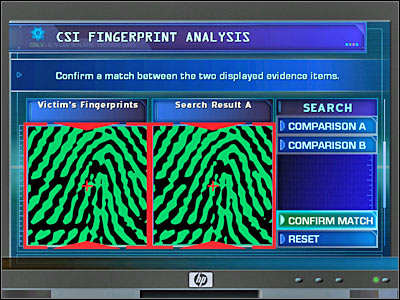
Now you're going to have to use a computer. Choose the first option from the menu - Fingerprints. You will have to drag the Fingerprint from Turpentine Can to the left field. Compare it to Ed's Fingerprints. Once again, you will have to drag the partial print from the left field to the right window (upper right corner). Now you must proceed with the second analysis. Compare Victim's Fingerprints to one of the files from LVPD Records. You'll find out that the victim has been convicted in the past. You may exit this menu. Choose the second option - Shoeprints/Tire Treads. You will have to drag the Footprint from Crime scene to the left window. Look for something to compare it to in the CSI Samples category. You will have to choose the fourth sample (Search Result D). Listen closely to what Nick has to say about your progress.
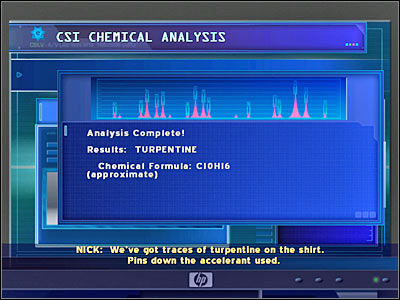
Your last stop here will be a CSI chemical analysis machine. It's located to your right. You will have to choose some of the objects from your inventory and analyze them. It's going to happen automatically, so you won't have to perform any other actions. Analyze Gas Can from Crime Scene, Blue Jean Cloth, Turpentine Can from Crime Scene and Cab Driver's Shirt. Once this is done, you will have to listen to what Nick has to say about your findings. Next, go to Brass' Office.
- Crime Scene Investigation: Hard Evidence Game Guide
- CSI: Hard Evidence: Game Guide
- CSI: Hard Evidence: Case 1 - Burning for You
- CSI: Hard Evidence: Case 1 - CSI Office Burning for You
- CSI: Hard Evidence: Case 1 - Crime Scene Burning for You
- CSI: Hard Evidence: Case 1 - part 1 Burning for You
- CSI: Hard Evidence: Case 1 - part 2 Burning for You
- CSI: Hard Evidence: Case 1 - part 3 Burning for You
- CSI: Hard Evidence: Case 1 - part 4 Burning for You
- CSI: Hard Evidence: Case 1 - part 5 Burning for You
- CSI: Hard Evidence: Case 1 - part 6 Burning for You
- CSI: Hard Evidence: Case 1 - part 7 Burning for You
- CSI: Hard Evidence: Case 1 - final Burning for You
- CSI: Hard Evidence: Case 1 - Burning for You
- CSI: Hard Evidence: Game Guide
You are not permitted to copy any image, text or info from this page. This site is not associated with and/or endorsed by the developers and the publishers. All logos and images are copyrighted by their respective owners.
Copyright © 2000 - 2026 Webedia Polska SA for gamepressure.com, unofficial game guides, walkthroughs, secrets, game tips, maps & strategies for top games.
