The Last of Us: The Woods, Bill's Town Walkthrough
This page of The Last of Us game guide contains a walkthrough of The Woods stage as part of the Bill's Town chapter. This section offers a lot of exploration, solving environmental puzzles and encounters with monsters, among which there will be, unfortunately, clickers. From our walkthrough you will also learn, among others, how to get a bow.
Looking for The Last of Us Part II guide and walkthrough? You can find it HERE.
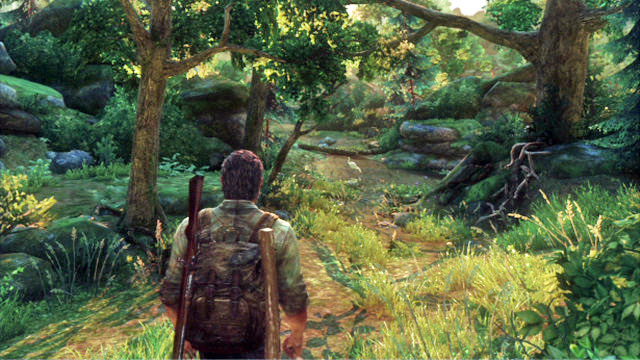
After the chapter starts, go ahead and take the path to the right at the fork.
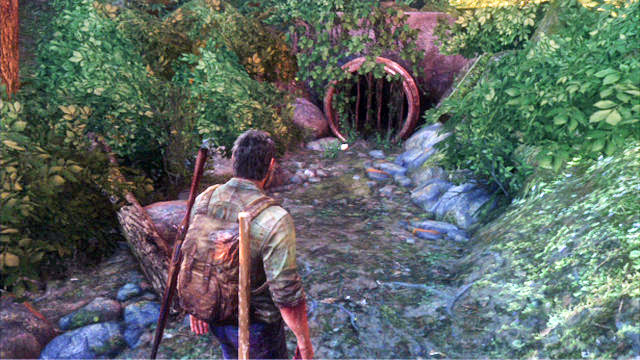
All the paths lead into the same place, but by going right, you will find additional supplies and materials.
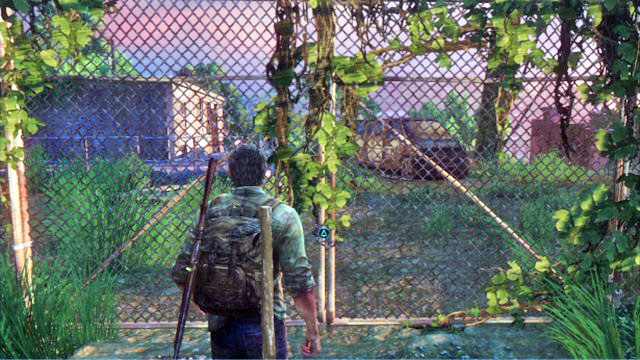
Once you reach a fence with the barb wire, try to open the gate and go left.
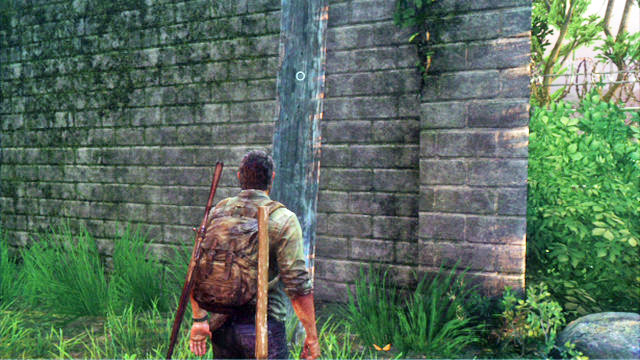
Behind a small building there should be a wooden board leaning against the wall.
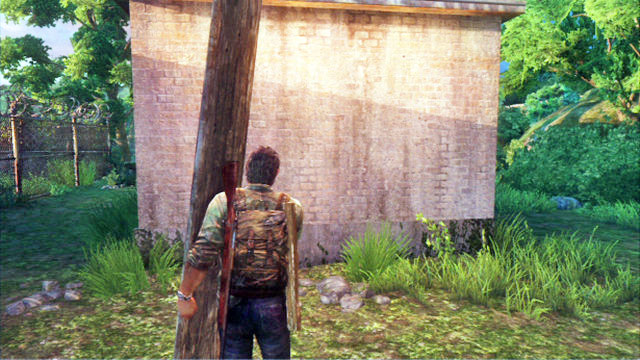
Pick it up and lean it against the structure's wall.
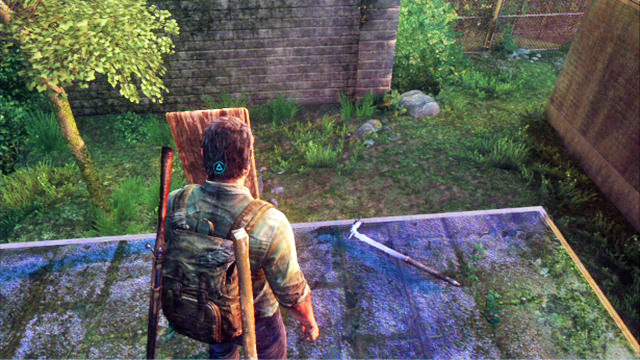
You can climb over the extension at the other side and pull the board to the roof.
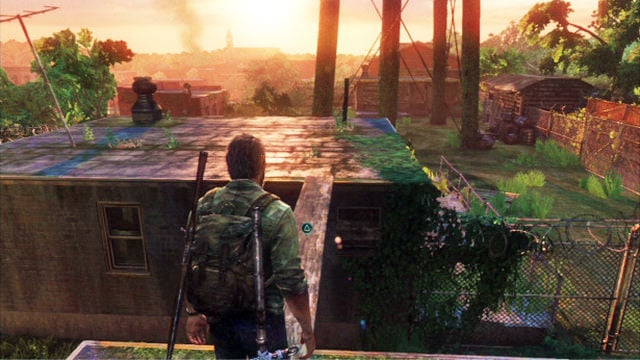
You are going to use it as a footbridge to cross the wall.
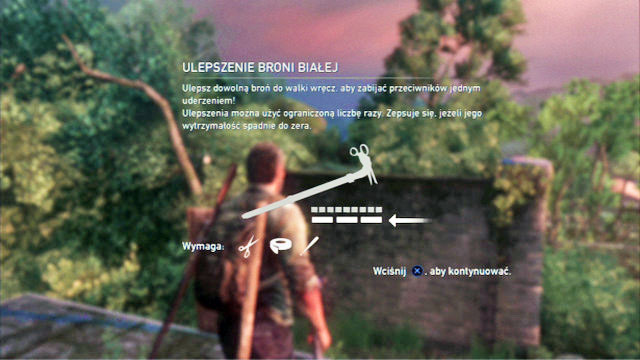
Before you get to the other side, though, pick up the weapon that is lying at your feet. It is and upgraded version of a melee weapon that makes it possible to kill an enemy in one blow. From now on, you can upgrade your weapons yourself, by using the materials you obtain.
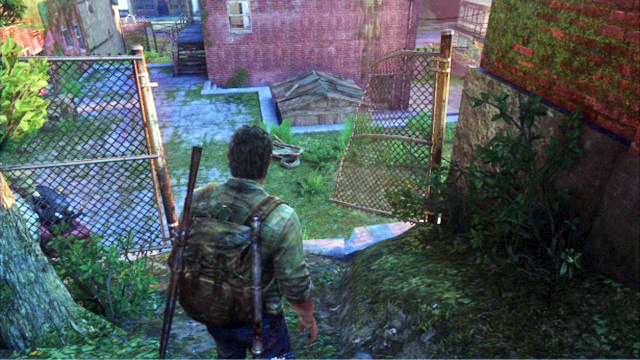
When you get onto the rooftop of the other building, jump down, take a few steps ahead and turn left. You now need to get to the hole in the fence.
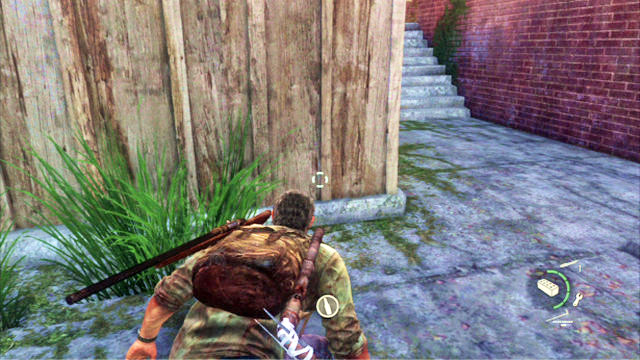
Squeeze through the hole and jump down from the low wall to the right. Silently, approach the wooden shed on the left.
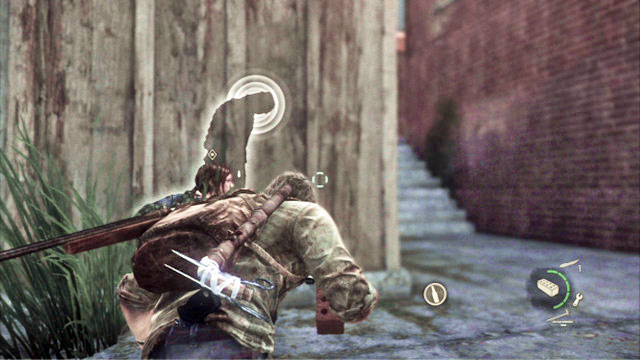
There is an enemy hiding inside.
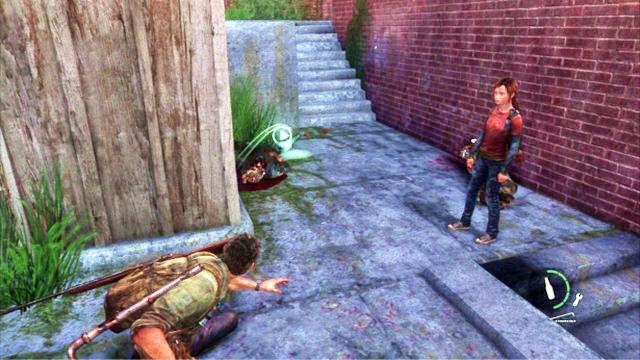
Lure him outside of the shed with a brick or a bottle and kill him quickly with your knife. A moment later, there will be another clicker appearing behind your back that you can eliminate with the weapon that you obtained earlier. After you are done, explore the shed and the derelict building next to it. Inside you can find a lot of useful items.
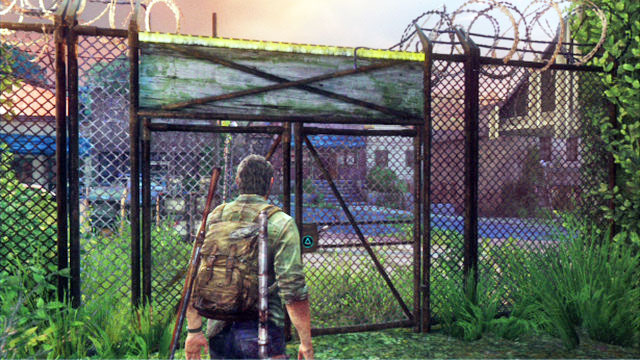
As soon as you finish, go to the left, towards the locked gate. First, try to open it and, if you fail, press L3 + triangle, to give a boost to Ellie. The girl will handle the blockade in no time at all.
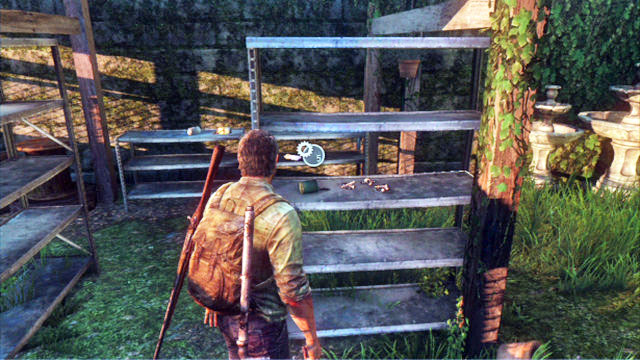
At the other side, search through every corner. To the left, you can find a shop with garden decorations, where there are many useful things.
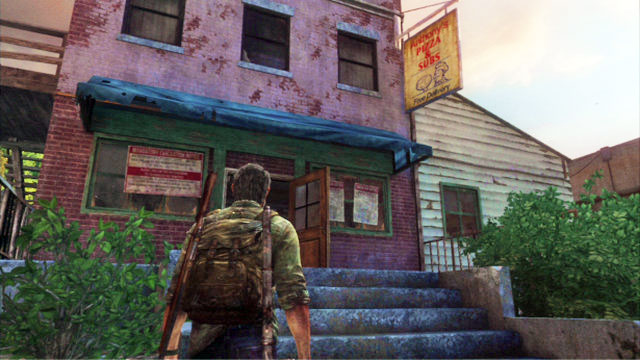
There is also quite a lot of equipment in the Pizzeria opposite the gate. There also are supplies at the back.
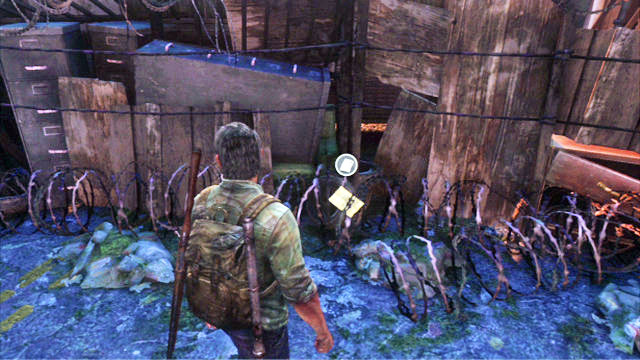
As you walk ahead, you will approach a large barricade. Further passage is located to the left of it but, before you go there, pick up the slip of paper that stuck between the wires.
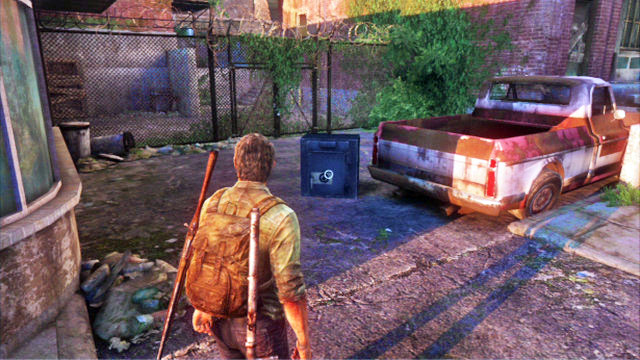
On the slip of paper, there is a safe code written down. The thieves left it a bit earlier near the rusty pick-up truck. Inside, there are 50 spares, ammo and supplies.
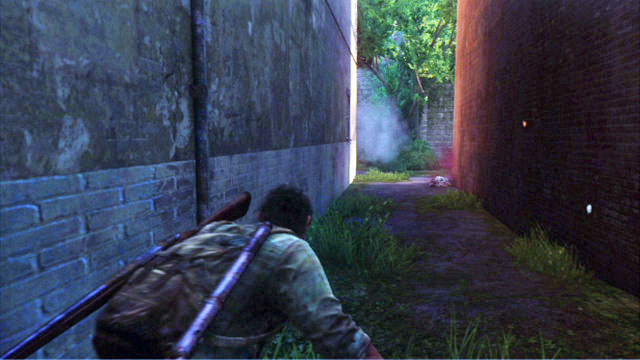
If you take a left turn behind the music shop, you will witness a clicker's death after it walked into a trap. From now on, be vigilant to avoid meeting the same end.
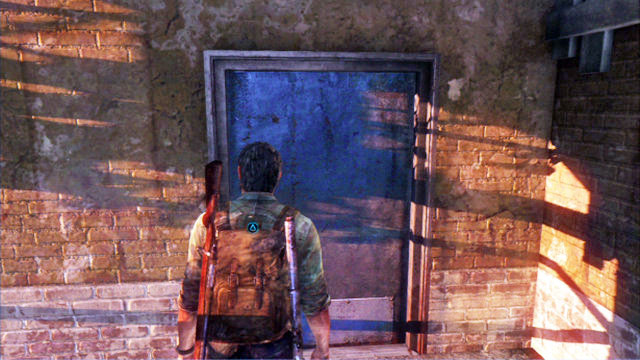
After you go past the trap, you should go to the right but, before you do, it is worthwhile to open the door to the left with your blade. Inside, there are a few useful items.
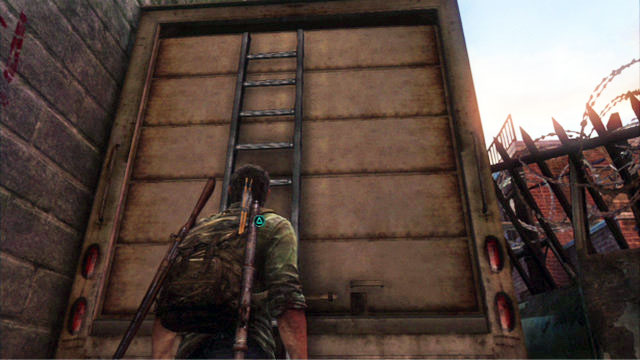
Reach the end of the alley, pick up the arrows stuck in the corpse and climb up to the truck's roof by climbing the ladder that you can find nearby.
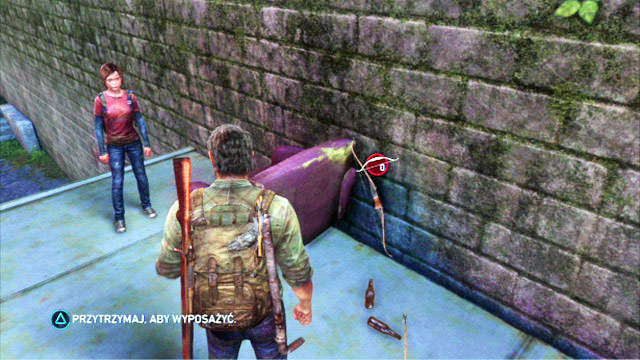
On top, you can find a new weapon - a bow. Pick it up by pressing, and holding down the triangle.
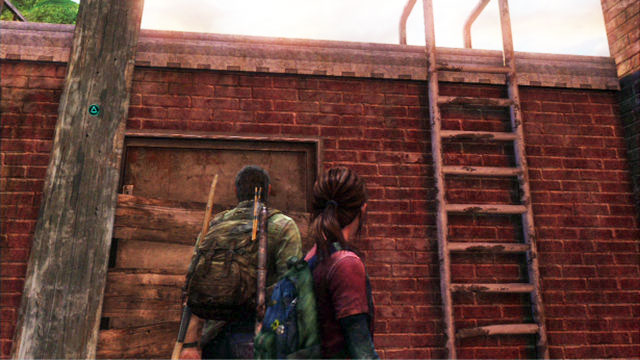
As soon as you walk over the plank, take the board with you and lean it against the nearby wall.
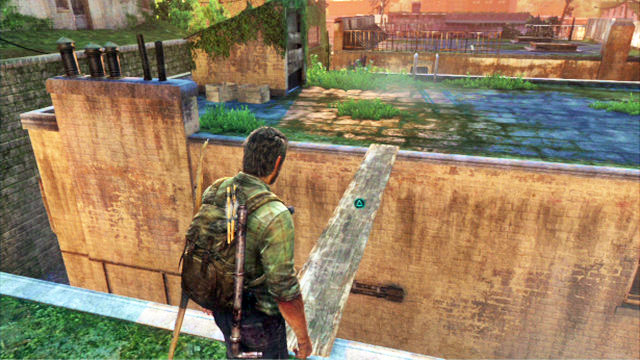
You will then be able to climb the ladder, collect the plank and throw it over to the rooftop of the nearby building.
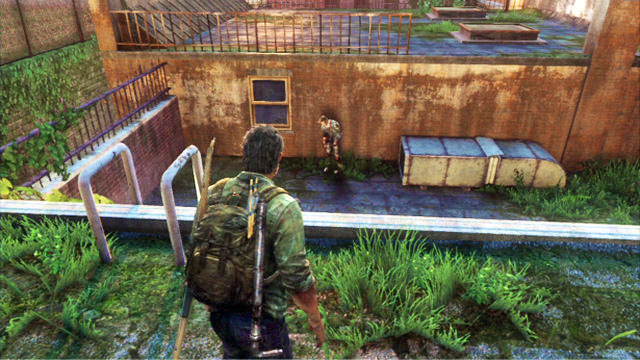
As you proceed ahead, you will encounter a single zombie. Shoot it with your bow by aiming at the head.
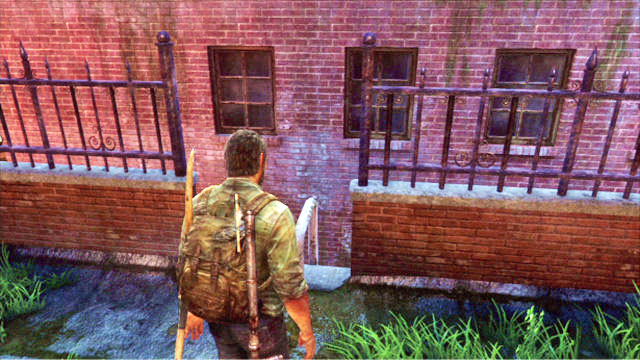
Finally, you will reach a ladder that you can climb down to the street level.
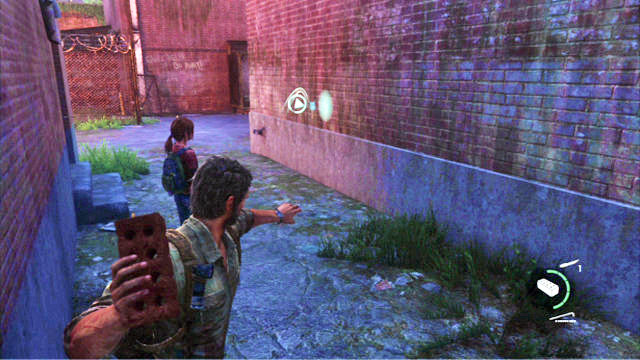
Your exit from the alley will be blocked by another trap. You can crouch underneath, by pressing the circle or detonate it by throwing a bottle, or firing your gun.
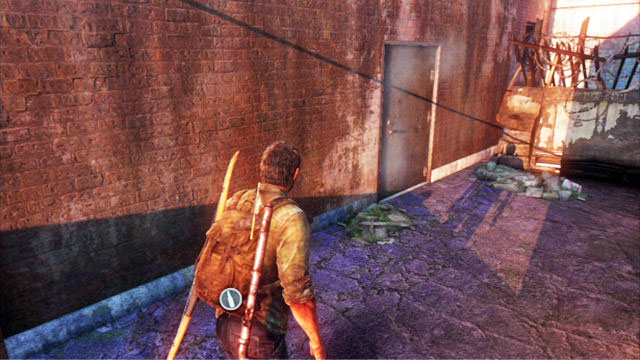
After you reach the end of the wall, turn left and explore thoroughly the building with the moving door. You can find useful items on the first floor but, be prepared for a zombie to jump at you out from the bathroom.
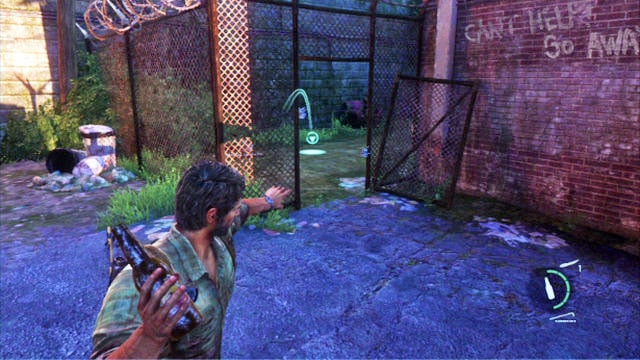
Once you collect everything, go downstairs and detonate the charges attached to the fence. Then, go ahead.
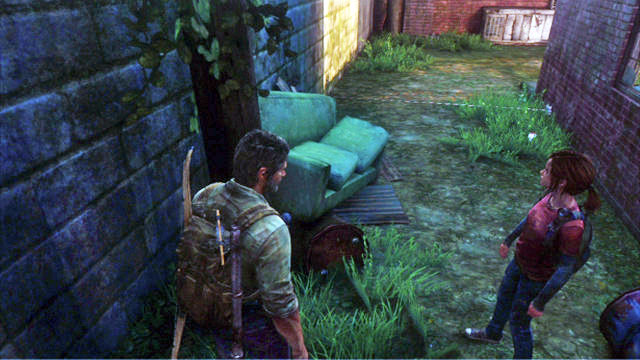
A few steps further, you should notice another trap lying on the ground.
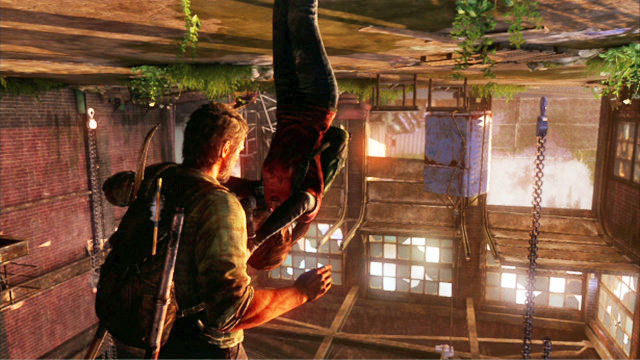
Get rid of it and enter the room to your right, and open the door inside. A moment later you will hang head-down, and will be attacked by the charging monsters. You need to keep shooting at them to prevent them from killing Ellie or you. As soon as they approach you, start tapping the square to set yourself free.
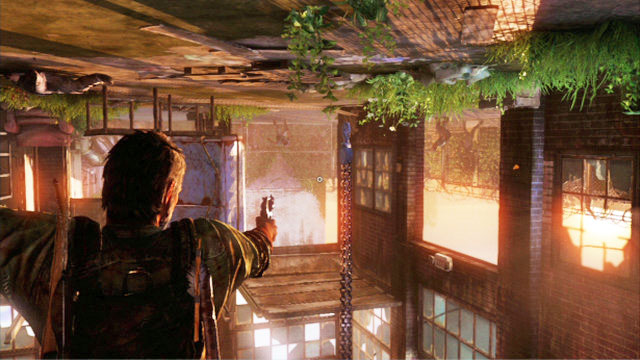
As you keep firing at the enemies, you do not need to worry about the ammo because, the girl will be supplying you with new clips but, you need to remember to reload. It is best to do that between individual waves.
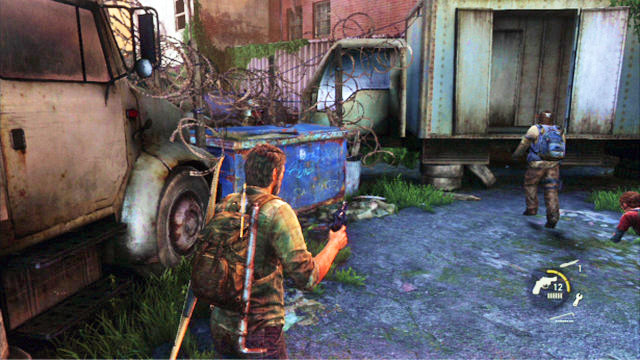
After you set yourself free, keep following Bill. This way you will reach a derelict laundry, where there will be new enemies approaching through the door. You can either shoot them, or set them on fire with one accurate throw of the Molotov's cocktail.
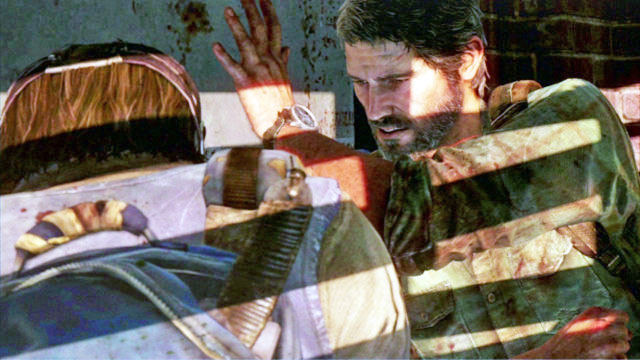
Finally, you will reach your companion's safehouse. That is where another short cutscene starts.
You are not permitted to copy any image, text or info from this page. This site is not associated with and/or endorsed by the developers and the publishers. All logos and images are copyrighted by their respective owners.
Copyright © 2000 - 2025 Webedia Polska SA for gamepressure.com, unofficial game guides, walkthroughs, secrets, game tips, maps & strategies for top games.
