The Last of Us: Downtown, The Outskirts Walkthrough, map
This page of The Last of Us game guide contains a walkthrough of the Downtown stage as part of The Outskirts chapter. It is a difficult level because for the first time you will run into very demanding infected called clickers. In our walkthrough we have included maps of confrontation with the monsters, from which you will learn the clickers' travel routes and how to deal with the infected.
Looking for The Last of Us Part II guide and walkthrough? You can find it HERE.
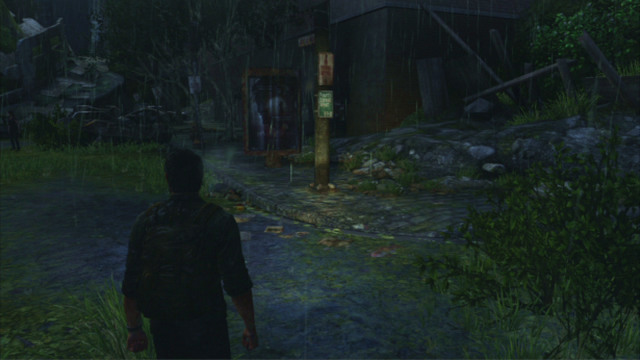
Start by going ahead and climbing the debris.
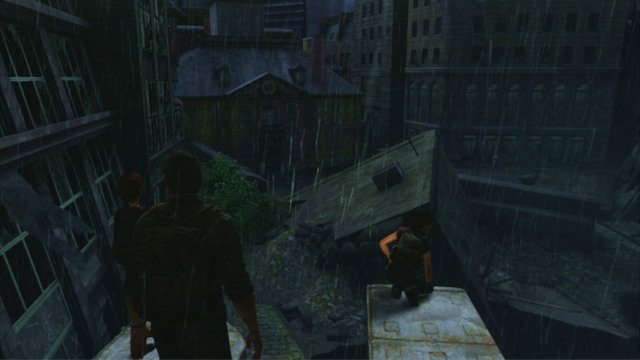
This way you will reach the edge of a small void, where Tess will show you the Capitol Building (L3).

Continue to the right until you reach a big, derelict building.
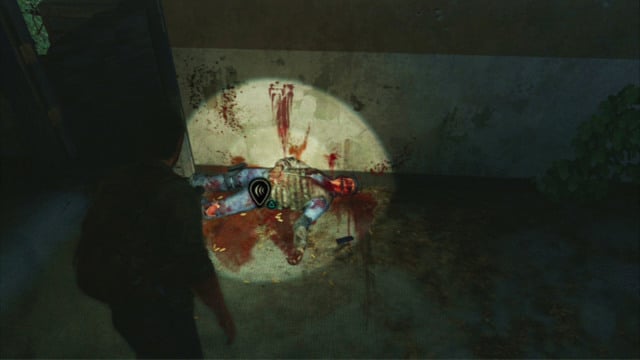
At its right end, you will find a corpse of a man and, a bit further, a staircase.
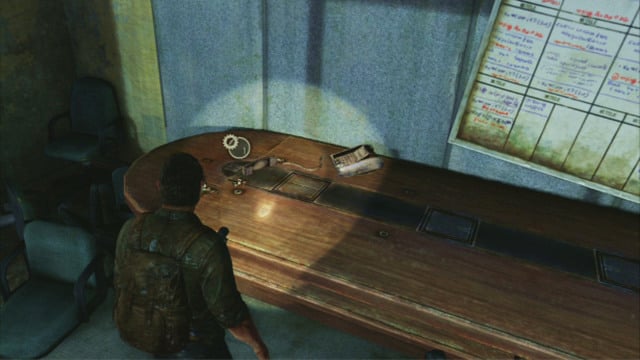
Before you go upstairs, open the nearby door and collect spares located at the other end of the room.

On the landing, there is another dead soldier. Collect the ammo next to the soldier and go upstairs.
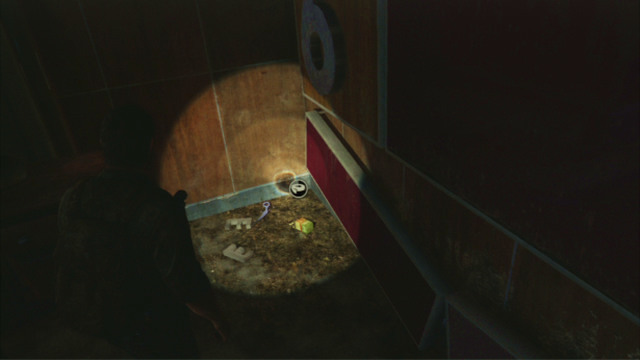
Further passage leads to a room at the fifth floor but, it is a better idea to go to the sixth floor first to collect items from there.
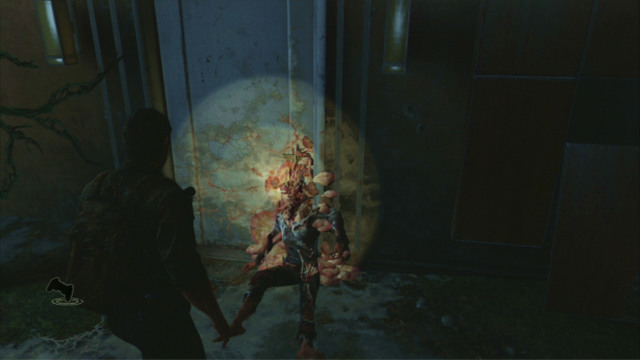
As soon as you encounter a corpse of a dead infected, move it by pressing the triangle . Then, open the door(square).
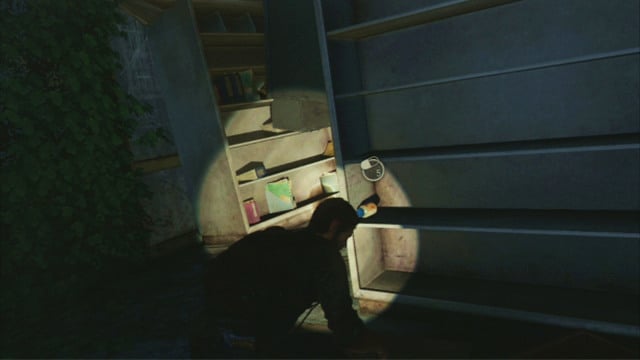
At the other side, on one of the shelves, there is a supplement that can be used to improve on Joel's abilities. You can modify them by entering the menu (SELECT).
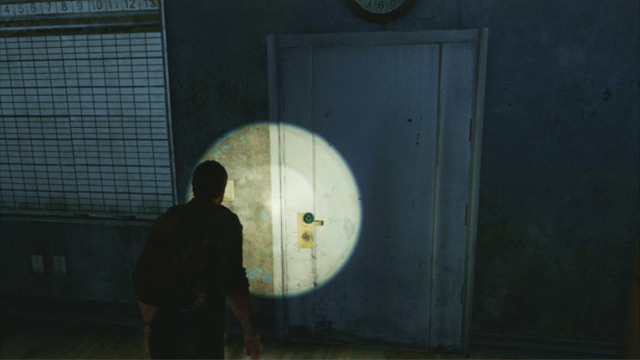
As you walk through the narrow passage to the right, you will reach a bigger room. Explore it and open the only door here.
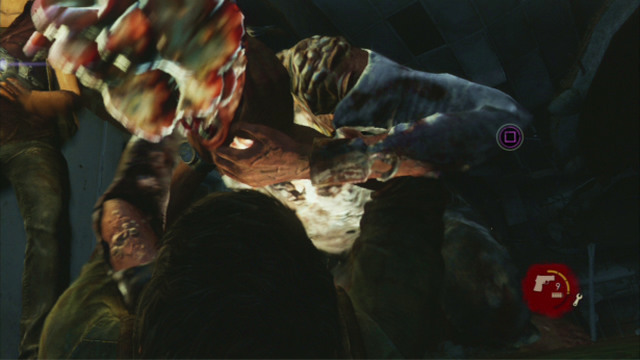
At the other side, there is an infected waiting for you. Push him away by pressing the square.
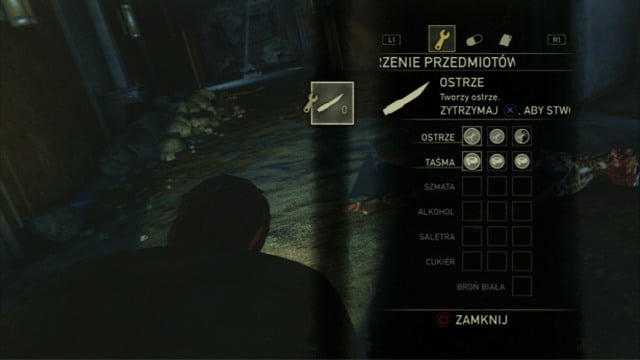
As soon as the beast dies, enter the next room. A moment later, you will learn from Tess how to create your own first-aid kits. To do that, press SELECT and use R1 and L1 to select the correct tab. As of now, you can create only blades and first-aid kits. To craft an item, you need to have to necessary ingredients on you, and press the X. This process take a while so, always try o replenish your supplies before a battle.
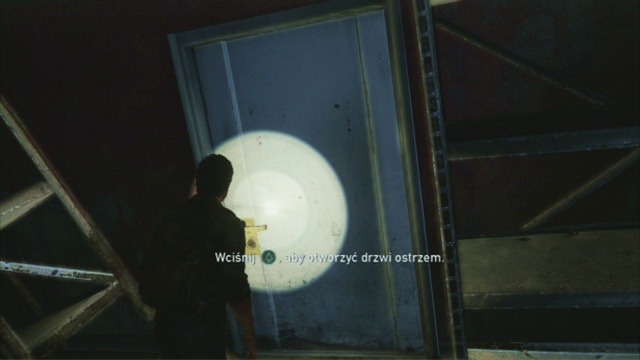
Now, create only a knife to open the locked door located a few steps away. Behind the door, you will find a lot of useful items. There are many such doors throughout the game so, it is always a good idea to have at least one blade on you, or the ingredients that you can use to make one.

Go left to reach a tall wall with a corpse hanging down from it. Give Tess a boost and use her help to get up there too.
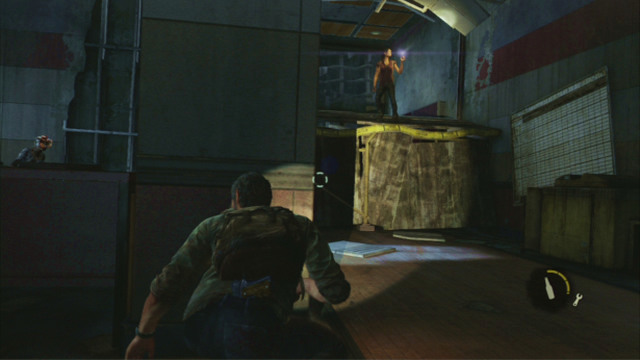
A moment later, an infected will appear. To distract him, pickup a bottle and throw it to the left as far as possible. You need to get to the tall wall ahead.
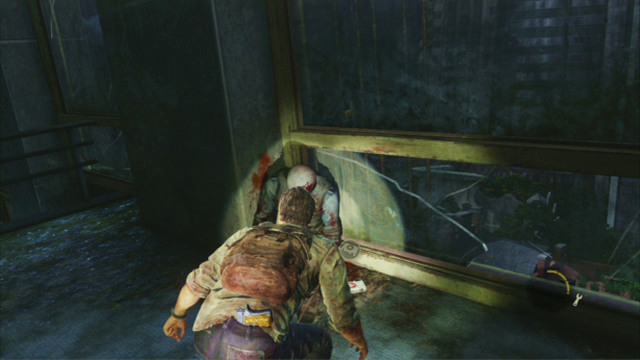
Climb onto the wall as soon as the infected turns away, and pick up the first-aid kit lying at the soldier's corpse. It is worth remembering that the infected cannot see the light of your flashlight so, you can make use of it without any problems.
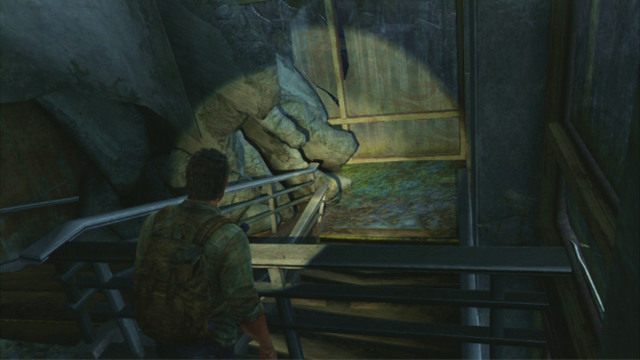
Further way leads through the barrier to the left. As soon as you land below, move over the wardrobe that blocks off the stairs and wait until Ellie and Tess walk over to the other side.
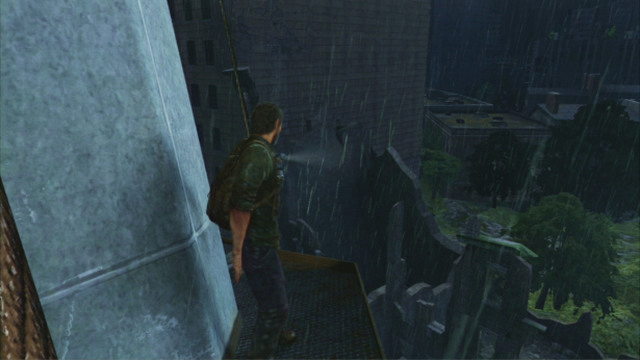
Together, walk through the window and make it into the second part of the building.

This time, you will bump into the corpse of a soldier with a revolver next to it. Collect it by pressing, and holding down the triangle. To change weapons, you need to press the right arrow on the D-pad and pick the correct item by holding down the X.
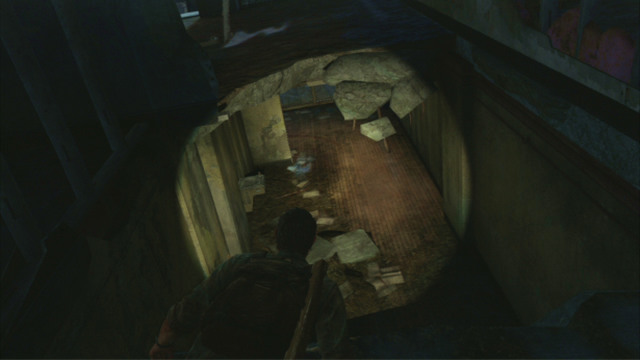
As you go ahead, you will be hearing the voices of the zombies. Get to a lower level then and collect the pipe lying on the ground. This will come in handy if you are spotted by the monsters. Remember, though, that melee is ineffective against the infected and you should always try to kill them from behind with your knife, or at a distance with your revolver.
Fight #6

Legend
 | Start of the fight |
 | Weak opponents |
 | Clicker |
 | Suggested player route |
 | Enemy routes |
 | Suggested kill areas |
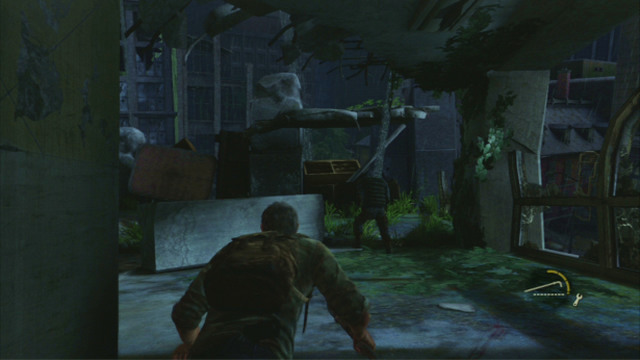
Right behind the corner, you will bump into the first enemy. Strangle him quickly and take cover behind the wall to the left. Further in this location, there is a clicker and a large group of runners, waiting for you. The best way to eliminate them is by sneak-killing, but you can do that using firearms. To dispose of them, first of all kill the clicker at a distance, and then kill as many zombies that are running at you, as you can. When they come close enough, make use of the pipe that you have just obtained. If you end up surrounded, you can press and hold down the L2 and start running, which will make Joel free himself automatically. Below, you can find a detailed description of how to secure the building stealthily.
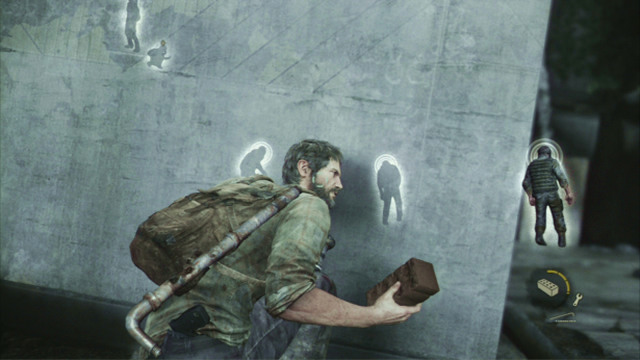
Listen out and wait for the enemy that is standing closest to you, approaches the water that is flowing down and turns away. You will then be able to sneak to the corridor on the left.
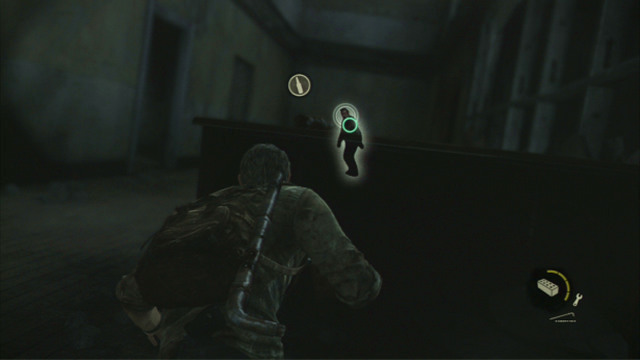
Take cover there, behind the barricade, and wait for the next enemy. As soon as the zombie starts entering the room to the left, sneak up to him from behind and strangle him.
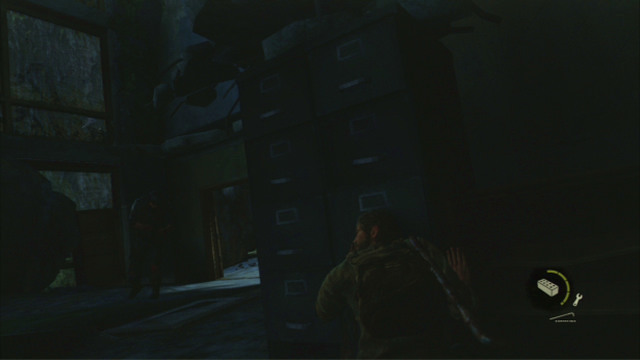
Leave the room and approach the hole that the monster walked through. You need to hide behind its edge and wait for the nearest enemy to start walking towards the left-hand end of the building. While waiting, stand as close to the hole as possible, or else the monster may spot you. When the enemy moves in the correct direction, move out and sneak-kill him.
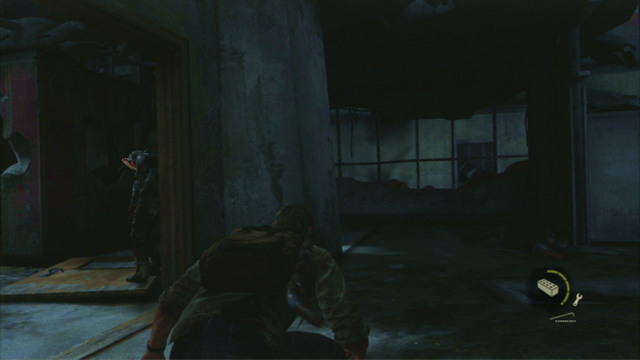
Now, the only ones remaining now are the clicker, and the runner circling around him. First, get rid of the latter one. To do that, take cover behind the rubble near the clicker and wait for the enemy to go right. He is going to be turned away from you, then, which will make him an easy target. When there is only the clicker remaining in the room, you can shoot the beast or lure him into the right spot with a brick, and stab him to death.

After you clear the area, climb to a higher floor and move the chest of drawers out of your way.
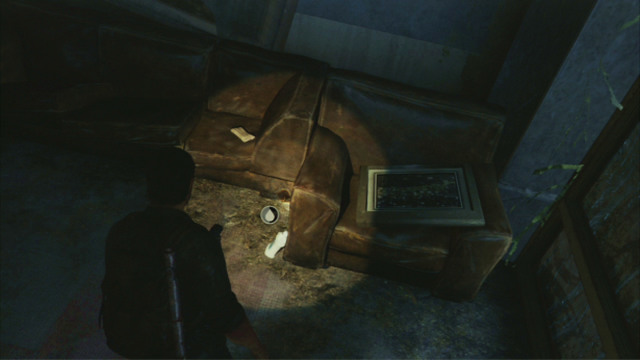
Behind the door, you can find many useful items so, you'd better give a good searching through to the room.
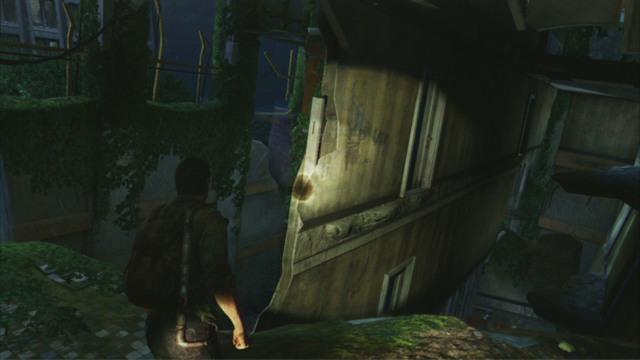
A bit further, you will reach a small void. To get down safely, you need to make use of the passage to the left.
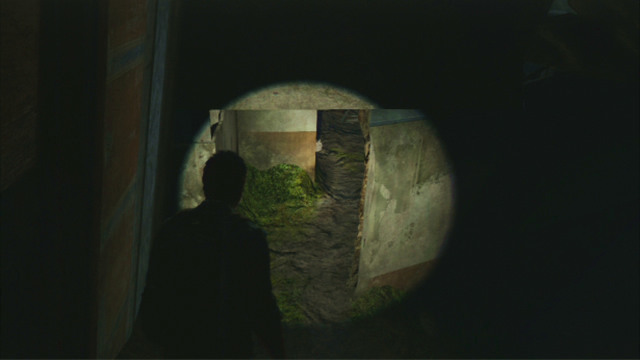
The path will take you up to the flooded part of the rubble heap, where you will have to turn left.
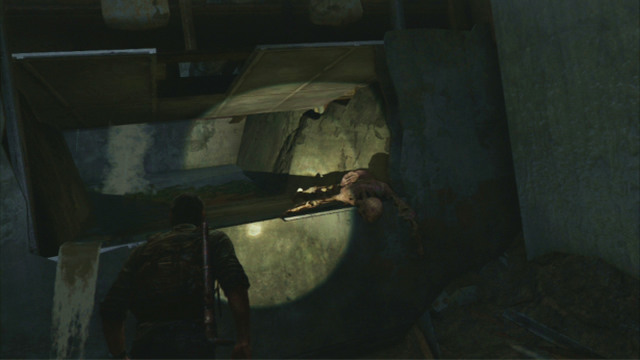
Climb to the higher level and walk through the narrow tunnel.
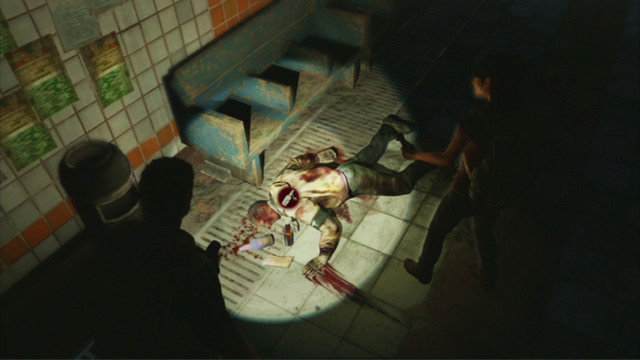
Further passage goes down, to the place where you can find a corpse with a Molotov's cocktail on it. You use it in the exactly same way as bricks but, unlike them, it inflicts more damage and sets on fire targets within a quite large radius. After you collect the item, you immediately learn how to craft it, and you can do it in the appropriate menu.
Fight #7
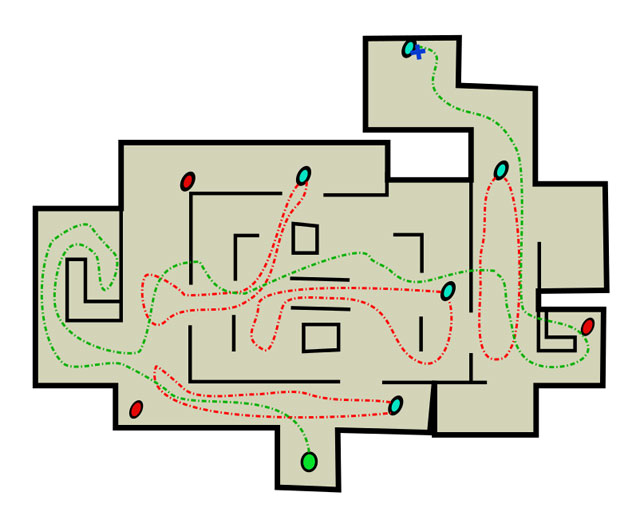
Legend
 | Start of the fight |
 | Weak opponents |
 | Clickers |
 | Suggested player route |
 | Enemy routes |
 | Suggested kill areas |
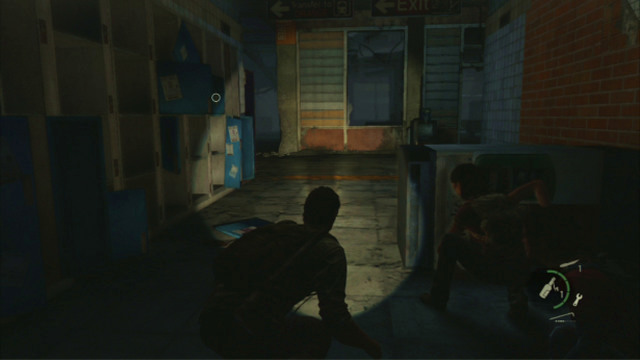
Behind another narrow passage, there is a longer sneaking part waiting for you. You need to squeeze past several clicker and make it to the building's exit. If you prefer to open fire at them, prepare a larger number of the Molotov's cocktails. Thanks to them, you will be able to eliminate large number of enemies but first, you need to gather them in one place. Narrow passages serve very well to this end.
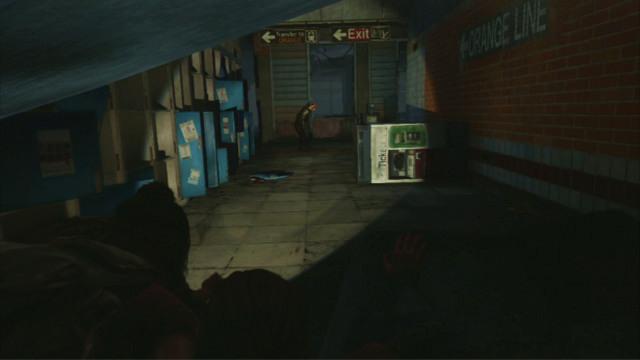
If you prefer to complete this chapter without getting into open fight, squeeze past, with your flashlight off, to the left because, the nearest clicker will go in the opposite direction. You need to turn the flashlight off because of the runner that is feeding a few steps away.
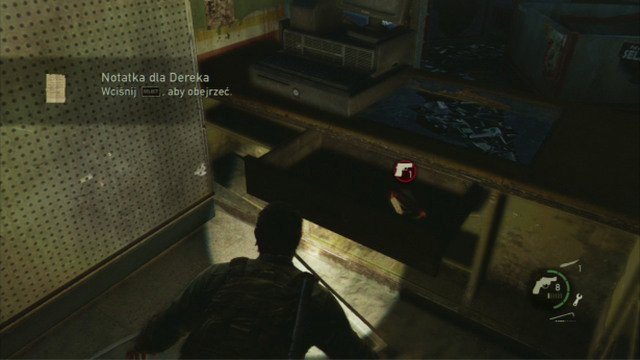
As you go ahead, you will get into a derelict shop with a long counter. In the counter, you can find a drawer where there is a slip of paper with a code.
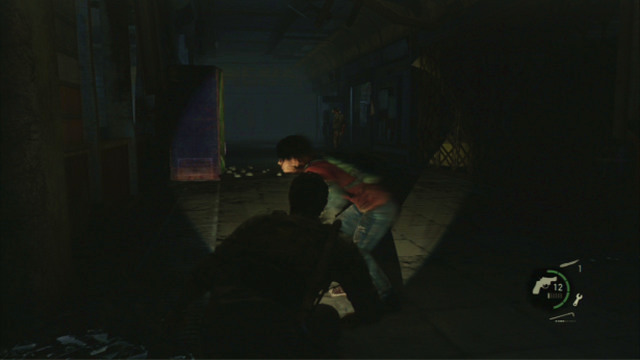
Collect it and locate the nearest monsters by listening out. When the nearby corridor is free of the monsters, approach the window at the other side. You now, carefully, need to go a bit to the left and avoid the stalking zombie.
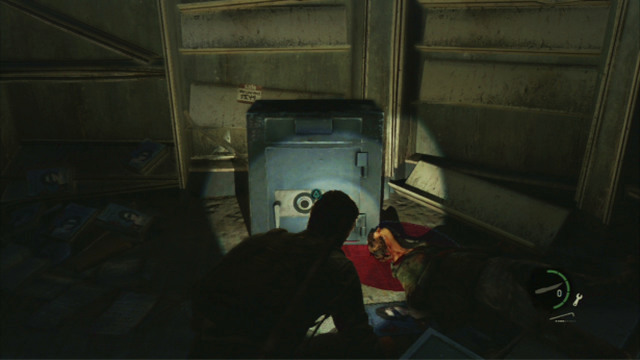
After several steps, turn right and then jump through the window to get to the next corridor with a single clicker in it. You now have two ways out. You can go to the exit straight away, by going left, or follow the monster to the right and hide in the shop to the left. In the latter case, you will reach a safe that you can open with the code you obtained earlier. Inside, there are 50 spares that can be used to upgrade your weapon.
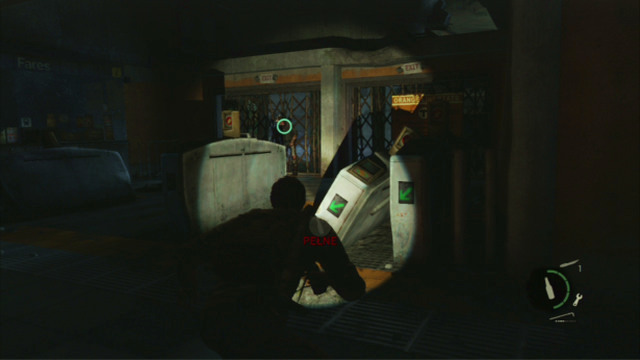
Either way, ultimately, you need to reach the wall at the end of the corridor. Unfortunately, it is also guarded by a clicker.
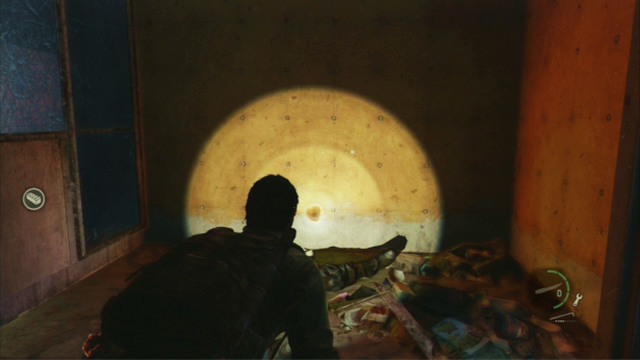
To get rid of the monster, pick up a brick and throw it towards the left corner of this location. The beast will turn in that direction, and you will be able to kill it with your knife.

Once the creature dies, approach the wall to the right and pres the triangle to help Tess up. A moment later, the woman will slide down the ladder for you, which will enable further journey.
You are not permitted to copy any image, text or info from this page. This site is not associated with and/or endorsed by the developers and the publishers. All logos and images are copyrighted by their respective owners.
Copyright © 2000 - 2025 Webedia Polska SA for gamepressure.com, unofficial game guides, walkthroughs, secrets, game tips, maps & strategies for top games.
