Lost Via Domus: Worth A Thousand Words 3
Once you've reached a new area of the station, you will be allowed to choose between three corridors. Thankfully, there aren't any fuses outside the main rooms, so you don't have to inspect all available corridors. I would recommend that you start off by going left. You should be able to reach an entrance (screen) which leads to a large storage room.
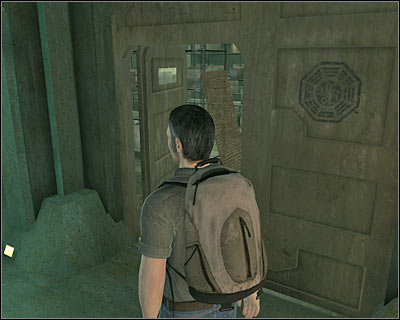
Obviously you will have to explore the storage room, because you will be able to find a couple of fuses here. Two of them are lying on the table (screen), while the third fuse can be found to the left of the entrance. You will also come across several food boxes, but you should still ignore these objects. Go back to the starting area for this section of the base (three corridors).
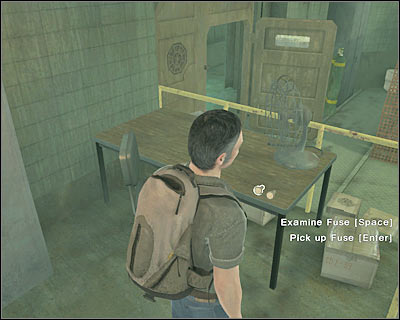
Ignore the electrical panel for the time being, because you don't have enough fuses to solve the riddle. Instead, try finding a passageway which leads to the upper level (screen). Go there now and you'll end up standing inside a much larger room that's filled with water.
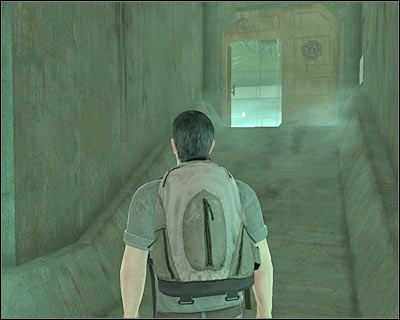
You won't find any fuses right away, however you will encounter additional objects, including food boxes and beer cans. I'm sure that you remember by now that taking them is only a waste of your precious time. Don't leave this area just yet, because you will have to find a computer (screen). Obviously your task will be to interact with it.
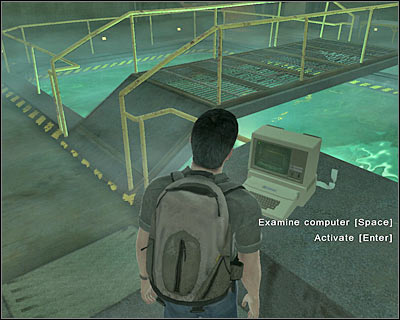
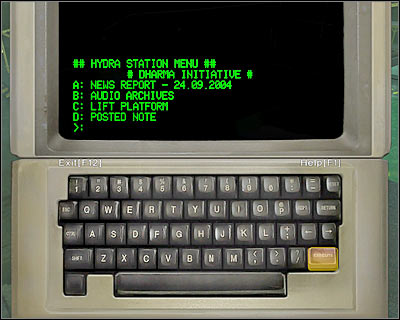
Start off by reading a short note which has been left by one of the scientists. It can also be considered as a hint on how you should react to the current situation. Press EXECUTE. Doing this will trigger a new intelligence test and it'll be up to you to pass it. The correct answers are: 44, H and B. Once you've answered to all three questions, press EXECUTE again. If you've done everything correctly, you will open the main menu (screen). Here are the available commands:
1) Pressing the A key allows you to read a report about Lisa Gellhorn.
2) Pressing the B key plays a short recording.
3) Pressing the C key will lift a platform with a shark and that is your main objective. You may ignore the fourth option (D), because it would only display the note you've read before.
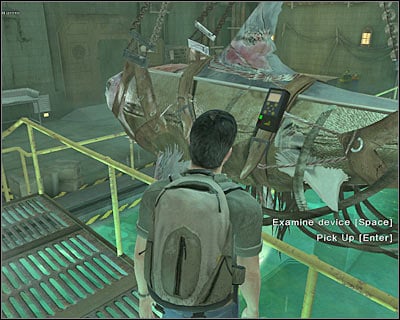
You may head over to a metal bridge (screen). Examine the shark and you should come across a device. Obviously your task will be to pick it up. As a result, Elliott will automatically add some new fuses to his inventory. Once this is done, go back to the main corridor and turn right. Start moving forward and eventually you'll find the electrical panel.
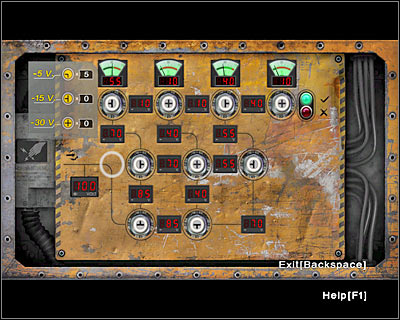
Before you decide to use the panel, make sure that you have all the fuses in your inventory: -5V - 5 fuses, -15V - 6 fuses, -30V - 3 fuses. Look at the screen for a full solution to this problem. Activating the panel will allow you to enter a new room. Go there now. You won't have to pick up the fuses, because you won't need them anymore.
You won't have to explore this room thoroughly, however you can find a folder amongst interactive objects. Read its content, because it concerns Jack. Approach the large table. You'll encounter Ben and Juliet (screen). Start off by having a conversation with Juliet. You will have to ask her a few general questions:
- Where is my stuff?
- I thought I could trust you?
- What the hell is going on?
Finally, choose a topic from the Quest category:
- What do you want from me?
End the conversation with Juliet and talk to Ben. You will have to ask him similar questions from both categories. The only new topic is going to be:
- How do I bring Jack to you?
You are not permitted to copy any image, text or info from this page. This site is not associated with and/or endorsed by the developers and the publishers. All logos and images are copyrighted by their respective owners.
Copyright © 2000 - 2026 Webedia Polska SA for gamepressure.com, unofficial game guides, walkthroughs, secrets, game tips, maps & strategies for top games.
