LEGO Jurassic World: Communications Center Jurassic Park - The Lost World - secrets
Minikit #1

First minikit can be found at the beginning of the location. Destroy all objects near the pipes and use them to create minikit.
Minikit #2
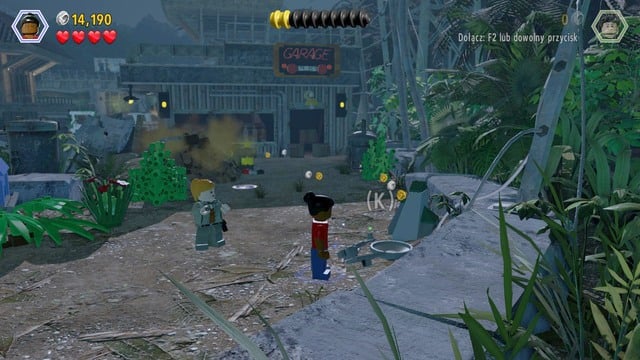
You will receive second minikit after repairing three signs. First one can be found in the place shown on the picture. Second one is behind the garage door, near the gas station. Third one is near the door through which you must escape.
Minikit #3
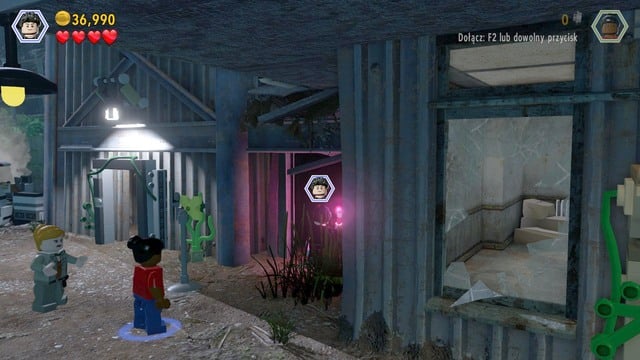
Third minikit can be found in the dark room on the right side. Enter as Malcolm in order to lighten up the way.
Minikit #4
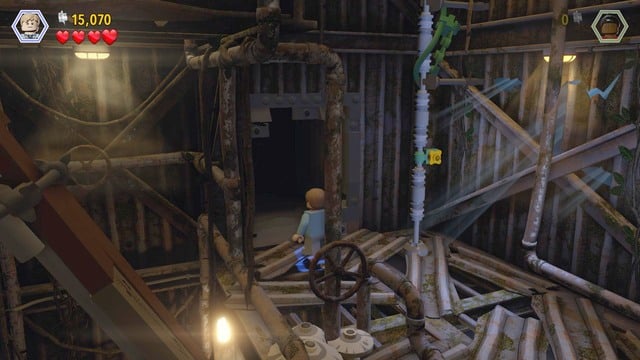
After jumping through the beam and after velociraptor's attack, switch your character to Malcolm and enter the room shown on the picture. At its end you will find the fourth minikit.
Minikit #5
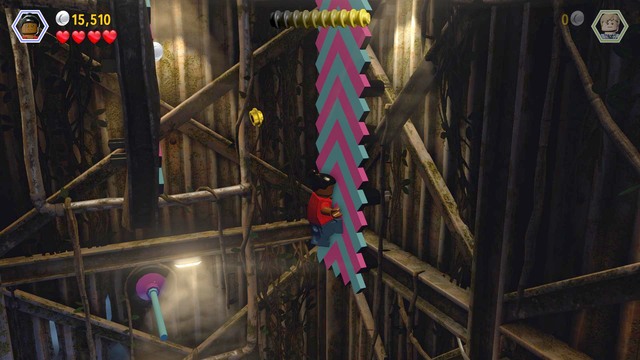
After performing the jump on the rods and sticking to the wall, instead of going up, fall down. On the right side you will find a shield. Shoot at it with any character with a gun. You will receive fifth minikit.
Minikit #6
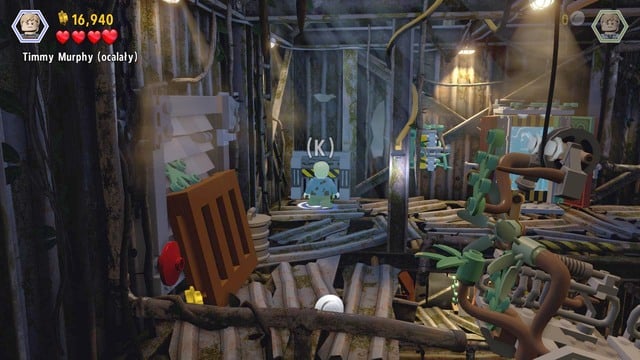
Sixth minikit can be collected at the top of the radio tower. As Timmy, walk to the place shown on the picture and get through the small passage. On the other side you will find the minikit.
Minikit #7
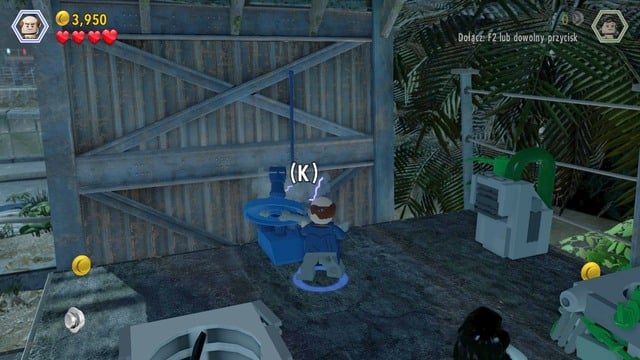
You will receive seventh minikit after repairing three antennas. First one is under the radio tower.

Second one can be found after jumping to the second building. Walk to the left side and you will find a blue antenna.
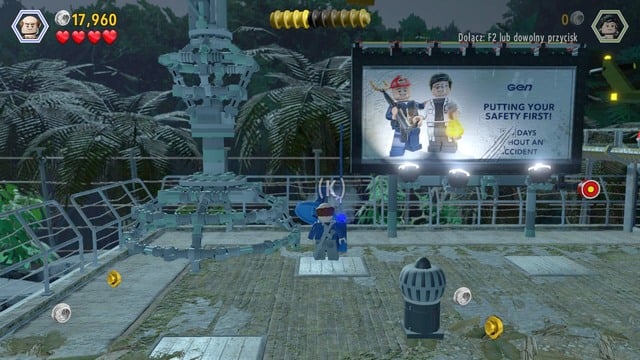
Third one can be found next to the helicopter.
Minikit #8
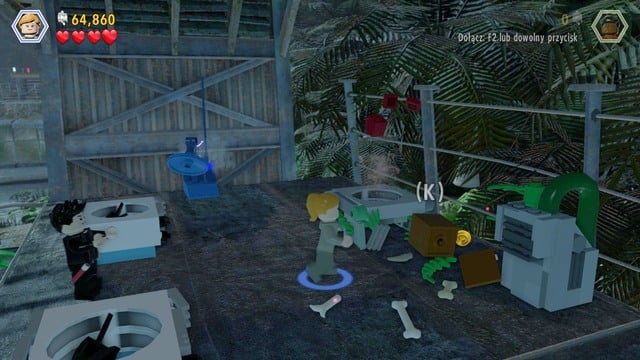
Eighth minikit can be found near the radio tower. Destroy all brick objects and create the minikit out of them.
Minikit #9
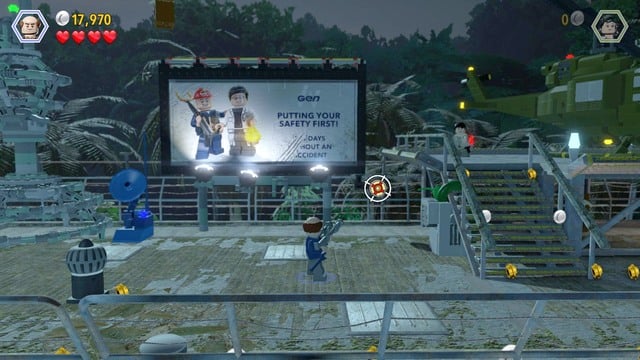
While standing next to the helicopter, switch your character to Udesky and shoot at the shield shown on the picture. Some rods will appear at the advertisement. Use them as a female character. Finally, jump towards the minikit to collect it.
Minikit #10
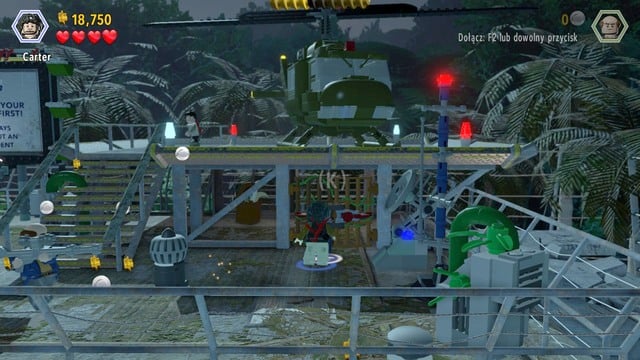
After collecting the ninth minikit, walk right and switch your character to Owen. Gain access to the locked room below the helicopter. On the left side you will find the last minikit.
Amber #14
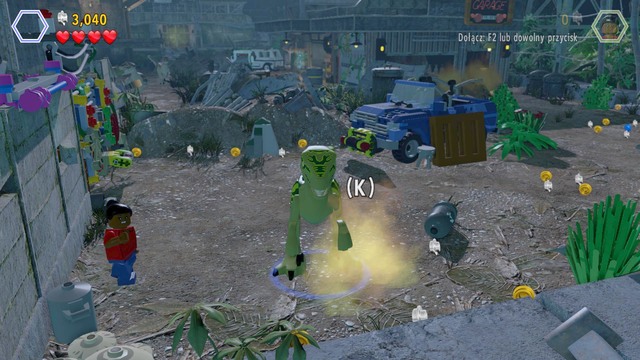
While in the location with the garage, as raptor walk to the smell shown on the picture and follow its trail. After reaching your destination, dug up the bricks from the ground and make a shield out of them.
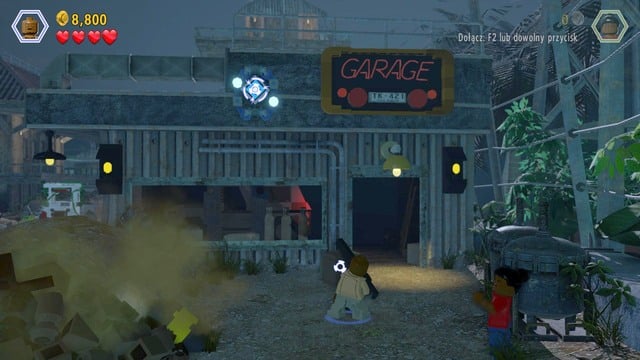
Shoot at the shield with Barry's EMP, then shoot at the regular shield under the writing. You will get amber that unlocks apatosaurus.
- LEGO Jurassic World Game Guide & Walkthrough
- LEGO Jurassic World: Game Guide
- LEGO Jurassic World: Jurassic Park The Lost World - secrets (missions)
- LEGO Jurassic World: Isla Sorna Jurassic Park - The Lost World - secrets
- LEGO Jurassic World: InGen Arrival Jurassic Park - The Lost World - secrets
- LEGO Jurassic World: The Hunted Jurassic Park - The Lost World - secrets
- LEGO Jurassic World: Communications Center Jurassic Park - The Lost World - secrets
- LEGO Jurassic World: San Diego Jurassic Park - The Lost World - secrets
- LEGO Jurassic World: Jurassic Park The Lost World - secrets (missions)
- LEGO Jurassic World: Game Guide
You are not permitted to copy any image, text or info from this page. This site is not associated with and/or endorsed by the developers and the publishers. All logos and images are copyrighted by their respective owners.
Copyright © 2000 - 2026 Webedia Polska SA for gamepressure.com, unofficial game guides, walkthroughs, secrets, game tips, maps & strategies for top games.
