Half-Life 2 Episode One: Urban Flight
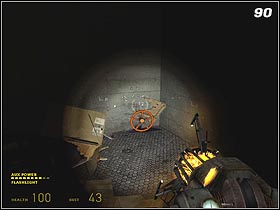
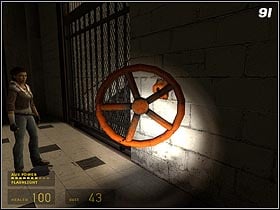
After leaving the elevator turn left (#89) and use the gauge to move the gate. Inside you will find some supply crates and other boxes. Destroy everything and use the Gravity Gun to pick up a loose gauge (#90) laying on the ground. Place it in the mechanism (#91) located near another gate.
 |  |
 | 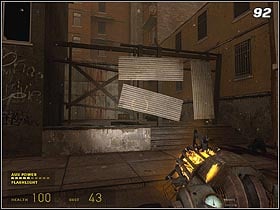 |
Go up through the gate. Now you'll be moving outdoors, through the ruined city. To get there, you have to use the Grav Gun to open the passage (#92). Enemies will appear around, so get rid of them.
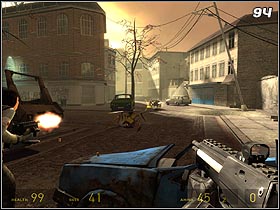
Wait until those huge, metal bars (#93) clear a way for you and prepare for another shootout. This time you will be fighting Antlions too. In order to stop the latter, you have to use the Grav Gun to cover all three holes in the ground with the cars laying around (#94).
 |  |
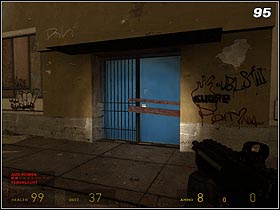 |  |
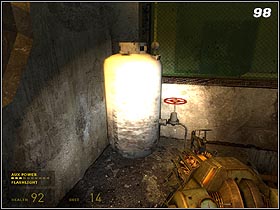
At the end of the street you'll see a blue door (#95). Grab the planks from there and enter. Kill the soldiers, destroy the laser traps (#96) and continue on to the next room. There are a few items laying on the pipes in there (#97). You have to bring and place some other objects in there to create a counterweight. When the pipes are able to support your weight, use them to reach the container (#98). Turn the gauge to stop the fire in the nearby room.
 |  |
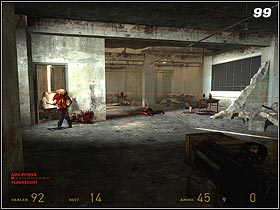 |  |
Go back to Alyx and use the staircase. Kill the enemies upstairs (#99), gather all the items and reprogram the mines with the girl's help as you did before. When going back down, watch out for a sniper who'll try to get you through the window.
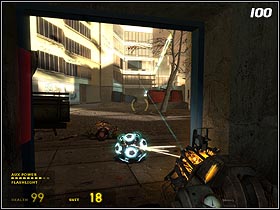
The mines will come in handy in eliminating the machine gun operator on the other side of the street (#100). Sniper in one of the windows is more troublesome than him, though. You have to get near the building he's in. Use car wrecks as your coves. When you're near the windows, throw a grenade in there or use one of the mines.
Wait for Alyx to go up and take the sniper's weapon. Approach the fence and use the small ladder (#101) to get to the other side. The area will be crawling with enemies - don't do anything, though, as Alyx can take them out easily.
 |  |
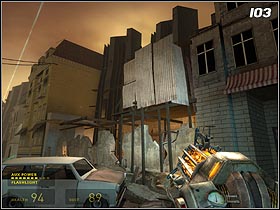 | 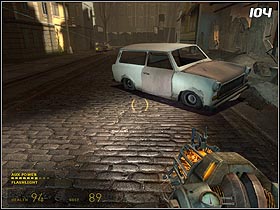 |
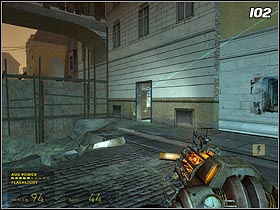
Use the open passage (#102) to the building on the right and continue on. When you're back on a street, kill the soldier hidden behind a barricade (#103) who's using the machine gun, and then use the car to block the hole in the ground that Antlions are coming outta.
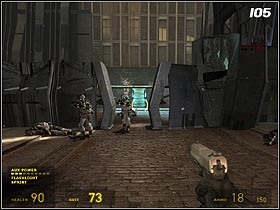
Approach the wall and wait until soldiers come. Take advantage of the fact that the gate is open and run to the other side (#105). Wait for Alyx and kill the Antlions that attack you. The girl will open the next passage.
 |  |
Go ahead, killing everyone in your way. You'll reach the armory (#106), where you'll find a lot of ammo and a Pulse Rifle. When the door's blown out, enemies will enter the room. Kill them all and use the panel on the wall to recharge your energy.
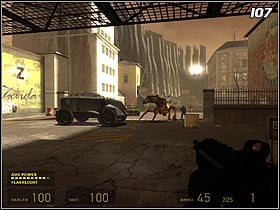
After a short walk you'll reach a crossing on which enemy soldiers are trying to kill Antlion queen (#107). Don't engage into combat until the enemies weaken the monster. Start to shoot when the armored vehicle gets destroyed. You can use the barrels laying around to help you defeat the beast, but it's way too fast to easily keep it at distance. Concentrate on using the machine gun - there's a lot of ammo in the crate near here.
 | 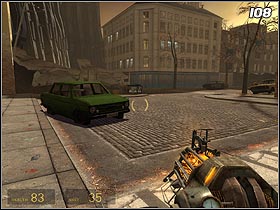 |
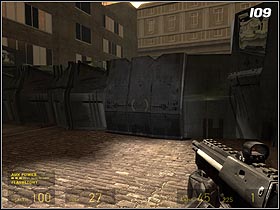
Killing the queen won't stop the Antlions from coming from the hole on the ground. As always, grab some cars and use them to fill the holes (#108). Approach the barricade (#109). Wait for the gate to open and go inside, killing more soldiers. Watch out for the ones that stand on the roofs.
 | 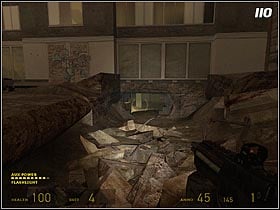 |
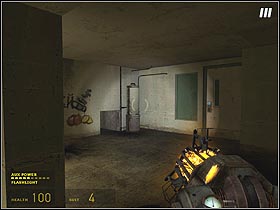
Find a hole in the wall (#110) somewhere between the rubble. Try to open the door - it turns out it's locked. Destroy the barrels, get rid of the mine and use the air vent (#111). Take the first right and you'll find some items to regenerate your armor (you have to pick them up with your Gravity gun, as you can't get close - the floor would break under your weight).
 | 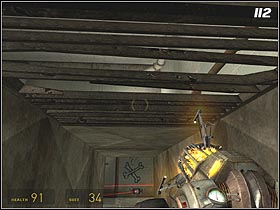 |
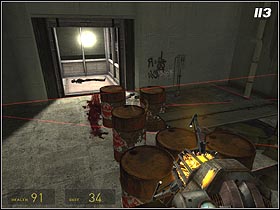
Reach the end of the air vent. There are two laser traps on both end of the tunnel you'll get into. You can't destroy them, as the explosion would tear you to pieces. Destroy the air vent in the ceiling (#112) and leave the tunnel. Pass to the other side of the room using the barrels (#113), but watch out that they don't explode.
 | 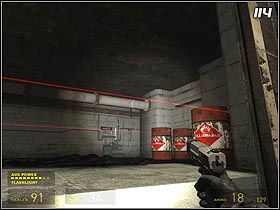 |
Enter the elevator and wait for it to fall to the water. Use the Grav Gun to tear the ceiling and swim up. You'll get to another room (#114), which also is secured with laser traps. Throw a grenade in there and dive. The explosion won't harm you this way.
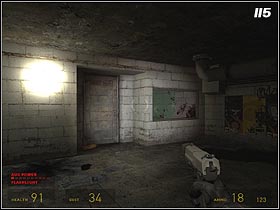
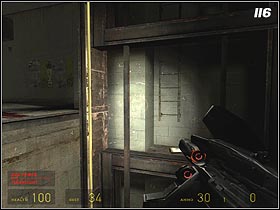
The door's closed, so use the broken window (#115). Enter another air vent and go straight ahead. After a while you'll find yourself in the elevator shaft. Jump to the ladder in front of you (#116) and climb up. Look to the right, and you'll notice another grate (#117). Use it to enter another tunnel.
 |  |
 |  |
After a short walk you'll be above the next room. Use the Gravity Gun to destroy the grate. It will cause an explosion which will get rid of the barrels and laser traps down there. Jump down and open the fuse box (#118). Go further, along with Alyx.
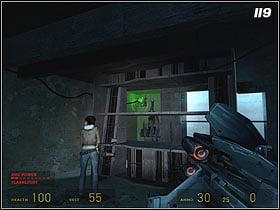
Destroy laser traps and barrels from a safe distance and prepare for the enemy attack. When you kill everyone that stands in your way, go up the stairs. Take the crossbow and destroy the supply crates (#119). Use the Gravity Gun to pull out the plus and go down. The force field is gone and you can go through.
 |  |
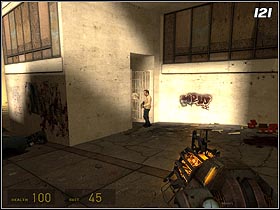 | 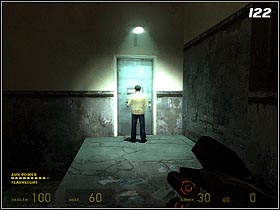 |
You're on the street (#120). Go ahead, exterminating the enemies. You'll find a rocket launcher by the dead ally's body - don't forget to snatch it. A rebel will point the way for you (#121). Follow him and wait until he opens the way to the hideout (#122).
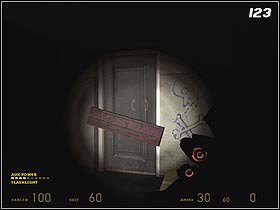
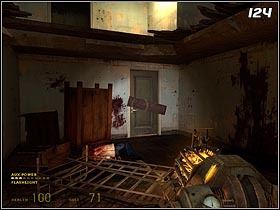
Use the staircase and head up. When a rocket strikes the building, find a planked door (#123). Get through it using the Gravity Gun and head forth. When the floor crushes under your weight, get rid of all the enemies. Behind one of the lockers you'll find another door (#124) - also blocked with a plank. Tear it out and go through.
 |  |
You'll meet Alyx. Go up, avoiding the breakable planks in the floor. After a short walk you'll end up in a room where Barney is hiding. Wait until they finish talking, take a crowbar and use the passage between the buildings.
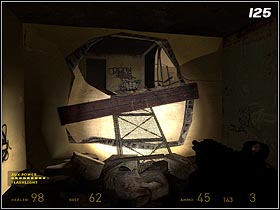 | 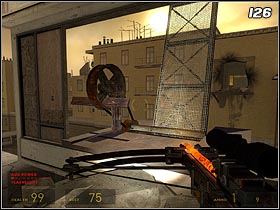 |
Use the crowbar to destroy the plank that is blocking your way (#125). Don't go down on the street, but turn left and use the staircase. You'll see another bridge. Kill the enemies in the opposite building and grab or destroy the plank that it blocking the bridge mechanism (#126). Get to the other side.
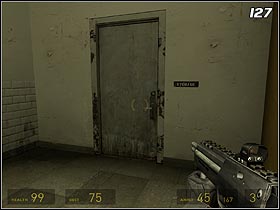
You're in a ruined hospital. At the end of the corridor there's a door labeled Storage (#127). Now you have to be cautious. There's a lot of enemies in this building, and a gunboat is floating outside. Stick close to the windows (#128) on the right side to avoid serious damage.
 |  |
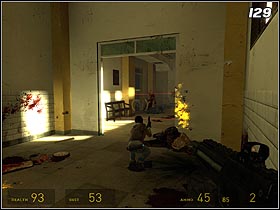
You'll have to destroy some laser traps (#129). Do it by grabbing any object with a Grav Gun and throwing it so it crosses one of the red laser strings.
 |  |
The corridor leads to the attic. You'll end up fighting a gunboat in here. You have an infinite amount of rockets in a crate (#130), but it still won't be easy - you'll have to target it very carefully. It's best to wait for it to circulate around the building. The gunboat will shoot bullets that will destroy the floor in here. If you fall down, you can return to the upper level using the stairs. When you finally destroy the enemy, it will crush into the building. Watch out so you don't get harmed in the process.
 |  |
Go down and join Alyx (#131). Wait until the soldiers blow up the door and go further. Destroy the laser traps and wait for the girl do deactivate the force field ahead. Go forth, exterminating all the enemies in the hospital (#132). Destroy all the supply crates and search through the lockers - you'll find a lot of ammo and medicaments.
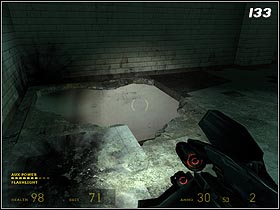
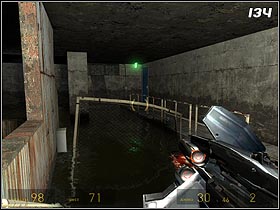
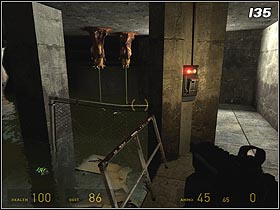
After a short walk you'll be in a room with a hole in the ground (#133). Jump down. The floor will collapse under your weight and you'll fall down to the water filled basement. Dive and swim ahead - you'll reach the stairs. There's a door nearby (#134) which is closed for the moment. Kill the Barnacles hanging on the ceiling and jump to the water through the railing. Swim to the other side of the room. There's a supply crate and a pillar, and on it - a switch (#135). Use it to open the door.
 |  |
 |  |
As you might have guessed, the water is electrified now, so don't enter it. Watch out, as there are also some new Barnacles here. Hit the switch again and look around the room (#136). You have to find a blue barrel that's somewhere around the door.
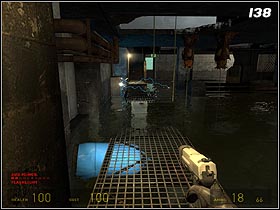
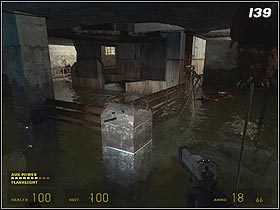
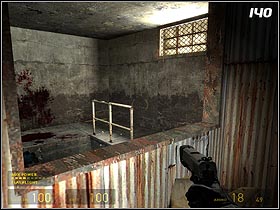
Grab the barrel with a Grav Gun and dive with it to place it under a metal platform (#137). Hit the switch one more time. Run and jump to the other platform (#138) near the power box, and then get on the pipes (#139). When you enter a small room, kill the spider and leave through the window (#140).
 |  |
 |  |
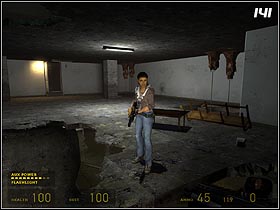
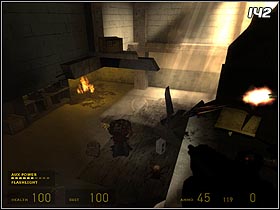
Alyx will join you (#141). Go forth. In the next room, jump down and prepare for some serious undead killing (#142). Use the mines (they're on the locker) to help you.
 |  |
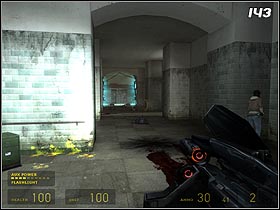
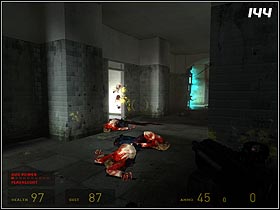
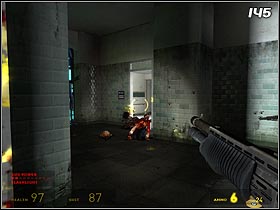
Go further, using the only available way. Stop when you're in the corridor (#143) which is secured by two machineguns. Run towards them, hiding behind the pillar. Now you have to deal with the rest of the enemies. When they're all dead, run to the room to the left (#144). Refill your ammo, grab one of the mines, and prepare to defend against a group of Zombies. When you succeed, run to the room they run out of.
 |  |
 | 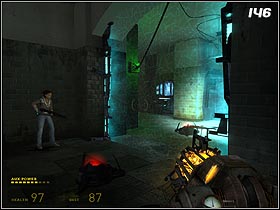 |
Get rid of the mines and carefully approach the force field. You'll have to pull the plug (#146) with the Grav Gun to deactivate it. Go ahead. That's it for the game's longest episode.
You are not permitted to copy any image, text or info from this page. This site is not associated with and/or endorsed by the developers and the publishers. All logos and images are copyrighted by their respective owners.
Copyright © 2000 - 2026 Webedia Polska SA for gamepressure.com, unofficial game guides, walkthroughs, secrets, game tips, maps & strategies for top games.
