Half-Life 2 Episode One: Undue Alarm
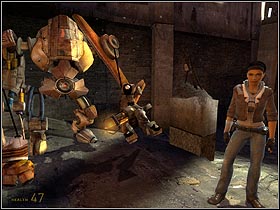
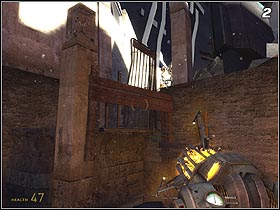
Your adventure kicks off by the ruined Citadel. You are buried under the rubble, but luckily enough Dog finds and rescues you in a few seconds. Take the gravity gun from the robot's hand (#1) and wait for the girl to finish talking. When they go up, use your gun to get rid of the planks holding the metal gate (#2). When it falls, it will create a bridge that will let you to join the rest of the company.
 |  |
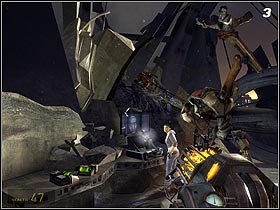 | 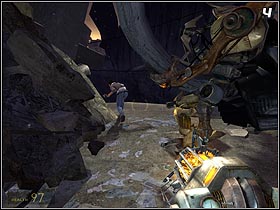 |
Alyx will contact her father and doctor Kleiner. It seems that you'll have to go back to the Citadel. Pick up the two health kits laying next to the monitor (#3) and listen to the transmission. The girl will ask Dog to make way for you. Crouch and follow them (#4).
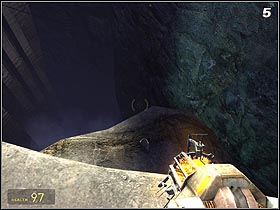
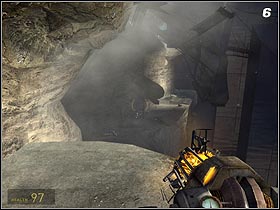
Approach the edge and look down (#5) to see a stone platform. Jump down on it, turn left and go forth (#6). Use the Gravity Gun to move the car that block your way and approach the bonfire. Alyx and Dog will soon join you back.
 |  |
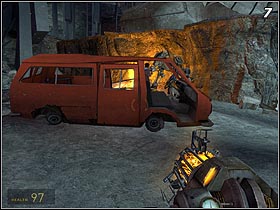
Dog will find a way for you to get back to the Citadel. The car might not look as trustworthy as you'd like to (#7), but it's the only way to cross the abyss. When Alyx finishes talking, take a sear inside and you'll be thrown to the other side.
 | 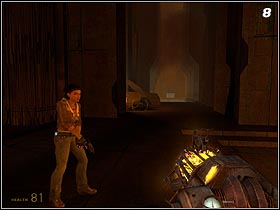 |
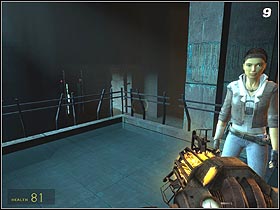
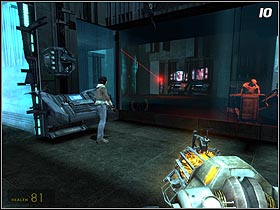
Once you're inside (#8), leave the car and turn left. Go straight ahead until you reach the railing (#9). Jump down and head to another corridor. The way is blocked by a force field (#10). The girl will suggest using Rollermines to get past it. Wait for her to deactivate the first barrier and go forth (#11).
 |  |
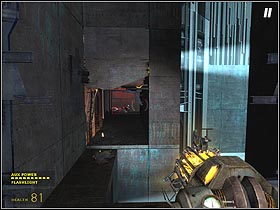 | 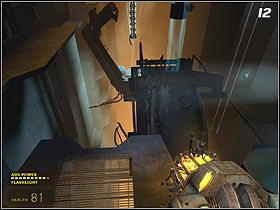 |
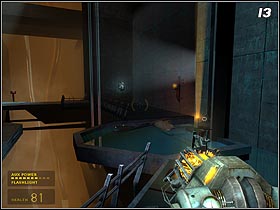
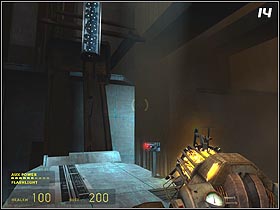
When you reach the end of the corridor, jump to the lower platform (#12) and immediately move to the sloping part of the construction to avoid falling down. Near the elevator (#13) there's a regeneration panel to help you with your health and armor, and also a narrow passage to the Rollermine container (#14). Press the red button and quickly grab one of the falling "balls". Use the elevator and approach Alyx.
 |  |
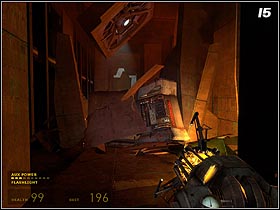
The girl will reprogram the mine so it doesn't hurt you. Approach the force field and let the "ball" into the room where Stalkers are. When they're dead, Alyx will deactivate the barrier that blocks your way. After a short walk you'll reach a pile of ruble (#15) that you have to remove using the Gravity Gun.
 |  |
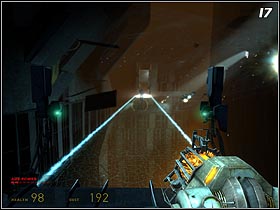 |  |
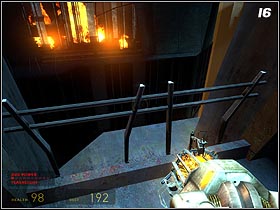
Having jumped across another railing (#16), you'll find yourself near a bridge. Notice the soldiers being blown away by the wind (#17). Wait for the situation to settle and run across to the other side. You'll have to be quick about it, as the pause between the blows is quite short. Alyx will join you in a moment.
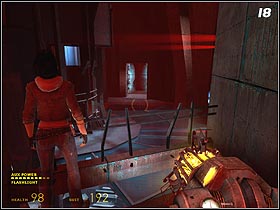
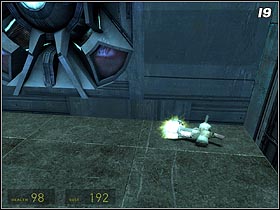
You'll reach a big room (#18). Jump down and wait for things to come. When it's over, continue on. You'll enter a room where your Gravity Gun gets an upgrade. Take the weapon from the floor (#19) and go forth.
 | 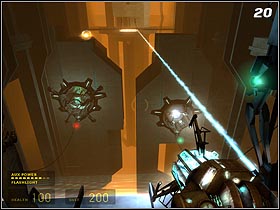 |
When you reach the end of the corridor, you'll notice that only one of the strings creating a force bridge is active (#20). Use your gun to catch the energy ball floating around and throw it towards the mechanism to the left (the one with a red light). You'll be able to cross.
Once on the other side, you'll encounter first enemy soldiers in this expansion. Remember about the destructive power of your improved Gravity Gun, and use it to get rid of them. When no one's left to threaten you, create another bridge, sending two energy balls to the two mechanisms on both sides.
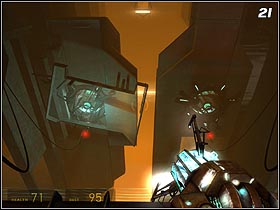 | 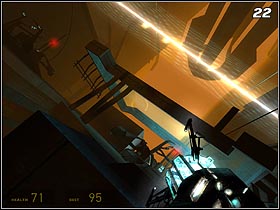 |
Go across the bridge and deal with even more soldiers. After the fight examine the bridge machinery. This time it won't be that easy, as the mechanism on the left is blocked (#21). Turn left and enter the huge corridor. Find a niche on the right and approach the edge. When you look down (#22), you'll see an energy ball channel. Grab one of them and shoot it so that it hits the glass (it will reflect it to hit the target). Shoot the second mechanism too - you're free to use another bridge.
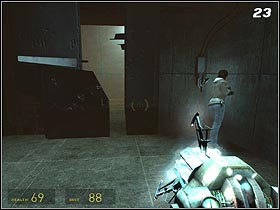
There's a longer walk before you now. Crouch below the collapsed ceiling, kill the soldiers and run forth, jumping across the missing part of the floor. At the end of your way you'll see a door (#23). Alyx will open it. If the girl's not with you, go back for her, as she's probably stuck in a fight with some soldiers you left behind.
 | 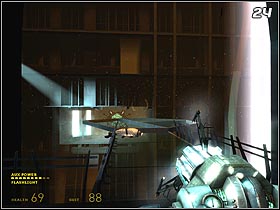 |
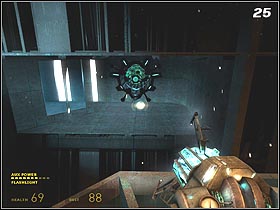
After a short walk you'll reach an elevator (#24). Enter the platform and examine the mechanism on the other side of the room (#25). It lacks the energy, so grab one of the balls from the corridor and send it towards it.
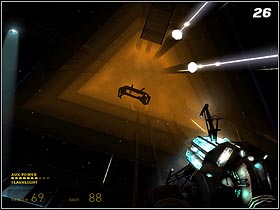
When you're going down, look up (#26) to see that there are huge fragments of the Citadel falling around. If any of them hits the platform, you'll both end up dead. Position yourself in the center and patiently wait for the junk to fall. When you see that it falls dangerously near, grab it with a Gravity Gun and throw away. Do so three times, and the platform will eventually stop.
 |  |
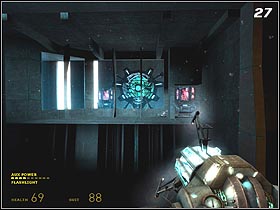
Examine the mechanism on the wall (#27). Access to it is blocked by unbreakable glass. Use the Grav Gun to grab some pieces of the computer to the right, creating an opening, and send one of the energy balls in it. The elevator should resume its ride down.
 | 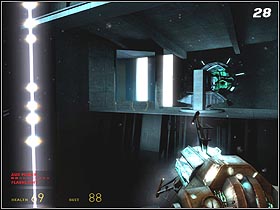 |
Use the Gravity Gun to grab another piece of junk falling from above. Examine the mechanism (#28). Grab one of the energy balls and send it towards it. Unfortunately, it didn't work - the problem is a Stalker in a nearby room. You have to kill him with an energy ball, but it will require a lot of precision. Shoot the white triangle (second from the left), and the bullet will reflect towards the enemy. Start the machinery once again and enjoy the rest of the ride.
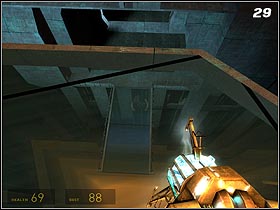 | 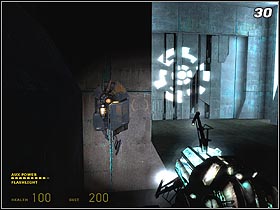 |
When Alyx shouts, reach the platform (#29) as soon as possible. There's a huge piece of junk falling from above and you can't stop it with a Gravity Gun. It will smash your transport into pieces. Go forth. There's a regeneration panel to the left of the gate. Use it before going through it.
You are not permitted to copy any image, text or info from this page. This site is not associated with and/or endorsed by the developers and the publishers. All logos and images are copyrighted by their respective owners.
Copyright © 2000 - 2026 Webedia Polska SA for gamepressure.com, unofficial game guides, walkthroughs, secrets, game tips, maps & strategies for top games.
