Chapter III: Level 2 Walkthrough
Complete walkthrough:
You start off in a very small room. I wouldn't recommend standing close to the windows, as you would have become an easy target. You could, on the other hand, check most of the chests and shelves. You will find at least one bottle here (#1). Once you're ready, head on to a small door (#2). You will find in the second room.
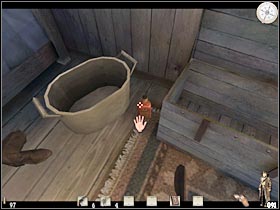 | 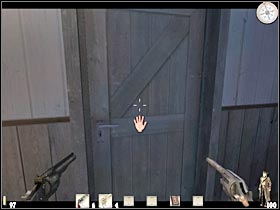 |
Open the door. You will have to deal with at least two enemies. Start off by killing a guy that's standing on your left (#1). You shouldn't have any major problems locating him. I would recommend that you use only one gun. You should also lean out a lot. There's also a second enemy in the area. You will have to wait for him to stand by one of the windows (#2). Thanks to that, you'll be able to kill him.
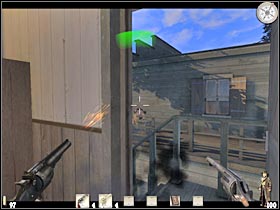 | 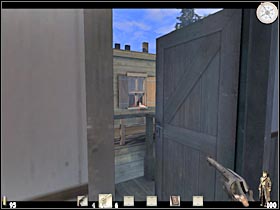 |
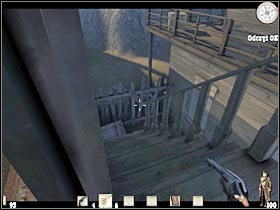
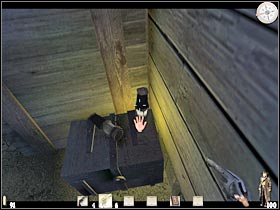
Use the stairs to reach the ground level (#1). Turn around and start running towards a small alcove. It will be located on your right. It's very important, because there is a large group of enemies in this area. They would try to kill you. Wait for the game to display some new hints. For the first time during the game, you will have an opportunity to use an oil lamp to your advantage. Start off by picking it up (#2).
 |  |
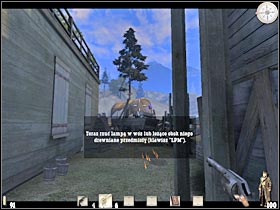
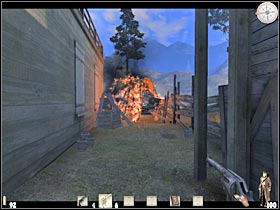
Make sure that you have a lamp with you. Lean out only for a short while. The objective will be to throw the lamp at a large wagon. You can do this by pressing the left mouse button (#1). Use the alcove once again. Wait for a few seconds. The wagon will catch on fire. As a result, you will deal with all enemy units (#2), however you should know that later during the game these actions doesn't necessarily have to work that way. In most cases, they will only force your opponents to move to another area.
 |  |
Destroying the wagon allowed you to take out a large group of bandits. Unfortunately, it also blocked your only passageway. As a result, you will have to do something about this. Wait for the new hint window to pop up. Start off by picking up a bucket (#1). Make a few steps forward and press the left mouse button (#2). You won't solve the entire problem, however you should be able to clear a small path. Go ahead and use it. You won't have to do anything else with the burning wagon.
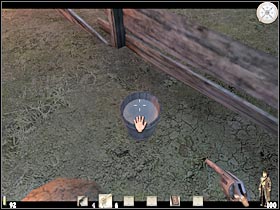 | 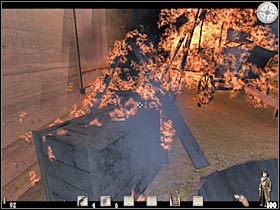 |
Keep moving forward. There are some crates on your right. You'll find some health here, as well as the ammunition. Head on to a nearby window. There is a single opponent inside. You will have an opportunity to organize a surprise attack (#1). Make sure that you're aiming at his head. One bullet should be enough to kill him. Enter the new building. You could explore this entire area, however it won't be necessary. You have to be careful, though. There are a lot of bandits in the area. I would recommend that you choose a small door. It's located in front of you. Additionally, you will find a lot of ammunition here (#2).
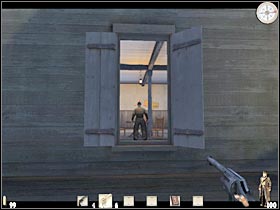 | 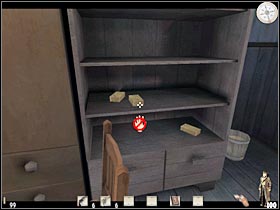 |
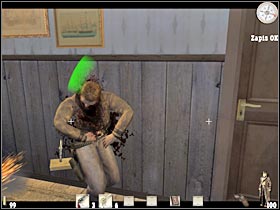
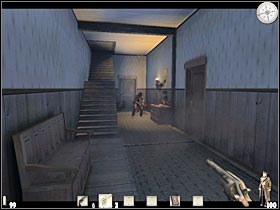
Be careful! At least two bandits will be guarding a nearby corridor. It would be best to activate the slow-motion feature in order to get rid of them safely (#1). Additionally, make sure that you check a small area on your right (by the stairs). There's an enemy soldier here (#2). Kill him. Get back to the main corridor.
 |  |
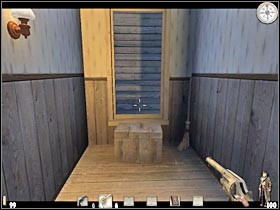
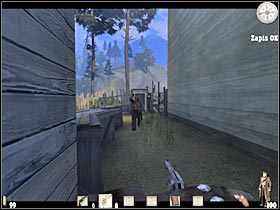
You will have to reach a small window (#1). It's located by the main corridor, so I guess you won't have any problems finding it. Exit the building. Turn right and make a few steps forward. The game will suggest that you activate a fast shooting mode. You can do this by pressing the Z key. You are going to be attacked by one of the bandits. He's only carrying a cleaver, so don't worry about him. This new mode will allow you to kill him without any other problems (#2). I would recommend that you deactivate the newly acquired feature, as you won't need it during the upcoming fights.
 |  |
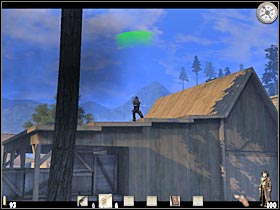
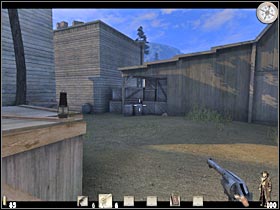
Make sure that you have saved your game. Lean out CAREFULLY. One of the bandits will be standing on the roof of a large building (#1). Make sure that you zoomed in the view. You will have to kill him. If you're injured, pick up one of the nearby bottles. There are plenty of them on this map. Keep moving forward. You will come across an oil lamp along the way (#2). Ignore it for the time being.
 |  |
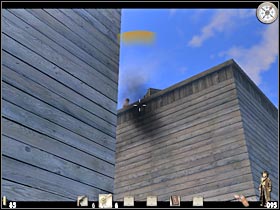
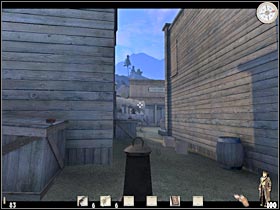
Try standing by the roof of the left building (there's a large tree here). You will have to deal with one more sniper (#1). He will be standing on a roof of the right building. Once he's gone, go back to the oil lamp (you'll also find this objects by the crates). Pick up the lamp. Lean out. You will have to make sure that the lamp lands near the wagon (#2).
 |  |
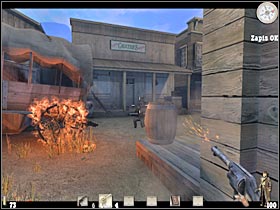
Once again, you should wait at least a few seconds. The wagon will eventually catch on fire. This will allow you to take out some of the enemy soldiers (#1). Make sure you're leaning out. Don't stay in the open for too long. Once you've dealt with the first group, try moving a little bit closer to the burning wagon. There are some new bandits here (#2). Most of them will appear on your right. Make sure you've killed them all.
 |  |
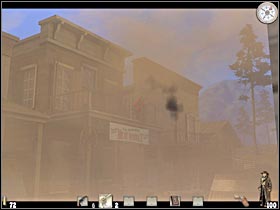
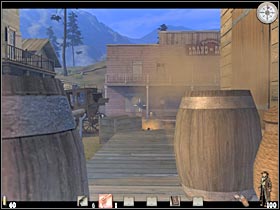
Step up closer to the right wall. Go ahead and try to lean out. First of all, you will have to take care of a single bandit that's standing on a nearby balcony (#1). You would have some serious problems with him in the future. Turn right and hide by the barrels. There are a few other enemies for you to take care of. Make sure you're using one of the nearby objects for cover.
 |  |
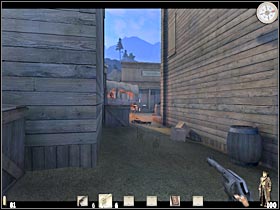
At least one of the enemies will leave a shotgun behind. You have to pick it up, as you'll need a second weapon during most of the missions. You don't have to use it right away. Head on to a nearby alley. Be careful, though. You are going to be attacked by one of the bandits (#1). Dispose of him quickly. Turn right and start moving forward. There's one more enemy for you to kill. I would recommend that you use the shotgun to take him down.
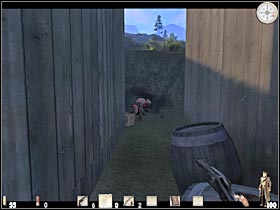 | 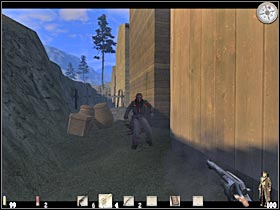 |
I wouldn't recommend leaving this area just yet. You should head on to some of the nearby crates. You will find a health bottle here (#1), as well as some ammunition (for both types of weapons). Now you will have to choose one of the nearby alleys, so you'll be able to get closer to the big saloon. Be careful, though. There are more enemies in this area (#2). It would be best to hide by one of the barrels. Try to take them out from a larger distance.
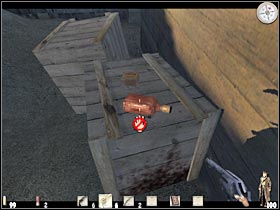 | 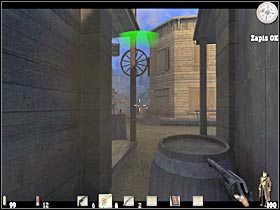 |
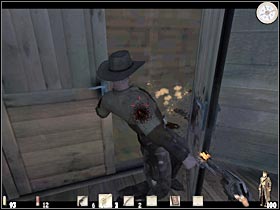
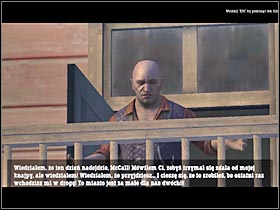
The cost is clear, so go ahead and get closer to the main square. I had to eliminate one more bandit here. He left a large building that was located on the left side of the square (#1). It would be wise to use the shotgun here. A new cut-scene should appear on the screen (#2). Sadly, you won't be able to kill the leader of the bandits just yet.
 |  |
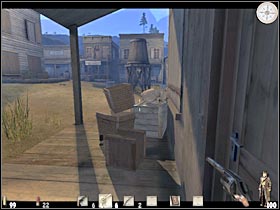
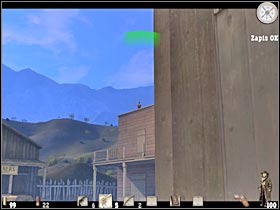
This is a very challenging section of the mission. First of all, you will have to dispose three snipers. They are guarding the entrance to the saloon. Once you've regained full control over Ray's movements, turn right and start RUNNING forward. You will use one of the smaller buildings for cover (#1). You should also save your progress here. Now for the hard part. Start leaning out (CAREFULLY!!). Try and take out a bandit who is standing on the left side of the saloon (#2). You should also know that some of the enemies will be using dynamite against you. Thankfully, you should be safe here.
 |  |
The second bandit is standing on an upper balcony (#1), so you shouldn't have any problems killing him. There's only one more enemy left. Sadly, it'll be a lot harder to dispose of him. He is standing on the right side of the saloon (the roof area). I would recommend that you get closer to the building (#2). Make a few steps back. You will have to aim at his head.
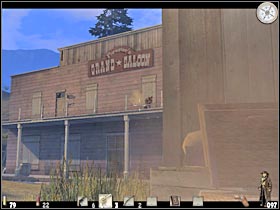 | 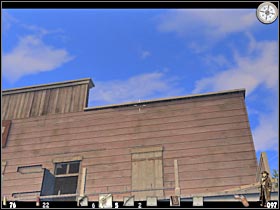 |
That's not all. More enemies will arrive here. Ignore the wagon that's heading towards the saloon. I would recommend that you go back to one of the darker alleys(#1). You should be able to kill most of your enemies from here (#2). Just make sure that it doesn't take too long, as you would become an easy target.
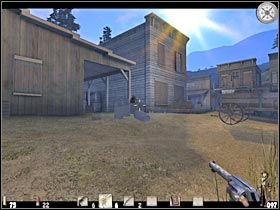 | 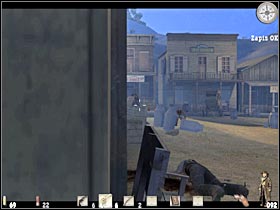 |
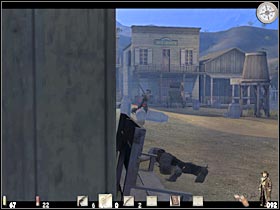
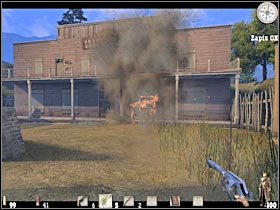
You will have to kill all enemies. Most of them will decide to enter the main square area, so you won't have any major problems locating them (#1). There aren't any other alleys here, so none of the bandits would have an opportunity to surprise you. Once you've dealt with all enemy units, the game will inform you about the possibility of destroying the saloon. Head on to the main square. You will have to shoot at some of the crates. The wagon will explode (#2).
 |  |
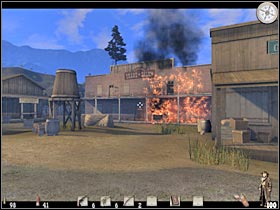
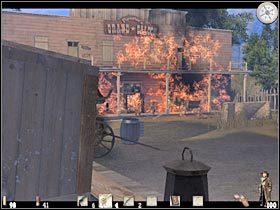
Now you will have to wait at least 10-20 seconds for the fire to spread all over the saloon (#1). I wouldn't recommend wasting that time, though. Head on to one of the previously explored passageways. They are located on your left. Position yourself correctly and wait for the bandits to show up. They will be exiting the saloon through the main door (#2). Thankfully, most of them won't be able to respond to your attacks.
 |  |
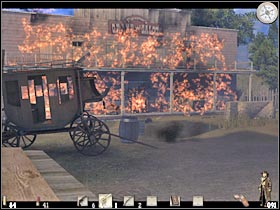
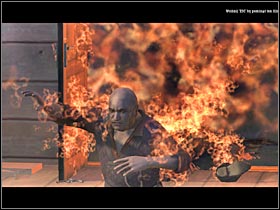
Make sure that you've taken care of all enemy units (#1). If you're lucky, you won't lose any health points here. A new cut-scene should appear on your screen (#2). Get ready for the first duel. The game will display some new hints in a short while. Read these instructions.
 |  |
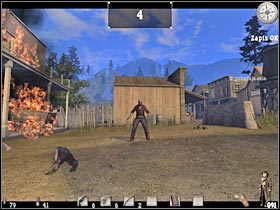
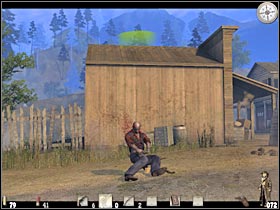
The whole duel thing is a standard minigame, however you will have to be quick and precise in order to become victorious. The first part of the duel will require you to wait for about 6-7 seconds. Make sure that you check the top of the screen (#1). Now you will have to perform two separate moves. Pull the mouse towards you. After that, start pushing it. The objective is to reach for a gun. A small cross-hair should appear on the screen. You will have to start moving it. It has to be located over your opponent. Fire 2-3 times, so you'll be sure that he's dead (#2).
 |  |
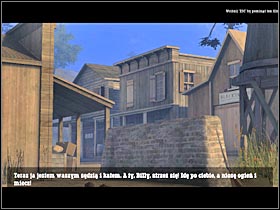
Winning this duel will also end this chapter of the campaign code. A final cut-scene will appear on your screen (#1). Sadly, you won't be following Ray's movements in the next chapter. It's time to go back to Billy.
 |
You are not permitted to copy any image, text or info from this page. This site is not associated with and/or endorsed by the developers and the publishers. All logos and images are copyrighted by their respective owners.
Copyright © 2000 - 2025 Webedia Polska SA for gamepressure.com, unofficial game guides, walkthroughs, secrets, game tips, maps & strategies for top games.
