Call of Duty Black Ops: The Defector - p. 2
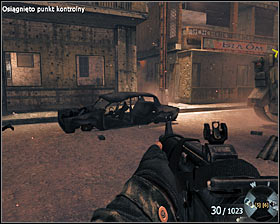 | 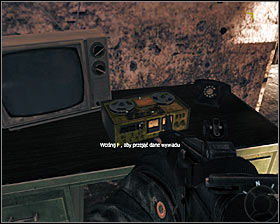 |
You can follow the armored vehicle. After the machine turns right, you go straight #1 and enter the building on the left. Find new secret service data #2.
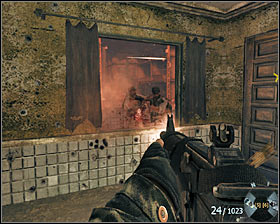 | 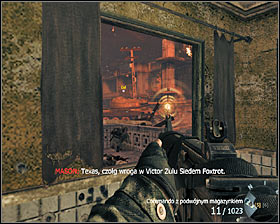 |
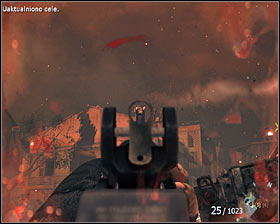
Watch out for the enemies who can appear in the area #1. Notice the hostile tank. Trace it by the appliance you know #2. Do not worry if the tank goes back a little, because it will be destroyed anyway during the bombing.
 | 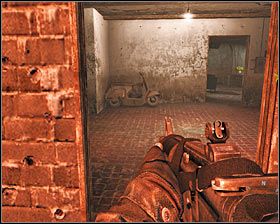 |
Spend a while on eliminating the nearest enemies and focus again on eliminating the ones on the roof #1 and balconies. You have to reach a place where you "order" a bombing and to achieve that you should go through buildings situated on the left side of the main road #2.
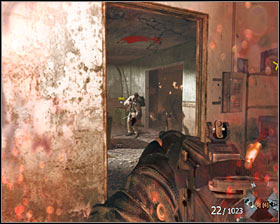 | 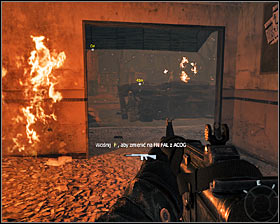 |
You will meet few enemies on your way which is not surprising #1. Be alert, some enemies can use raffles. The aim is to reach a place where the goal marked by the game will be directly in front of you #2.
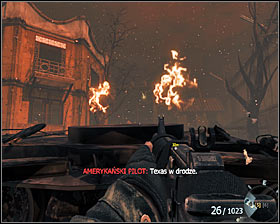 | 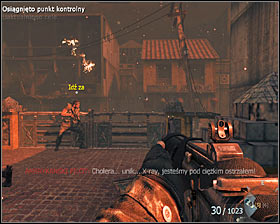 |
Leave the building, hide by the wreck and mark the building to be shot from air in a way you have already learnt #1. After the bombing, go straight #2, join Woods and the rest of soldiers. Jump over the balustrade here.
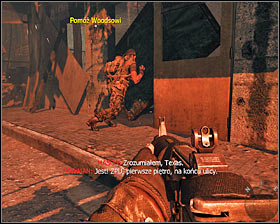 | 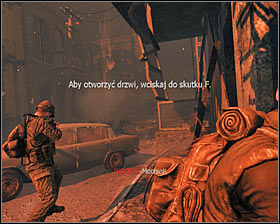 |
Ignore all the enemies in the area and come up to Woods #1. Now you have to press the F key rhythmically #2 to unblock the entrance to a new building. The main hero will lose consciousness again but there won't be any negative consequences.
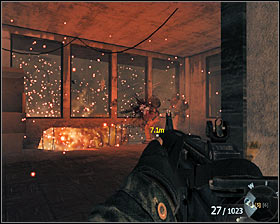 | 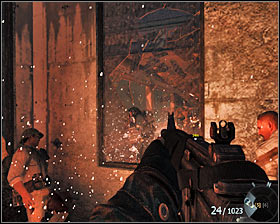 |
Go upstairs. First surprise two enemies #1, then another group of three #2. Jump through the window and make a few steps. You will see a short cut-scene.
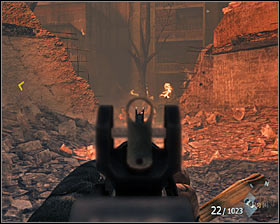 | 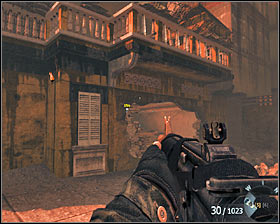 |
Follow Woods. Watch out because there are two groups of hostile soldiers in the area #1. It is a good idea to eliminate them with precise shots performed from behind the hiding place. After securing the area, head towards the building where hostile ZPU is situated #2.
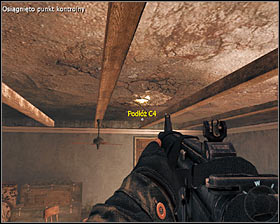 | 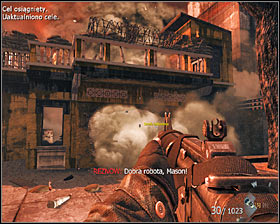 |
When you get inside the building, look at the ceiling #1 and put C4 in a place marked by the game (you have to hold the F key). Leave the building and detonate the charge from a safe distance #2.
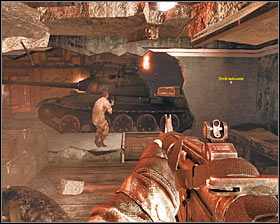 | 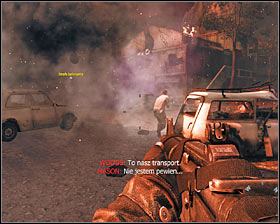 |
Go to the same building again and head towards a new hole in the wall #1. You don't have to worry about a tank situated here - it will be destroyed soon. Head toward the square where the final part of this mission will take place #2.
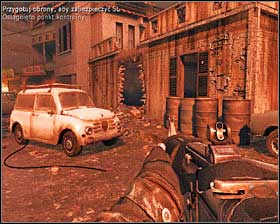 | 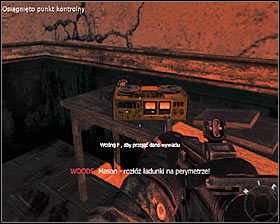 |
Before you do anything, go right and find a building with a characteristic hole in the wall #1. After getting inside, find the last for this mission secret service data #2. You can go back to the square.
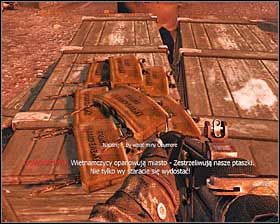 | 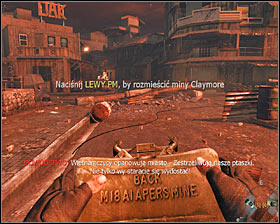 |
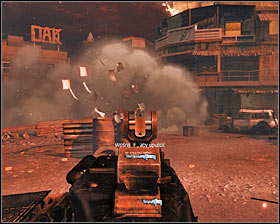
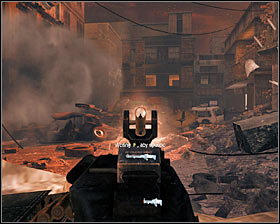
The enemies will attack in few seconds so you can prepare yourself. You will find Claymore mines in the area #1, which you could put on the roads leading here #2.
 |  |
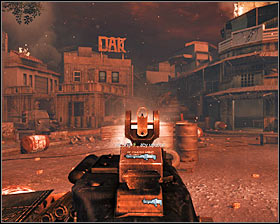
Go back to the central part of the square. The enemies will soon attack and during the battle it is worth using one of two machine gun positions #1 #2. Fortunately, you don't have to constantly walk between the positions because allies will help you to eliminate the enemies. When you shoot, first aim at the closes targets and use short shots to prevent the gun from heating up.
 | 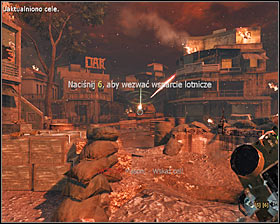 |
After dealing with the first wave of attack, I suggest you going away from the standpoint situated in the eastern part of the square, because a tank belonging to the enemy will appear in this very place #1. Wait until air support is unblocked and mark enemy's machine in a well known way #2.
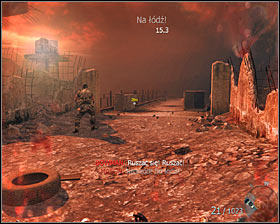 | 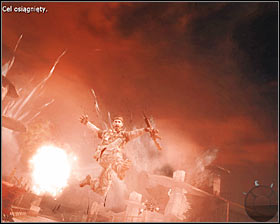 |
Defend yourself as long as you get the information about the planned escape. Immediately stop fighting and run with your allies west #1. Jump to the boat. The mission will end with a crafty made explosion #2.
- Call of Duty: Black Ops Game Guide & Walkthrough
- Call of Duty Black Ops: Walkthrough
- Call of Duty Black Ops: Walkthrough - Operation 40 - p. 1
- Call of Duty Black Ops: Operation 40 - p. 2
- Call of Duty Black Ops: Vorkuta - p. 1
- Call of Duty Black Ops: Vorkuta - p. 2
- Call of Duty Black Ops: Vorkuta - p. 3
- Call of Duty Black Ops: Executive Order - p. 1
- Call of Duty Black Ops: Executive Order - p. 2
- Call of Duty Black Ops: S.O.G. - p. 1
- Call of Duty Black Ops: S.O.G. - p. 2
- Call of Duty Black Ops: The Defector - p. 1
- Call of Duty Black Ops: The Defector - p. 2
- Call of Duty Black Ops: Numb3rs - p. 1
- Call of Duty Black Ops: Numb3rs - p. 2
- Call of Duty Black Ops: Project Nova - p. 1
- Call of Duty Black Ops: Project Nova - p. 2
- Call of Duty Black Ops: Project Nova - p. 3
- Call of Duty Black Ops: Victor Charlie - p. 1
- Call of Duty Black Ops: Victor Charlie - p. 2
- Call of Duty Black Ops: Crash Site - p. 1
- Call of Duty Black Ops: Crash Site - p. 2
- Call of Duty Black Ops: WMD - p. 1
- Call of Duty Black Ops: WMD - p. 2
- Call of Duty Black Ops: WMD - p. 3
- Call of Duty Black Ops: Payback - p. 1
- Call of Duty Black Ops: Payback - p. 2
- Call of Duty Black Ops: Rebirth - p. 1
- Call of Duty Black Ops: Rebirth - p. 2
- Call of Duty Black Ops: Rebirth - p. 3
- Call of Duty Black Ops: Revelations
- Call of Duty Black Ops: Redemption - p. 1
- Call of Duty Black Ops: Redemption - p. 2
- Call of Duty Black Ops: Walkthrough
You are not permitted to copy any image, text or info from this page. This site is not associated with and/or endorsed by the developers and the publishers. All logos and images are copyrighted by their respective owners.
Copyright © 2000 - 2026 Webedia Polska SA for gamepressure.com, unofficial game guides, walkthroughs, secrets, game tips, maps & strategies for top games.
