Call of Duty Black Ops: Operation 40 - p. 2
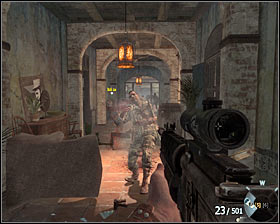 | 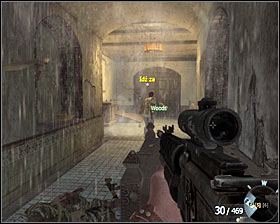 |
You will come across enemies later inside the building #1. During the fight it is worth using a gun with a telescope, because many enemies will hide behind chests. Move forward until your team reach the closed door #2.
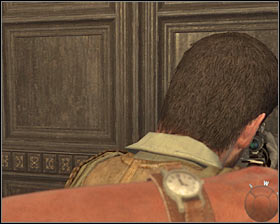 | 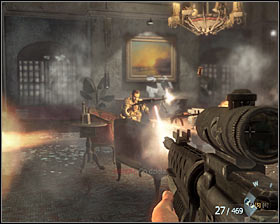 |
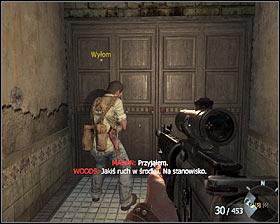
Stand directly behind Woods #1, as a result a partially interactive scene will be activated. Now you can eliminate few enemies in a simple way #2, because it will be possible to slow down the time. Don't forget to turn right so you do not miss anything.
 | 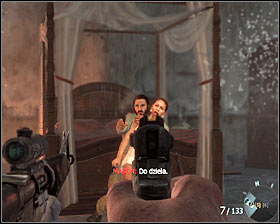 |
After completing another mission, come up to Woods and once again stand behind him #1. This time you will have a few seconds to eliminate Castro himself and to do it you have to shoot him in his head #2.
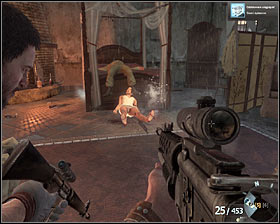 | 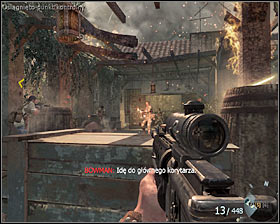 |
Prepare for eliminating a young lady held by Castro because she will attack your team #1. Now you can leave the building. Quickly hide behind the nearest boxes and start eliminating the enemies situated in this area #2. Stay in this position for few seconds because other enemies may appear.
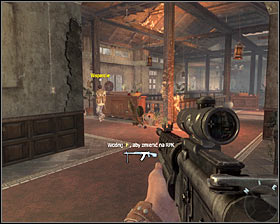 | 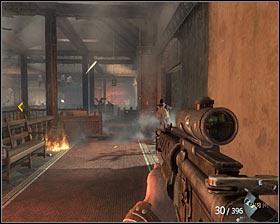 |
Now you can go inside a burning building #1. It is worth using sight to eliminate the targets which are far away. First try to stay in the right part of the building, then gradually go straight #2.
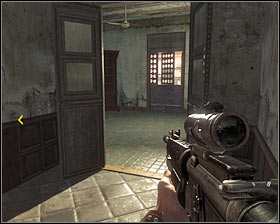 | 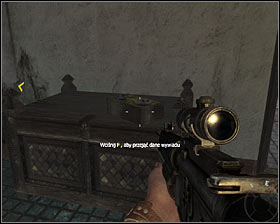 |
After fighting, go inside the rooms on the right #1. Go to bedroom and look for secret service data on the table #2.
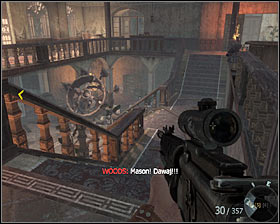 | 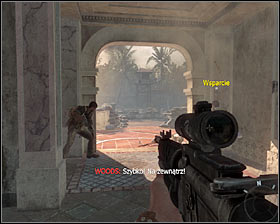 |
Now you can come back to the main room inside the burning building. Use the stairs to go to the ground floor #1. Next head towards the exit of the building #2 and prepare for a serious fight with a hostile troop.
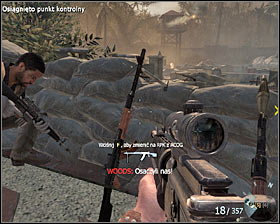 | 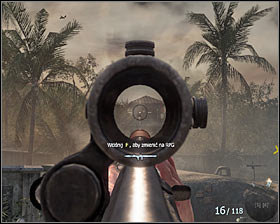 |
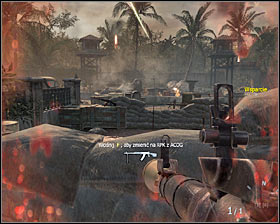
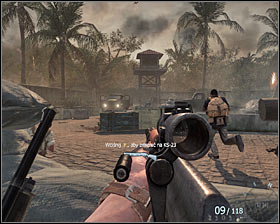
Immediately after going outside, go left and hide behind a wall or bags with sand #1. Notice there are many guns in the area so you don't have to worry about running out of ammunition. First I suggest eliminating the snipers hidden on a nearby towers #2.
 |  |
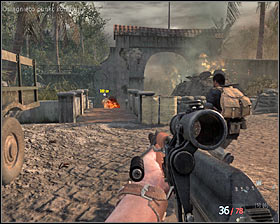
After eliminating snipers, start eliminating other enemies. To eliminate bigger groups of enemies, it is worth using bazooka or RPG launcher, which you can find nearby #1. Keep on fighting, try to stay close to your allies if it is possible #2.
 | 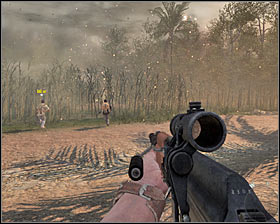 |
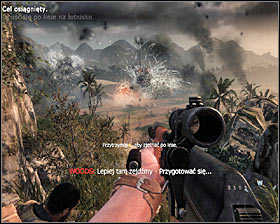
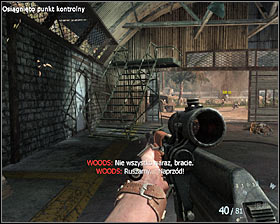
You have to fight until you get orders. Follow Woods and Bowman #1. Run towards reed field #2. During the run across the field, you cannot stop. After few moments you will reach the airport.
 |  |
Stand in a right place #1 and press F key to slide down the rope. Run into a nearby hangar. When you're inside, use a small ladder #2 and collect the last secret service data in this mission.
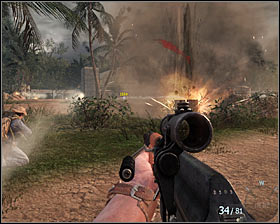 | 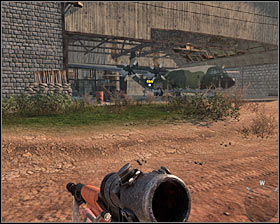 |
Now you can leave the hangar. Here run straight all the time #1 (there is sprint hidden under the SHIFT key), do not stop and ignore nearby explosions. The aim is to reach another hangar with a plane inside #2. Go onto this machine.
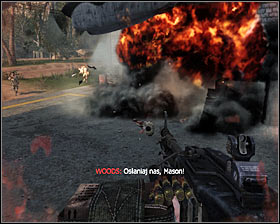 | 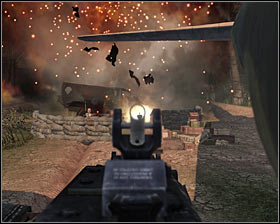 |
Now you have to use the cannon situated inside the plane. When you shoot the enemies, remember to shoot the explosive barrel first #1. Try to eliminate hostile machines regularly #2.
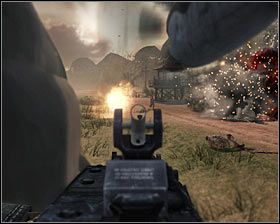 | 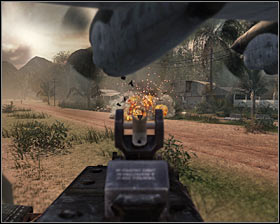 |
Later in this scene focus on an enemy with a rocket launcher standing on a small tower #1. Apart from that, eliminate nearby ZPU as soon as possible #2. You have to fight as long as your hero decides to jump off the plane.
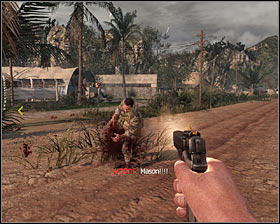 | 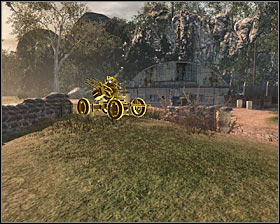 |
Use the pistol to eliminate the enemies running at you #1, then move toward ZPU pointed out by the game #2.
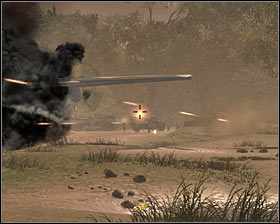 | 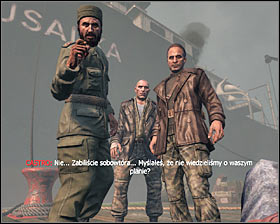 |
Aim at trucks parked at the airport #1. You have to eliminate these vehicles with ZPU so the plane will be able to fly. The main hero, as you can easily assume, will be caught by the enemy #2.
- Call of Duty: Black Ops Game Guide & Walkthrough
- Call of Duty Black Ops: Walkthrough
- Call of Duty Black Ops: Walkthrough - Operation 40 - p. 1
- Call of Duty Black Ops: Operation 40 - p. 2
- Call of Duty Black Ops: Vorkuta - p. 1
- Call of Duty Black Ops: Vorkuta - p. 2
- Call of Duty Black Ops: Vorkuta - p. 3
- Call of Duty Black Ops: Executive Order - p. 1
- Call of Duty Black Ops: Executive Order - p. 2
- Call of Duty Black Ops: S.O.G. - p. 1
- Call of Duty Black Ops: S.O.G. - p. 2
- Call of Duty Black Ops: The Defector - p. 1
- Call of Duty Black Ops: The Defector - p. 2
- Call of Duty Black Ops: Numb3rs - p. 1
- Call of Duty Black Ops: Numb3rs - p. 2
- Call of Duty Black Ops: Project Nova - p. 1
- Call of Duty Black Ops: Project Nova - p. 2
- Call of Duty Black Ops: Project Nova - p. 3
- Call of Duty Black Ops: Victor Charlie - p. 1
- Call of Duty Black Ops: Victor Charlie - p. 2
- Call of Duty Black Ops: Crash Site - p. 1
- Call of Duty Black Ops: Crash Site - p. 2
- Call of Duty Black Ops: WMD - p. 1
- Call of Duty Black Ops: WMD - p. 2
- Call of Duty Black Ops: WMD - p. 3
- Call of Duty Black Ops: Payback - p. 1
- Call of Duty Black Ops: Payback - p. 2
- Call of Duty Black Ops: Rebirth - p. 1
- Call of Duty Black Ops: Rebirth - p. 2
- Call of Duty Black Ops: Rebirth - p. 3
- Call of Duty Black Ops: Revelations
- Call of Duty Black Ops: Redemption - p. 1
- Call of Duty Black Ops: Redemption - p. 2
- Call of Duty Black Ops: Walkthrough
You are not permitted to copy any image, text or info from this page. This site is not associated with and/or endorsed by the developers and the publishers. All logos and images are copyrighted by their respective owners.
Copyright © 2000 - 2026 Webedia Polska SA for gamepressure.com, unofficial game guides, walkthroughs, secrets, game tips, maps & strategies for top games.
