Brothers in Arms Hell's Highway: THIRD ASSIGNMENT Destroy the 88
THIRD ASSIGNMENT: Destroy the 88
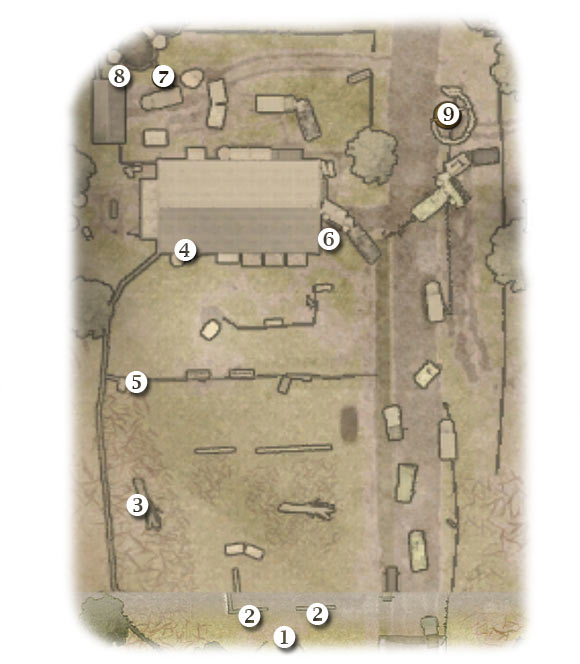
Map legend: 1 - starting area; 2 - cover points for your squads; 3 - tree; 4 - MG nest and first recon point; 5 - wooden fence; 6 - entrance to the barn; 7 - ammo stash; 8 - second kilroy; 9 - cannon (main objective)
This time you won't have to worry about being attacked by the 88 too much. Instead, you'll have focus all your efforts on avoiding being shot by enemy soldiers. You start near the river (1 on the map). Order your teams to move forward and to find suitable covers (2 on the map) [#252]. Your colleagues should begin firing on closest enemy units. I would recommend choosing different targets for your squads.
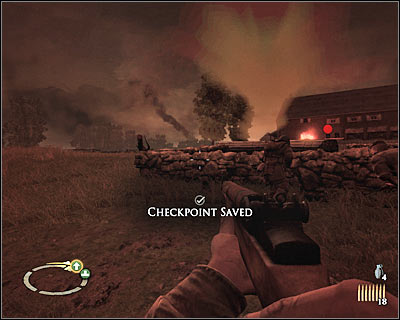
#252
Once you've suppressed the Germans, proceed alone towards a nearby tree (3 on the map) [#253]. This is an excellent cover, because you'll be safe here and you'll also be able to surprise enemy units. Watch out for an MG nest to the north. Try eliminating all hostiles standing to the east of your position.
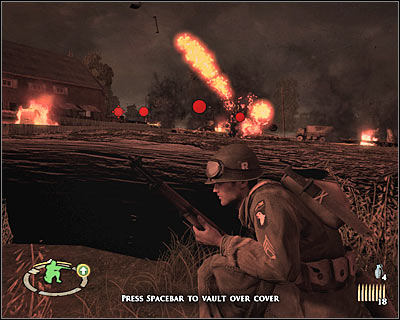
#253
You'll probably notice that new soldiers have left the barn. Enemy units will take cover near a wooden fence. I would recommend using grenades to get rid of them [#254], however make sure that you spared at least two grenades for later. You're going to need those to secure the barn in a few minutes from now.
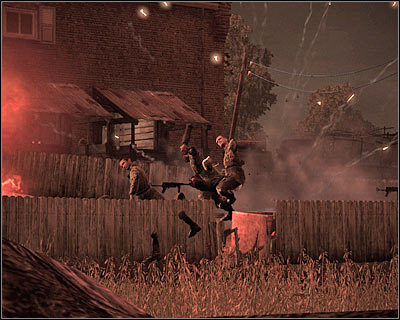
#254
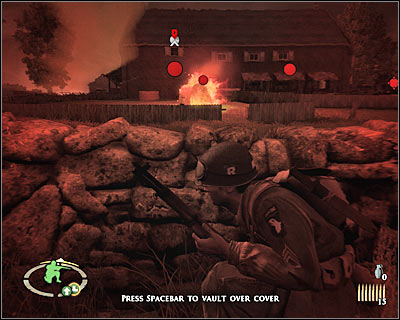
You can clear most of the area from where you're hiding. This will allow you to get to a new cover. Hide in front of the building [#255]. Start off by eliminating the gunner with a precise shot to his head. You can also kill some of the remaining enemy units. Don't forget to use your teams to suppress the Germans each time you plan on doing something risky. Watch out for the 88 here and leave the area if you're under attack.
#255
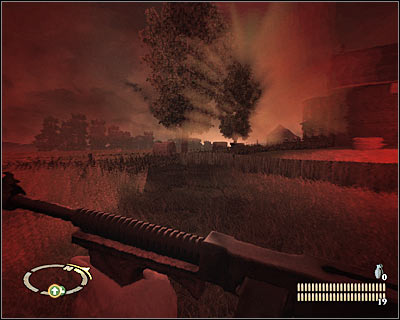
Go back to the tree. Use this time to scout the surrounding area. You will have to eliminate all hostile units before moving on. Start running north, but stay close to the western part of the map. Jump over a wooden fence (5 on the map) [#256]. Approach the wall of the barn and go east. You will encounter a few windows along the way. See if you can score some kills from there.
#256
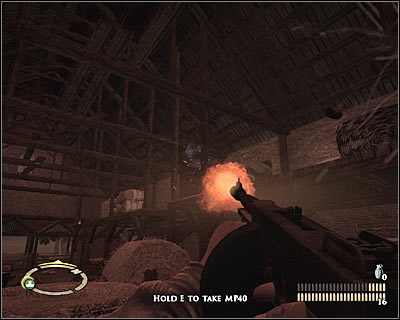
Eventually you should be able to get to an entrance to the barn (6 on the map). Go inside quickly and take cover behind a nearest obstacle. Enemy units are standing in front of you and you must use grenades to hunt them down. Watch out for an upper balcony [#257]. It's guarded by at least one soldier. This threat has to be neutralized as soon as possible.
#257
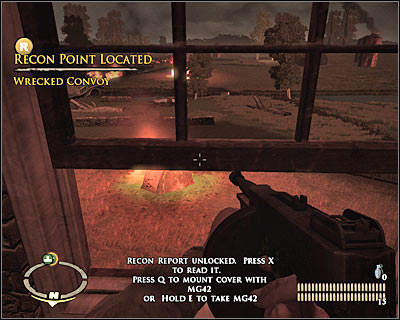
Don't exit the barn just yet. Use the stairs to get to an upper balcony. Go west and then turn south. Eventually you will get to an area where a heavy machine gun post was located (4 on the map). Unlock the first recon point [#258]. Read the report (Wrecked convoy), return to the ground floor and proceed to the northern exit.
#258
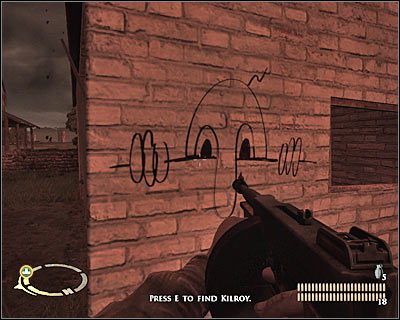
You won't have to spend too much time figuring out what has to be done. Go north and find an ammo depot (7 on the map). You can also find the second kilroy (8 on the map) while you're there [#259]. Now you must travel east. Find a good cover and throw a couple grenades at enemy units. You will have to disable the cannon (9 on the map), as well as to eliminate enemy groups. Finish off by placing an explosive charge on the 88. Your colleagues should arrive here in the meantime. Collect new supplies before moving on to the next area.
#259
- Brothers in Arms: Hell's Highway Game Guide & Walkthrough
- Brothers in Arms Hell's Highway: Walkthrough
- Brothers in Arms Hell's Highway: Chapter 9 Hell's Highway
- Brothers in Arms Hell's Highway: FIRST ASSIGNMENT Destroy the 88 - part 1
- Brothers in Arms Hell's Highway: FIRST ASSIGNMENT Destroy the 88 - part 2
- Brothers in Arms Hell's Highway: SECOND ASSIGNMENT Clear the canal
- Brothers in Arms Hell's Highway: THIRD ASSIGNMENT Destroy the 88
- Brothers in Arms Hell's Highway: FOURTH ASSIGNMENT Destroy the Panzer IV
- Brothers in Arms Hell's Highway: FIFTH ASSIGNMENT Reach the train station
- Brothers in Arms Hell's Highway: SIXTH ASSIGNMENT Defend the trainyard - part 1
- Brothers in Arms Hell's Highway: SIXTH ASSIGNMENT Defend the trainyard - part 2
- Brothers in Arms Hell's Highway: Chapter 9 Hell's Highway
- Brothers in Arms Hell's Highway: Walkthrough
You are not permitted to copy any image, text or info from this page. This site is not associated with and/or endorsed by the developers and the publishers. All logos and images are copyrighted by their respective owners.
Copyright © 2000 - 2025 Webedia Polska SA for gamepressure.com, unofficial game guides, walkthroughs, secrets, game tips, maps & strategies for top games.
