Brothers in Arms Hell's Highway: SIXTH ASSIGNMENT Defend the trainyard - part 1
SIXTH ASSIGNMENT: Defend the trainyard

Map legend: 1 - starting area; 2 - allied teams; 3 - third kilroy; 4 - ammo stash; 5 - destroyed truck (cover); 6 - area where you destroy the first tank; 7 - enemies; 8 - area where you destroy the second tank; 9 - area where you destroy the third tank
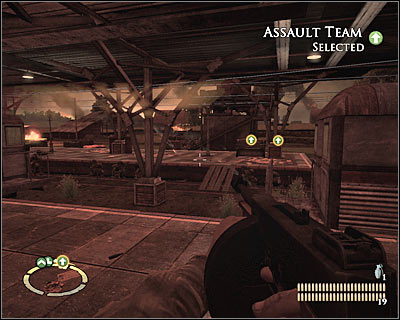
Important! You should notice that you've been assigned to a different objective (Clear the train station), but it's going to be completed automatically. You may proceed with the current assignment the second you've left the building (1 on the map). Notice that your men are taking cover to the north-west of your position (2 on the map) [#267]. I'd strongly recommend that you leave them there, because they'll be safe against enemy attacks.
#267
Before you decide to focus your attention on completing the main objective, you should spend some time trying to find the last bonus area. A large tower is located to the north. Go there, use the stairs, but stop at about a half way through. The third kilroy (3 on the map) can be found to your left [#268]. Don't worry if you die trying to get back to your colleagues, because you won't lose this achievement, even if you reload the last checkpoint.

#268
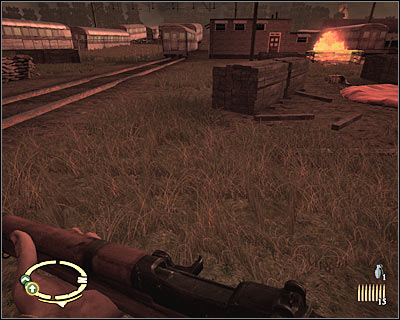
Your teams should be focused on attacking enemy units in the central and in the eastern area of the map. You should move to the western side of the train station. Your first assignment here is to find a new ammo stash (4 on the map) [#269]. I would recommend that you memorize this location, because you'll want to return here each time you've used up all grenades. You will also find good cover here and it'll be important when you'll find yourself under heavy fire.
#269
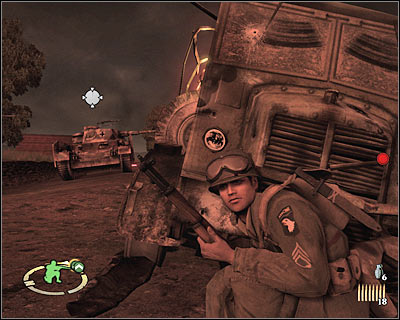
Obviously you should keep shooting at the Germans. Eventually you'll notice that a tank has arrived in the area. A metal beast will stop directly to the north of your position. Order at least one of your teams to distract the tank. Start running north at the same time. Avoid being hit and take cover behind a large truck (5 on the map) [#270].
#270
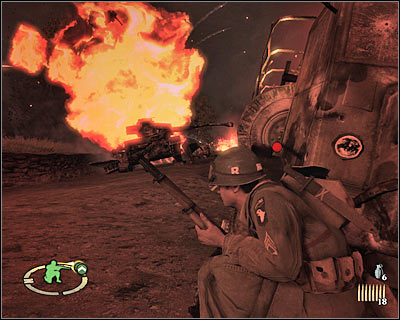
Wait for the tank to focus its attacks on your squads. Start running towards the machine and press the action key to place an explosive charge on it. Go back to the hideout. Once the explosion has occurred [#271], consider going back to the ammo stash. Collect new supplies and take cover behind a northern object, because that's where more enemy units will show up.
#271
- Brothers in Arms: Hell's Highway Game Guide & Walkthrough
- Brothers in Arms Hell's Highway: Walkthrough
- Brothers in Arms Hell's Highway: Chapter 9 Hell's Highway
- Brothers in Arms Hell's Highway: FIRST ASSIGNMENT Destroy the 88 - part 1
- Brothers in Arms Hell's Highway: FIRST ASSIGNMENT Destroy the 88 - part 2
- Brothers in Arms Hell's Highway: SECOND ASSIGNMENT Clear the canal
- Brothers in Arms Hell's Highway: THIRD ASSIGNMENT Destroy the 88
- Brothers in Arms Hell's Highway: FOURTH ASSIGNMENT Destroy the Panzer IV
- Brothers in Arms Hell's Highway: FIFTH ASSIGNMENT Reach the train station
- Brothers in Arms Hell's Highway: SIXTH ASSIGNMENT Defend the trainyard - part 1
- Brothers in Arms Hell's Highway: SIXTH ASSIGNMENT Defend the trainyard - part 2
- Brothers in Arms Hell's Highway: Chapter 9 Hell's Highway
- Brothers in Arms Hell's Highway: Walkthrough
You are not permitted to copy any image, text or info from this page. This site is not associated with and/or endorsed by the developers and the publishers. All logos and images are copyrighted by their respective owners.
Copyright © 2000 - 2025 Webedia Polska SA for gamepressure.com, unofficial game guides, walkthroughs, secrets, game tips, maps & strategies for top games.
