Borderlands The Pre-Sequel: A New Direction
Last update:

You receive the New Direction main mission from Moxxi, right after you have completed Systems Jammed. Talk to Moxxi, who opens the door to Triton Flats for you, and get to your destination.
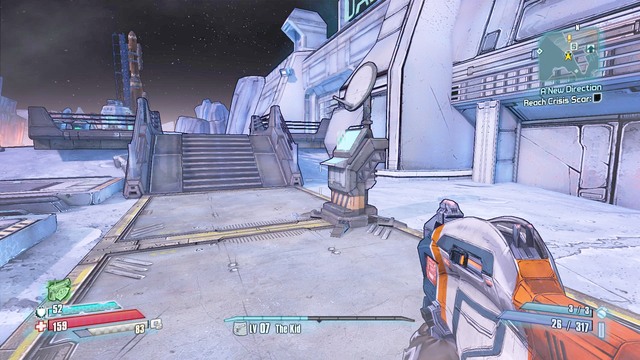
Approach the Moon Zoomy and activate the vehicle to get to the other end of Triton Flats. You will find claptrap there, who updates your objectives.
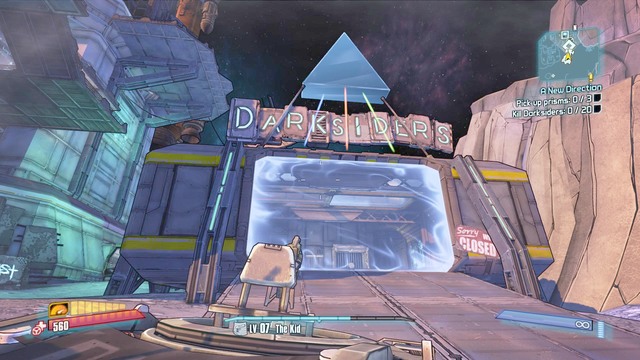
Return to the vehicle and go northwards. You will reach Darksiders and, inside the building, you will find a fast travel station, thanks to which you can teleport to the locations that you have already discovered.
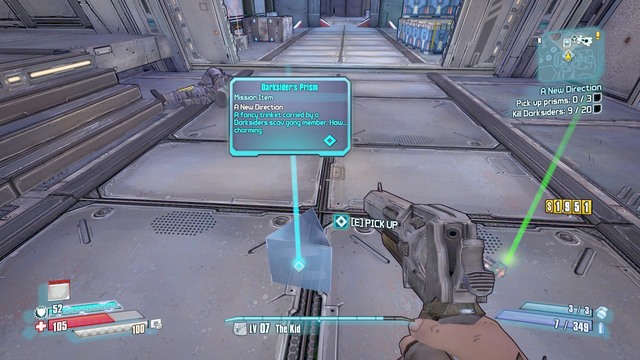
Eliminate the outlaw in the first room and collect the Darksider's Prism from the ground.
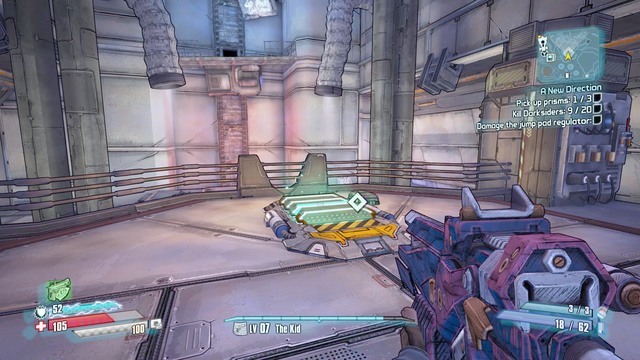
To reach the higher level, shoot at the device next to the trampoline and walk onto it.

At the higher floor, eliminate the opponents and collect the second Darksider's Prism. The third Prism is on one of the opponents in the incoming wave. Before you return to claptrap, walk onto the trampoline next to the platform. After you take the jump, walk onto the next trampoline and you will reach the location shown on the map. Ahead of you, there is a high rock that you can jump onto. On the rock, there is a weapons crate.
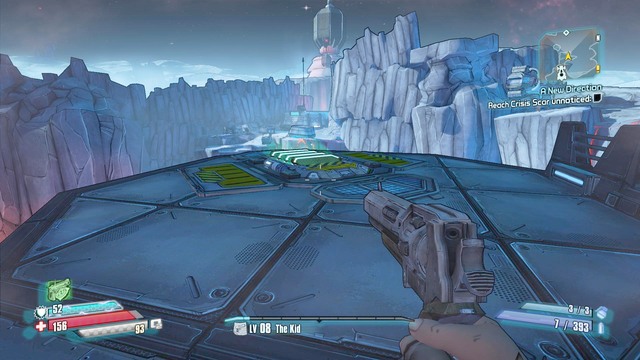
Return to claptrap and you will learn that you need to find another way out. Head Southwards and the, Westwards. You will reach the location shown in the above screenshot. Take a jump and eliminate the incoming opponents.
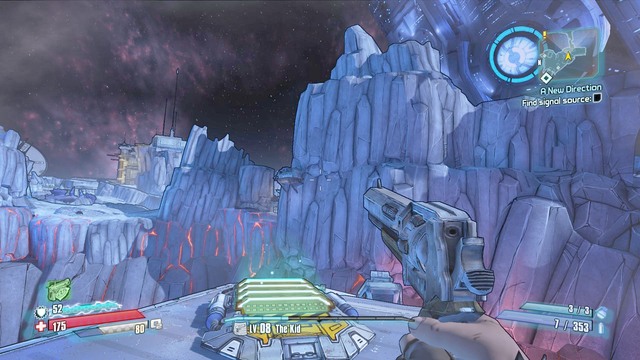
Before you go to another location, climb to the higher level and head towards the spot shown in the above screenshot. Thanks to the trampoline here, you will get to the other end and you will find another weapons crate there.
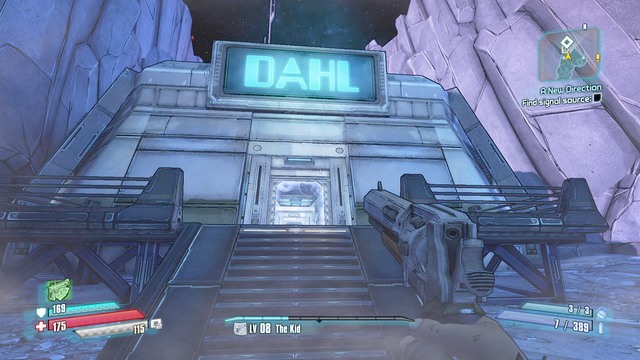
After you search the crates, return to where you took the jump and go ahead. After you cross the zone, you will be able to go to Crysis Scar.
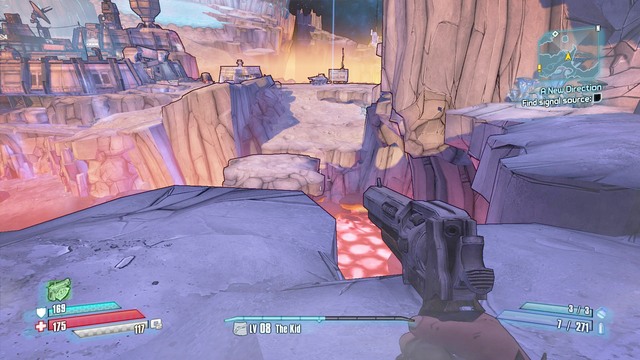
Reach the location shown in the screenshot (right next to the exit) and take a jump to the other side.
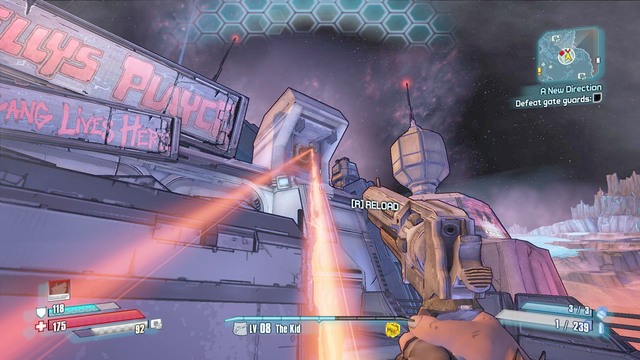
Eliminate the opponents and head towards the gate. Above you, there will appear laser cannons, which you need to destroy.
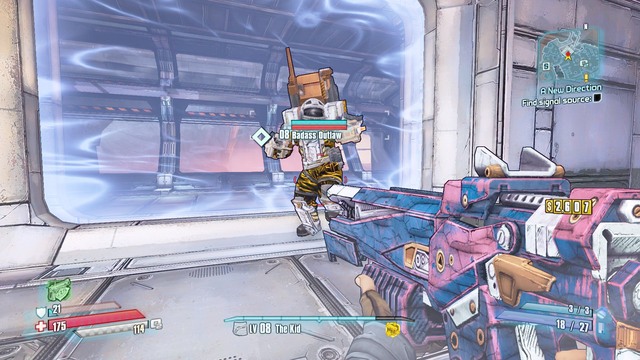
After the door opens, kill the opponents. Then, reach the stairs and kill the elite outlaw (the Badass prefix). The opponent himself is not too demanding, which is why you will have no problems dealing with him.
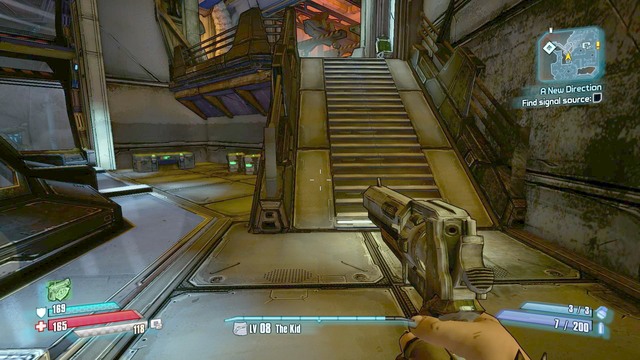
Walk through the door and you will see the stairs to the higher level. Before you take the stairs, take interest in the nearby weapons crate. After you have collected the items, climb to the higher level and eliminate the opponents.
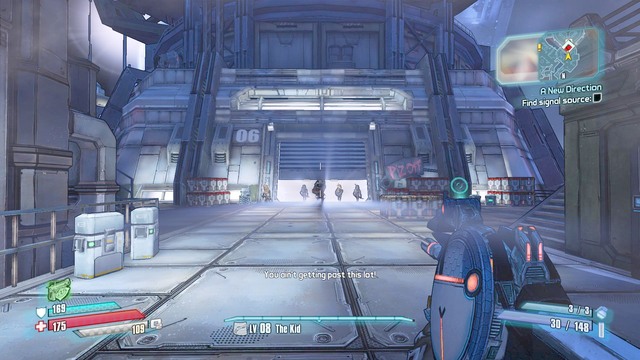
After you get to the location shown in the above screenshot, you will have to deal with another Badass Outlaw.
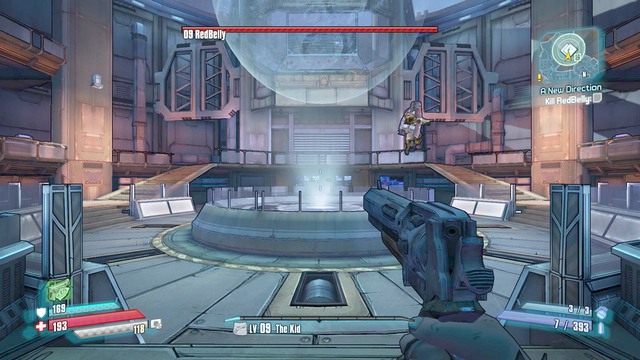
After the fight, replenish the supplies in the machines there and keep moving. You will reach a bigger room, where you will have to face a miniboss. The fight itself has been divided into two stages. The first one is the RedBelly fused together. Avoid direct contact with the opponent, because he is using a fire nova.
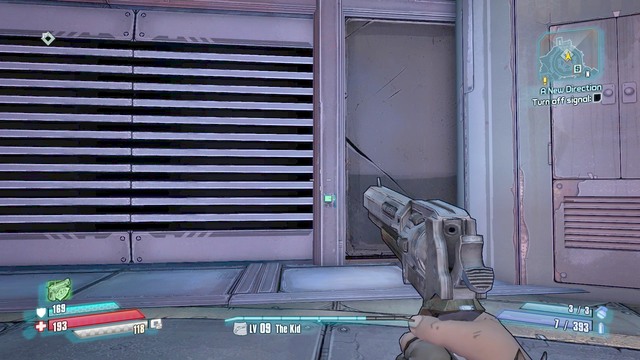
The second phase is a fight against the separated Red and Belly. One of them is fighting on the ground, whereas the other one is flying. The best tactic here is to eliminate the boss on the ground, after which you conduct fire against the airborne one. Take cover behind one of the nearby pillars, to avoid damage from Red, and kill Belly. After the fight, collect the loot and reach the location shown in the screenshot. On the right, there is a button that opens the door. In the following rooms, there are several crates with loot, and a panel.
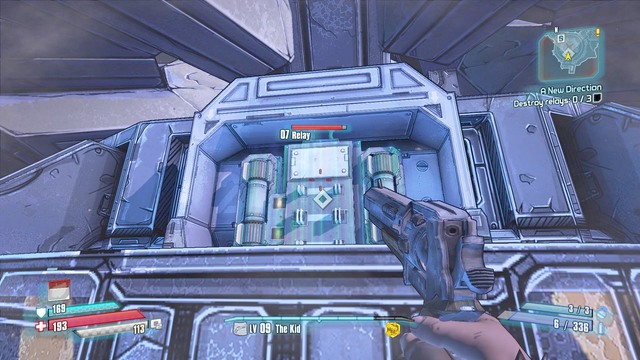
After the objectives have been updated, go to the nearby rooftop and use the second panel. After it explodes, you will have to destroy three relays. Each one of them is guarded by guards and with laser cannons. That is why, you should destroy them one-by-one
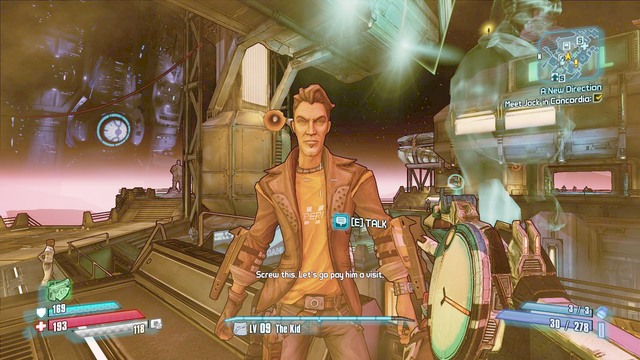
Return to Concordia, now, and talk to Jack. You can use the fast travel station at Triton Flats and go to Serenity's Waste and from there, to Concordia. After you return, walk over to the central part and talk to Jack. As soon as your objectives are upgraded, find out the police claptrap.
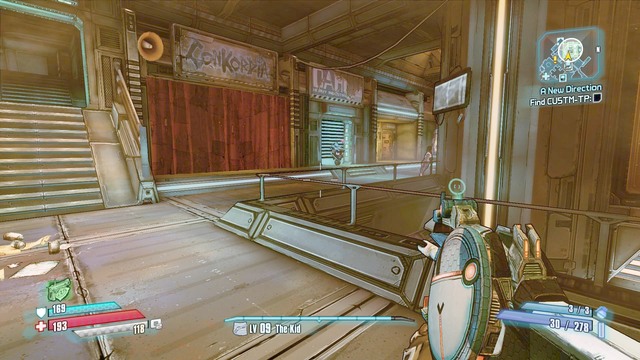
After the conversation, follow claptrap and Jack, up until you reach the lift. After you get to the higher level, walk over to the Meriff's Office.
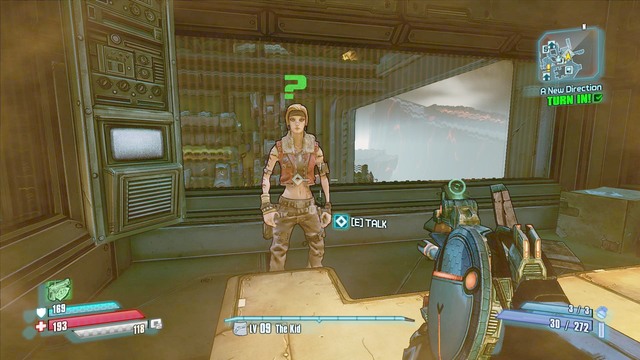
Eliminate the laser cannons and the opponents, and get to the room, where there is Meriff. After a short cutscene, return to Concordia and meet up with Janey to report on the mission. For this, you will be rewarded with experience points.
You are not permitted to copy any image, text or info from this page. This site is not associated with and/or endorsed by the developers and the publishers. All logos and images are copyrighted by their respective owners.
Copyright © 2000 - 2026 Webedia Polska SA for gamepressure.com, unofficial game guides, walkthroughs, secrets, game tips, maps & strategies for top games.
