Amnesia The Bunker: Walkthrough
Getting out of the bunker when the Beast is lurking around the corner is quite a challenge. With our guide to Amnesia The Bunker this task will become easier.
You assume the role of a French soldier - Henri Clement - and your task is to escape from the bunker you've found yourself in after an explosion that knocked you unconscious. This will not be an easy task, as the bunker is full of traps, rats and there is a Beast about that is just waiting for your move. On this page of the guide, you can find a walkthrough for the game and locations of key items, as some elements are randomized with each playthrough.
- Prologue
- Finding yourself in the Bunker
- Administration Room (Save Room)
- Finding the lockdown wheel
- Prison - German prisoner
- How to get the Wrench?
- How to get Bolt Cutters?
- Searching for dynamite
- Where to find the detonator?
- Escaping from the bunker - finale
Prologue
The game starts with a bang - the hero finds himself in the trenches during WWI, trying to not die as the enemy launches their attack. During this sequence, you'll learn all the basic controls and moves, such as shooting, reloading, leaning out, crouching, or using sprint. You'll also learn that you can destroy doors by throwing heavy items at them (this will come to be useful in later stages of the gameplay).
As gas grenades are thrown onto the battlefield, your hero will be saved by a comrade in arms. After a few cutscenes, you wake up in the bunker.
Finding yourself in the Bunker
After waking up on the bed, get up and collect all items that are in the room. Light the room with your flashlight (you need to charge it for the beam to be brighter). Proceed to Mess Hall. In the room, open the wooden door. You will encounter a soldier who wants you to finish him off.
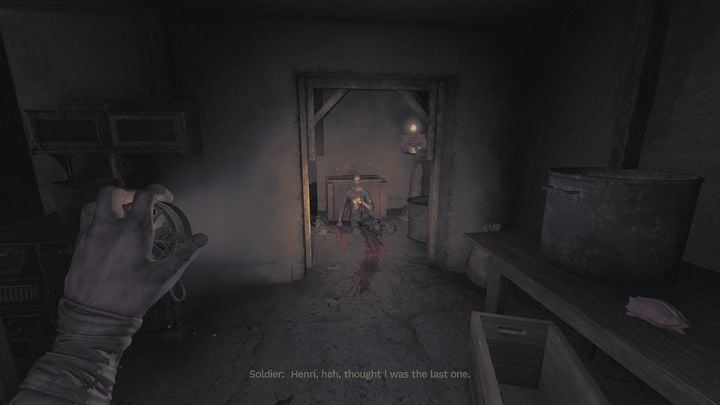
He will also give you a pistol. Take it and go to the room shown by him to get the ammo - once you got it, reload the weapon. As you get back to the soldier, suddenly the Beast attacks, devouring him.
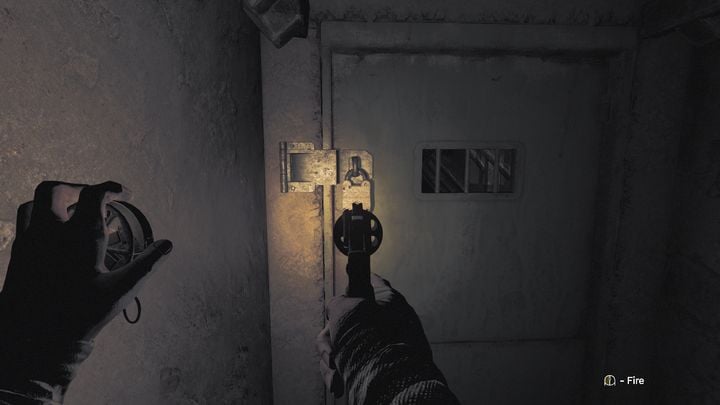
Quickly run away and look for a steel door with a metal padlock. Shoot the padlock. You'll find yourself in a safe Administration Room.
Administration Room (Save Room)
This is the safest place in the entire bunker. Here you will find, among others, a few consumables, a chest where you can store items, a map, a lantern that saves your progress in the game, and a generator (found on the lower level).
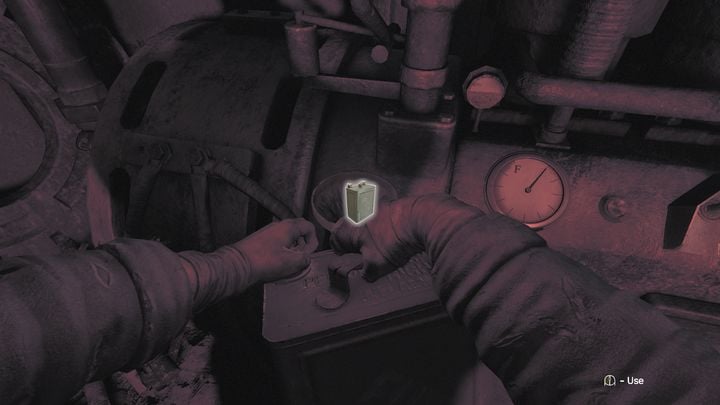
The generator is the most important device in the entire bunker. Thanks to it, you can light up most of the rooms, making the Beast appear less often (unless your actions are very loud). By the corpse, you can also find a watch, that allows you to keep track of how much time you have left before the generator uses up all fuel, and a Friloux dog tag with a code on its back.
To be able to exit the Administration Room, you need to pick up the dog tag and view the code on its back (it is found on the table on the ground floor). Input the code you've found at the main door upstairs.
Finding the lockdown wheel
Your first task will be to find the red lockdown wheel. Before you embark to do that, at the main door to Mission Storage room, you'll find an old wheel with Emergency Lockdown written on it. When you interact with it, the item will fall out and break. This means that you need to find a replacement wheel. You can find it in Mission Storage, in a cabinet with J Delisle written on it in. The room can be accessed through a ventilation shaft. To open the cabinet, you must know the code.
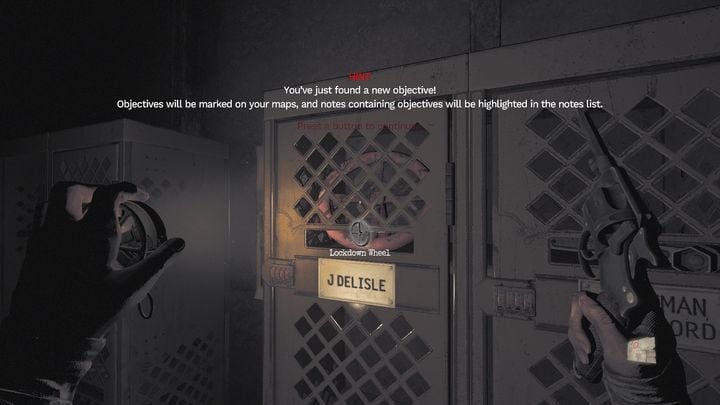
Look on the map to see that your main objective is the Delisle's room. You'll find it in Officers Quarters. The door hanger with name written on it will hang vertically, and there should be a hole in the middle of the door.
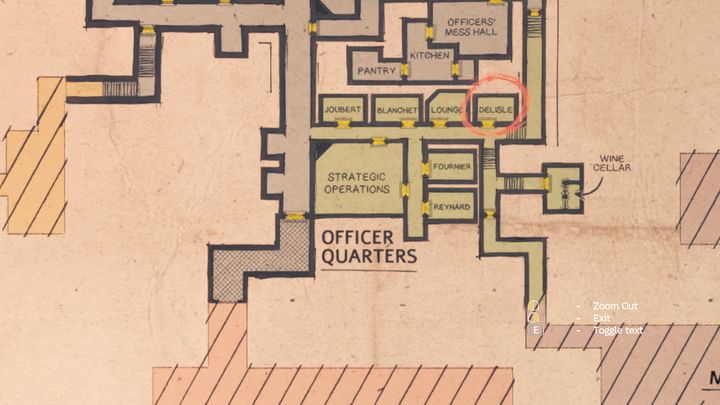
To be able to enter this room, you need to destroy it with a heavy tool (e.g. brick) or enter Lounge and get to the room from there. We recommend the second method, as it isn't noisy and doesn't attract the beast.
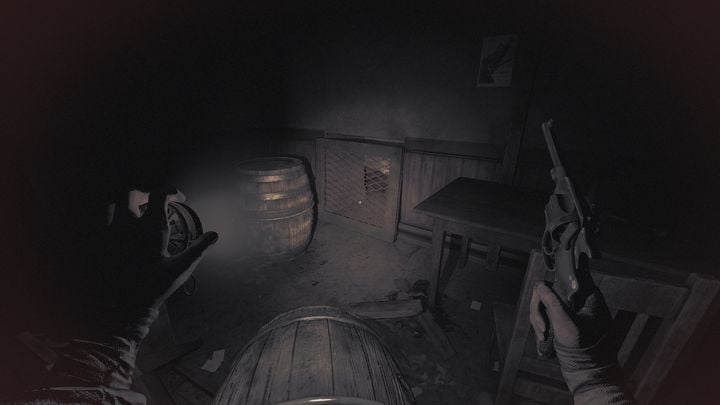
There is a grate by the barrels that you can rip out and then crouch through to enter the neighboring room. There you'll find the body of Delisle, and a dog tag will be found next to him. Pick it up and rotate it to write the code found on the other side. While you're at it, collect all consumables in the room. Now go to Mission Storage and set the numbers on the lock same as they wer on the dog tag. Thanks to this, the cabinet will open, and the sought lockdown wheel is inside.
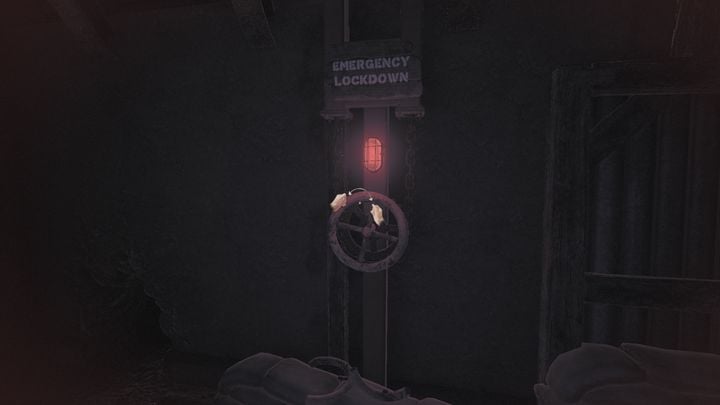
Place it at the Emergency Lockdown door and then turn it. From now on, you have access to previously unavailable locations such as Soldier Quarters, Arsenal, Prison, or Maintenance.
Prison - German prisoner
Time to go to Prison. The first door you'll come across will be locked. To get access, you need to use a frag grenade or a heavy item and throw it at the door. This will make a lot of noise though, so you need to be wary of the Beast. In the center of the room you want to access, there is a map of this location. Interact with it to add this part of the map to your main one in Administration Room.

Further ahead, you'll encounter a steel door that cannot be opened through brute force, leading to Warden's Office. Only way in is going around and opening a grate. However, you can't do it without the Wrench. Even more further ahead, you'll reach a cell block and a German soldier who is imprisoned in one of them. There are Bolt Cutters next to him, an item that will allow you to cut through chains in other locations. Unfortunately, to access the cell, you first need to find the aforementioned Wrench with which you'll be able to access the Warden's Office.
How to get the Wrench?
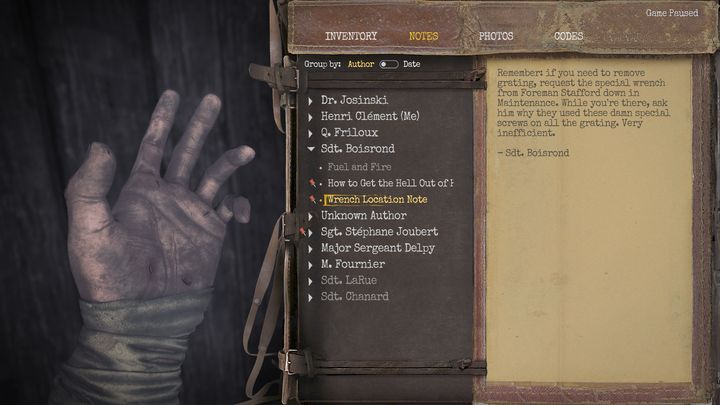
- To get it, you need to have Stafford's locker code. The quest to get it will take you to different locations:
- First stop is Maintenance, and the Workshop found inside. While entering this sector, start with destroying the door to a room with the map (best way to approach is to run back to the save room after making the noise and return back).
- While heading towards the Workshop, watch out for line traps. If you step into one, a lot of noise will be made, attracting the Beast. Even if you are being pursued, don't trip the line, as The Beast after you won't step into it, and will search for a safe route to you.
- Jump over the first line, then open the door to get to Workshop. Now you need to go through a tunnel. Watch out however, as it is teeming with rats. You have to kill them - either with a grenade, flare, or create a torch. If left unattended, the rats will bite, dealing a lot of damage.
- While leaving the tunnel, turn left, and you'll find a note at the door to Pillbox.
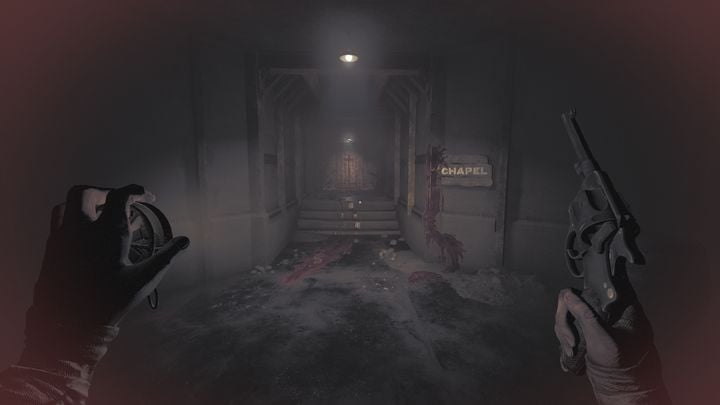
- Now head towards the Chapel. Inside the area, on the right, you'll notice a confessional. Open its door. There will be a body there, and next ot it a key that open the Pillbox. Head there right now, but watch out for the Beast. If you have any bullets, fire them at the Beast. This will make the enemy become frightened and flee.
- Select the key from the inventory and open the door to Pillbox. Inside the room there is a hanging lantern - interact with it to save your progress. Now climb up the ladder. Find the dog tag here which will reveal the code to Stafford's locker. Beware of shooting soldiers, best to proceed crouched.
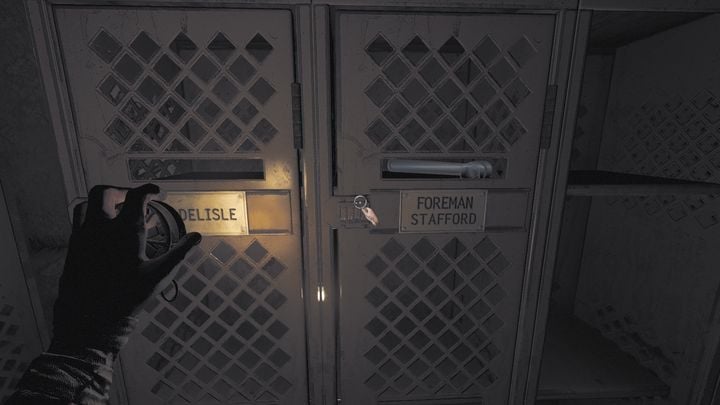
- Return to the Administration Room to save the game, then go to Mission Storage, find Stafford's locker and input the code from the dog tag. You finally got the Wrench.
How to get Bolt Cutters?
- Return to Warden's Room in Prison. Circle the room until you see a metal grate.
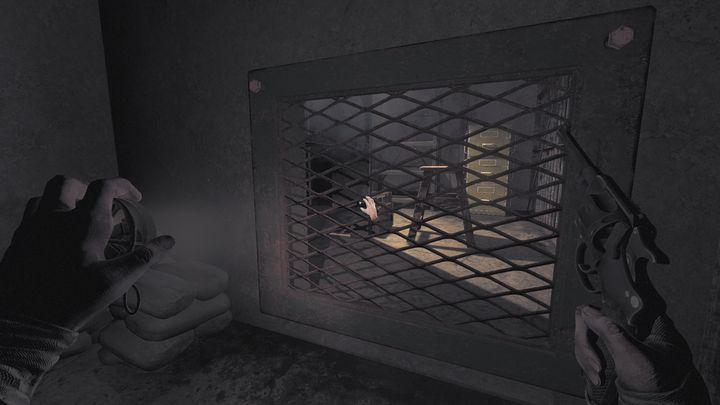
- There is also a lamp nearby so you can save your progress. Next, approach the Cell Door Controls. The mechanism will allow you to open the cell where the German soldier is imprisoned. However, make sure that there is enough fuel left in the generator, as having power on is required for this action.
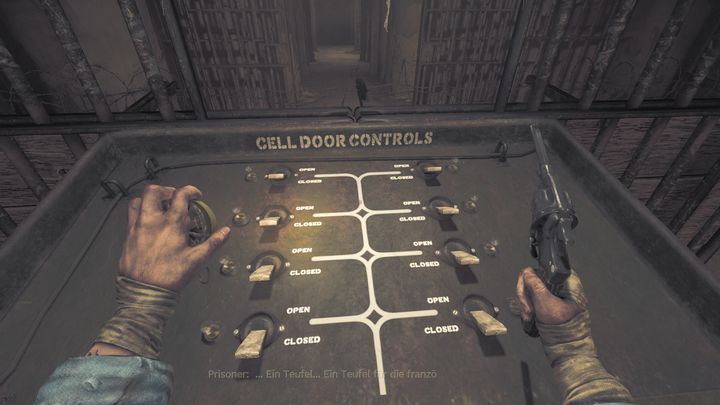
- Press the switch on the right, second from the top. This will open the cell with the German soldier. Unfortunately, it may provoke the Beast to come out, as the action generates a lot of noise. Wait a moment after opening the gate for the monster to appear. The Beast will patrol the area for the moment. Crouch and wait for a loud roar. Only now you can leave your hiding place and proceed to the open cell.
- Collect the Bolt Cutters, then return to Administration Room and save the game.
Searching for dynamite
As you have the Bolt Cutters already, proceed to the Arsenal to get the dynamite. Unfortunately, you can access this room if you don't have the door code. To get it:
- Go to the Communication Room. It is one of the rooms in Soldier Quarters. First, however, you need to destroy the door leading to the map of this part of the bunker. This action is noisy, meaning the Beast will come looking. Use a grenade or a brick and quickly run away to a safe place.
- Once the situation is resolved, return to the map and interact with it. It will show you where the Communication Room is located. You need a key to enter this area. Turn right to the Security Room. This door, same as before, is locked. Instead of using a grenade, enter the dark room and look for a brick at one of the beds. Pick it up and throw it twice at the Security Room door. This will cause a lot of noise and provoke the Beast. As soon as possible, return to the dark room, crouch and hide under one of the beds and turn off your flashlight.
- Wait until the monster roars and leaves. It may take a while, but it shouldn't find you (if you don't make noise or light a light). However, if you're detected, escape or fire the revolver in its direction.
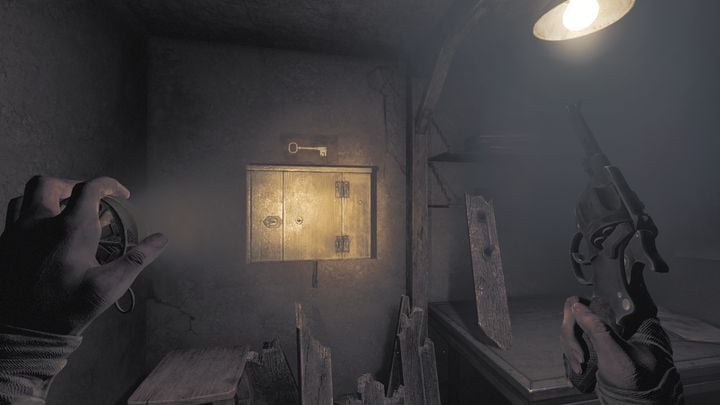
- Return to the Security Room. Inside the room, you'll find a note that shows where the key is. The surname of the soldier in possession of it is random, so read the note carefully and look for the bed with a name that appears on the note. It could be in Barracks A or B.
- When you find the plaque with the right name, look for the key in the basket next to the bed or under the pillow.
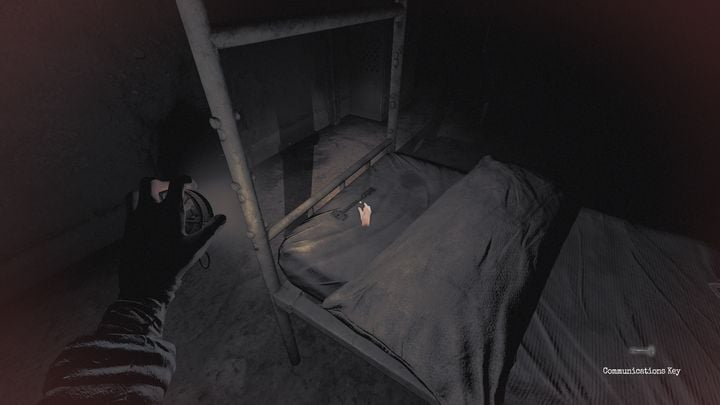
- Once you got the key, return to the Communication Room. There you will notice that the radio doesn't work. You'll have to pull 2 levers found on the main road to Barracks A and B to restore power. Additionally, make sure that there is enough fuel for the generator in Administration Room.
- Unfortunately, you need to search for the third lever to restore the power completely. To do that, travel to Utility Room, but beware of rats and traps along the way.
- Inside, you'll see a padlocked door. Either shoot the padlock or use a brick. Unfortunately, you'll generate noise, which means that the Beast will come investigate. Quickly, enter the room, pull the final lever, and escape back to Communication Room or hide in Dark Room under the bed (with all light turned off) and wait for the Beast to leave the area.
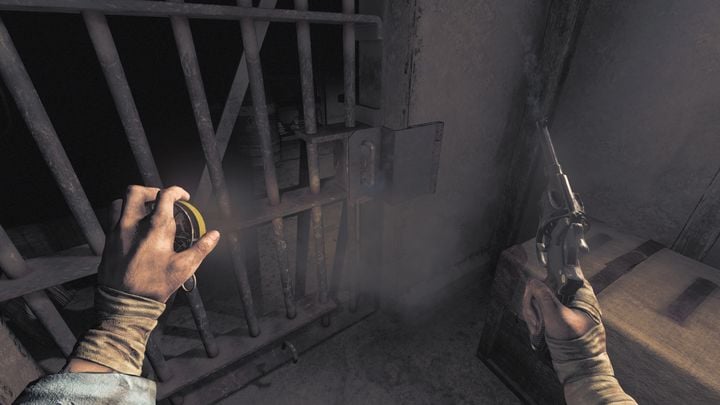
- Back at Communication Room, turn on the radio. You'll hear one of the soldiers giving the code. You don't have to memorize it, as it will be saved in Codes tab.
- You can now go back to Administration Room and save the game. Now, head in the direction of Arsenal, but turn to Clerk's Office (on the right). There you will find a map of the location, which will be useful.
- Now, enter the code you received at the door that leads to Storage Area (watch out for a line trap on the ground).
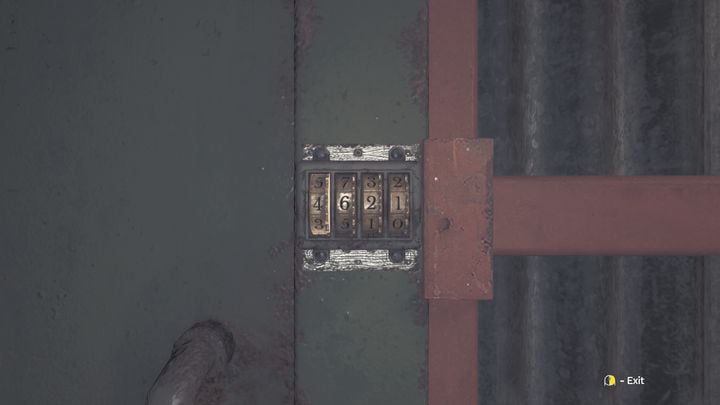
- As the door opens, continue slowly, with flashlight turned on, keeping to the middle - crouched stance will be your best bet. You'll encounter a lot of line traps (placed randomly) and rats. One small mistake can make the Beast appear.
- Walking through the area with rats, use a flare or fire source which are good as they don't emit a lot of noise. As you pass through this area, you should notice a hole from which the Beast probably emerges. On the left side, you'll notice a dark area behind a wooden structure - turn off your flashlight and hide! Wait out the monster.
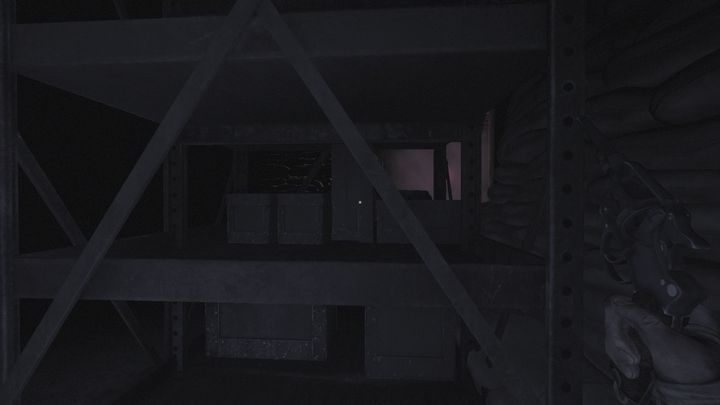
- When the Beast roars, you can emerge from the darkness and turn right, going around, straight to the room where the dynamite is located.
- There is a small labirinth ahead. However, the passage isn't hard - all you have to do really is to reach the area with the boards and rip out all of them (or the upper and the middle one, and jump over the lower one to not generate unnecessary noise).
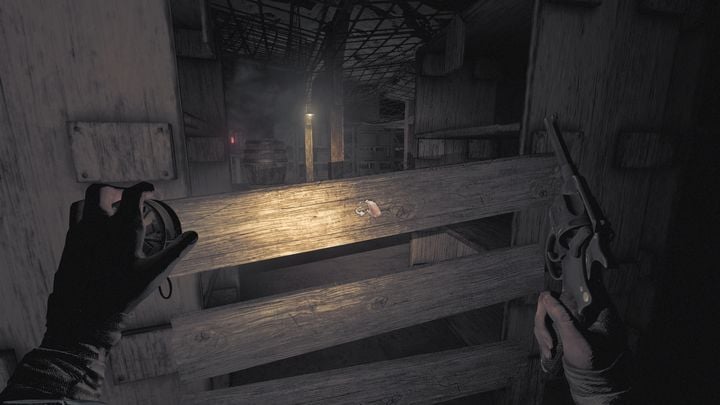
- Going further, you will notice wooden pallets that block the way forward. Unfortunately, they are too high and you will not be able to jump over them. To pass this obstacle, pick up one of the nearby barrels, place it at the pallet and jump on it.
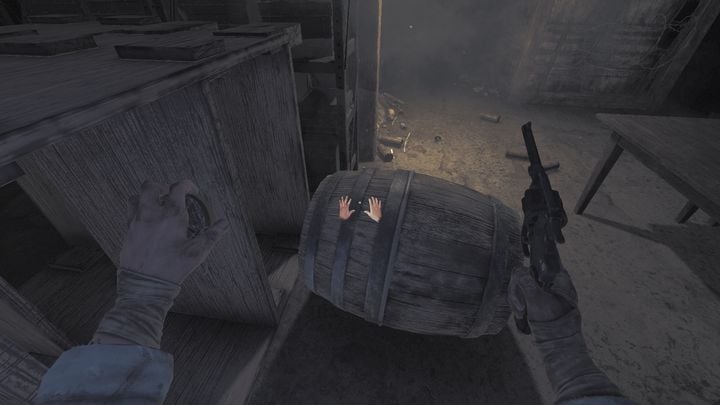

- Now the path to dynamite is open to you. Go there and pick it up, then quickly run back to the Administration Room to save the game. If the Beast appears, run away, but watch out for traps. If the traps are untouched, the Beast will have to find another way.
Where to find the detonator?
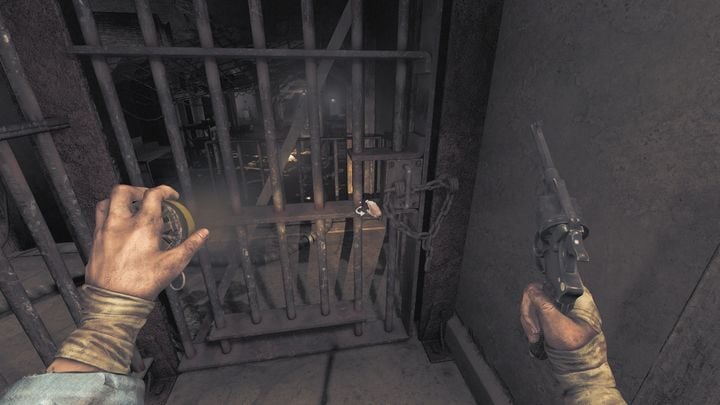
The last element needed to get out of the bunker is a detonator. It can be found in the Arsenal, in the tunnels to be exact. Head towards this room, then crouch to enter the collapsed part of the location which leads to the tunnels. While being on the other side, use the Bolt Cutters to destroy the chain on the door.
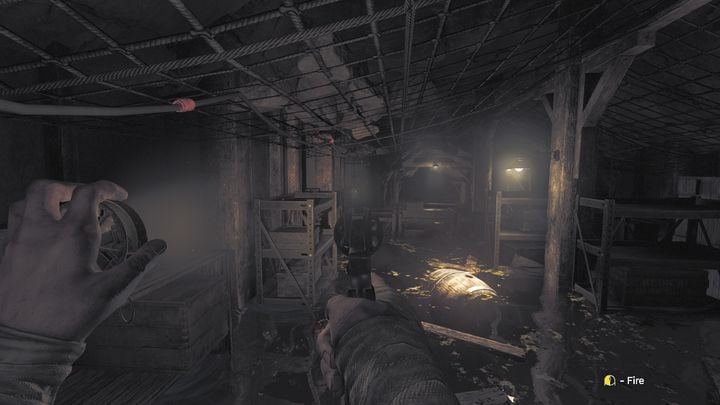
On the left side there is a device, but it won't work until you pull a lever on the other side. You have to enter the water and go to the lever. If you cannot pass between two wooden structures, crouch and continue. Once the power is back on, go back to the device and activate it. The water level will drop dramatically, allowing you to proceed.
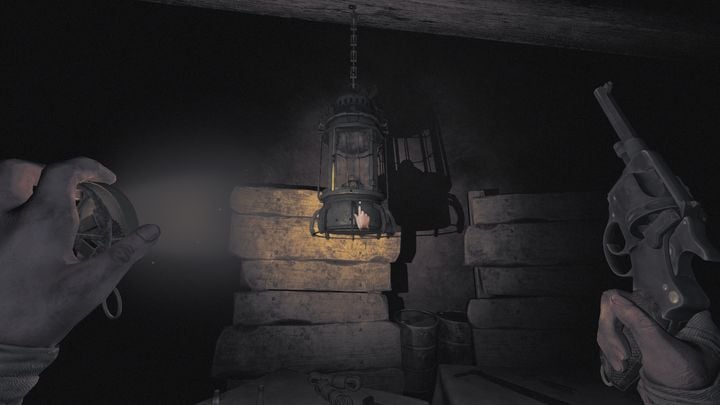
Charge the flashlight, as it will be dark in the next room. Once ready, proceed forward. The water will be deep, but you can pass through it. Ahead, you'll encounter a lantern - light it to save the game. You don't have to worry about the Beast, as it won't appear here. Head down until you reach the roman ruins. Continuing forward, you'll hear a soldier mumbling to himself. He is not friendly, however. He is armed with a shotgun and fires every time he hears you. Fortunately, he is blind, so it is easy to deceive him.
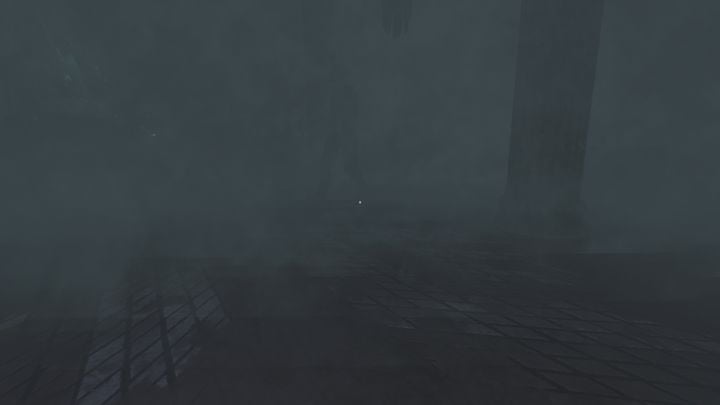
The problem here is that this location is covered with very thick fog, causing hallucinations in the form of shadows of soldiers. If you're not sure that the particular shadow is a real soldier, don't fire, and don't throw grenades or molotovs at him.
To discern truth from fiction, use any of the empty bottles which the room is full of. If you've thrown a bottle at a shadow, but don't see a gunshot, it means that the given enemy is an illusion. However, if the shot appears (it has to be visible, not just audible), it is highly likely that the soldier is real.
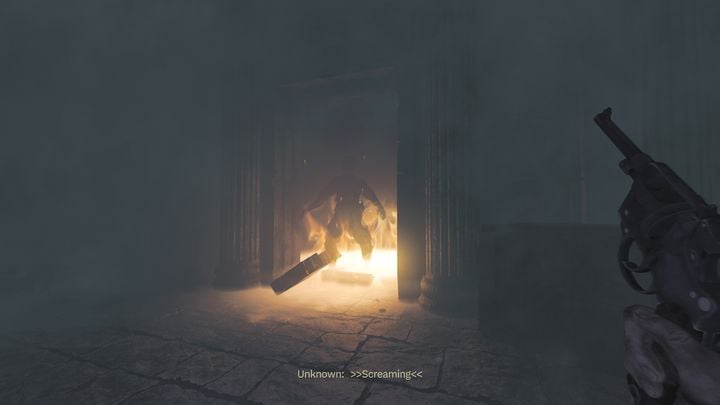
Usually, to kill him you only need one accurate shot or setting on fire. If he starts screaming at the moment of death, and his voice lines don't appear for a longer moment, it means that you've defeated the correct enemy. At his body, you'll find a shotgun which can be picked up and used.
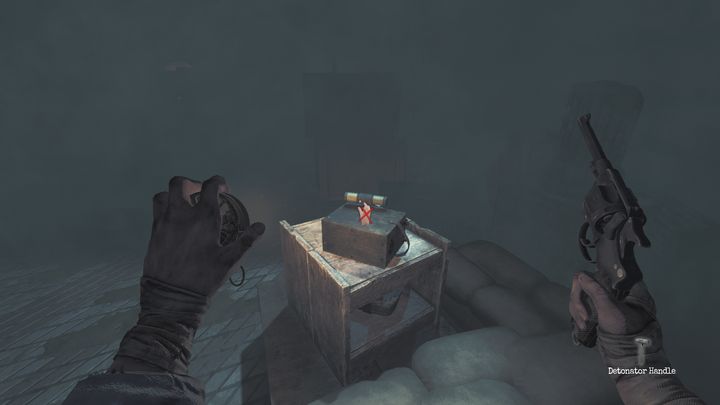
The detonator is in the room nearby, on a wooden table. Collect it - you now have everything you need to escape the bunker. You can now return to the Administration Room. Before you do that, however, in the room you're currently in, you can obtain a very useful and peculiar item.
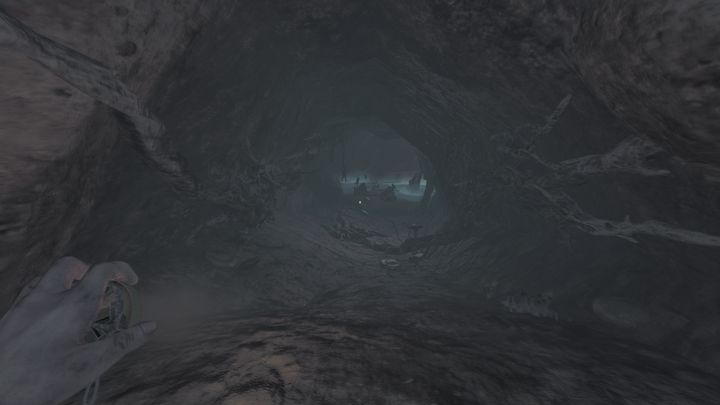
Behind a few barrels found in the corner, there is an entrance to a hidden cave. Move the barrels and enter the tunnel crouching. On the left side, by the stones, lies the body of a dead soldier.
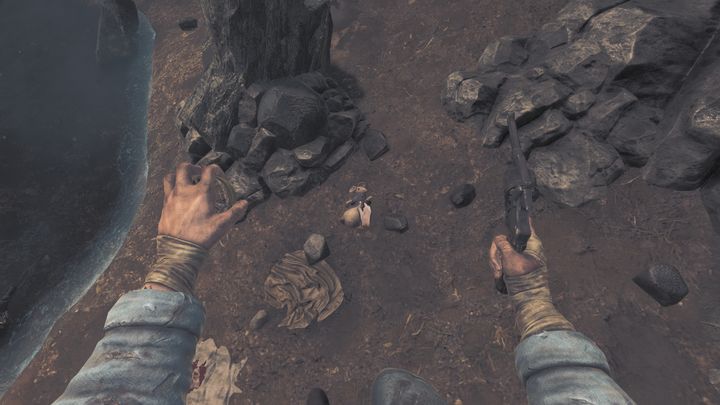
In addition to the dog tag, you will also find a rabbit toy there. This is a very useful item, but for a single use only. After throwing it in a certain place, the Beast will take an interest in it and will be occupied with it for a few seconds. It will be very useful during the final confrontation with the monster.
Once you have collected everything from the roman ruins, return to Administration Room and save your progress.
Escaping from the bunker - finale
Before you proceed through the buried exit (located on the right from Administration Room), make sure you have all the essential items, such as:
- shotgun
- dynamite
- detonator
- grenades,
- rabbit toy.
If so, proceed to the exit.
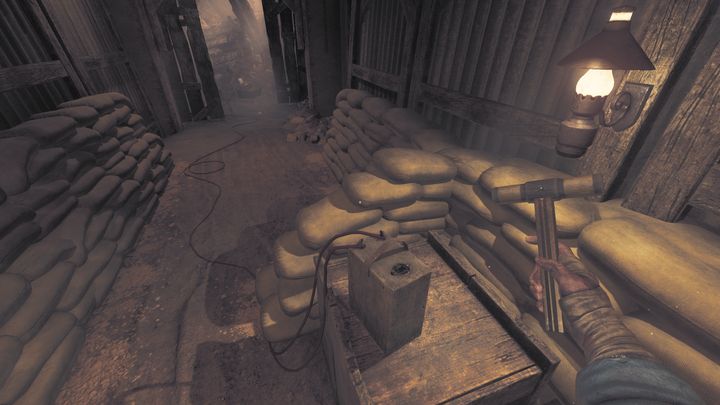
Place the dynamite next to the rubble, and put the detonator in the spot visible in the photo. Now interact with it and jump into the hole that was created after the blast. Proceed forward - you'll find yourself in a ruin-resembling location. There are many bridges here, some are wooden, others work by using mechanisms.
However, the most important thing is that soon the Beast will appear in the ruins. Escaping the monster here may be difficult, especially since there are only two roads leading to the exit. You can either defeat the Beast once and for all, or skip the battle and proceed straight to the exit.
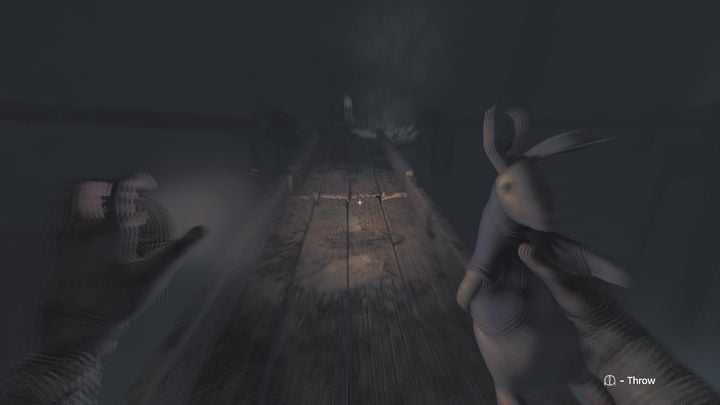
If you've chosen the second option, the rabbit toy will be very useful. You can stand at the end of one of the wooden bridges and throw the item directly into its middle. As the Beast heads towards you, it will notice the toy, becoming inactive for a few seconds. This is a great moment to attack with your firearms (revolver or shotgun) and fire at the wooden bridge, which will collapse. Thanks to this, the monster will fall into the abyss, while you can safely proceed to the exit and complete the game.
You are not permitted to copy any image, text or info from this page. This site is not associated with and/or endorsed by the developers and the publishers. All logos and images are copyrighted by their respective owners.
Copyright © 2000 - 2026 Webedia Polska SA for gamepressure.com, unofficial game guides, walkthroughs, secrets, game tips, maps & strategies for top games.
