Dawn of War 3: Mission 6 A Dangerous Proposal
The sixth mission of the single player campaign, during which you will once again control the Eldar faction. During the mission you will fight against the forces of the Space Marines, destroying their fortifications in the hope of drawing out Gabriel Angelos from hiding.
Main Objectives:
Victory Conditions:
- Macha Must Survive - if Macha dies during the first part of the mission, the mission will be over.
- Webway Assembly Must Survive - if the enemies destroy the Webway Assembly, the mission will be over.
Rendezvous with the Forces
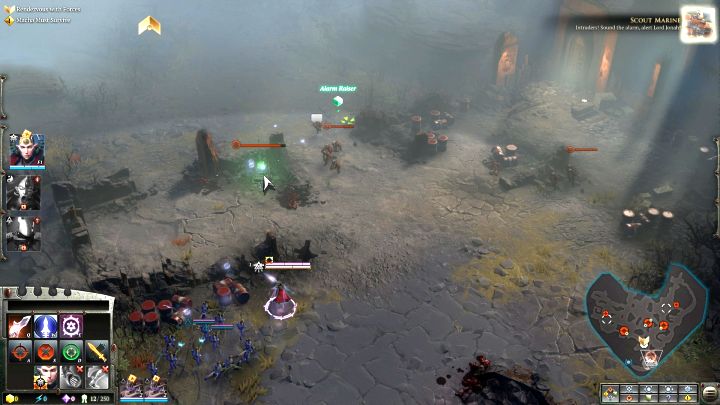
When the mission begins, Macha will be place under your command along with two squads of Dire Avengers - descriptions of both of these units can be found in the chapter titled Mission 3. Send all your troops east and you will soon encounter a Space Marine outpost. Here you will find quite a unique terminal - if any enemy unit stays within its vicinity for a short time, it will cause an alarm, sending massive enemy reinforcements your way. It is important to destroy these objects as quickly as possible - which is what you have to do now. Afterwards, knock out the rest of the nearby enemy troops.
You will joined by a group of Rangers. These are the Eldar sniper units that can attack from a colossal distance and, in addition, when they do not attack for several seconds they automatically camouflage, becoming invisible to enemies. Although this is a powerful unit for ranged combat, they are hopeless in melee combat, so always try to protect them. Now send your troops to the point indicated on the map, which will trigger a short cutscene.
Capture Communication Arrays
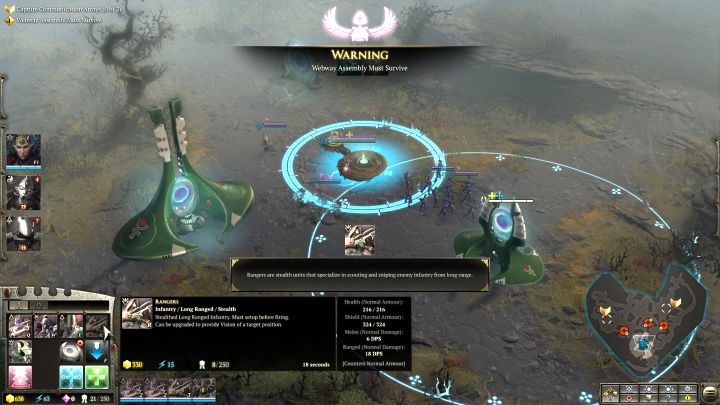
You will receive a new objective, Capture Communication Arrays. These are well-guarded terminals that are located in the corners of the map. But before you go to any of them, take care of the expansion of your base, which has just been put under your control. Recruit an additional squad of Rangers and start building an Energy Generator on the resource point, order the builder to also construct a Listening Post at the mentioned point.
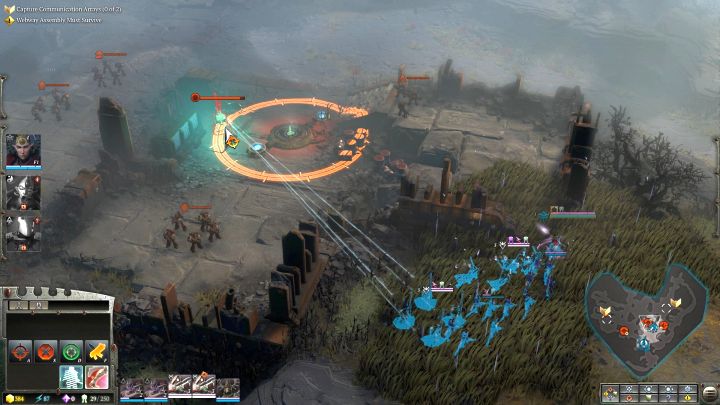
When you manage to recruit the Rangers, send the troops towards the resource point located to the north. Do not attack it yet - instead, order the army to enter the bushes that are located to the right of it. This will allow you to sneak up on the enemies and plan out your actions. To the right of the resource point you will find an alarm raiser - destroy it to prevent enemies from calling in support, and then deal with the troops in the area. After that, take the resource point and build all the necessary structures on it. In the meantime, train a squad of Howling Banshees at the base - they will be handy for melee combat. If your troops have suffered causalities, return to the base to reinforce them. Try to upgrade the main building, so that you will be able to teleport all the buildings of your base and gain access to new units.
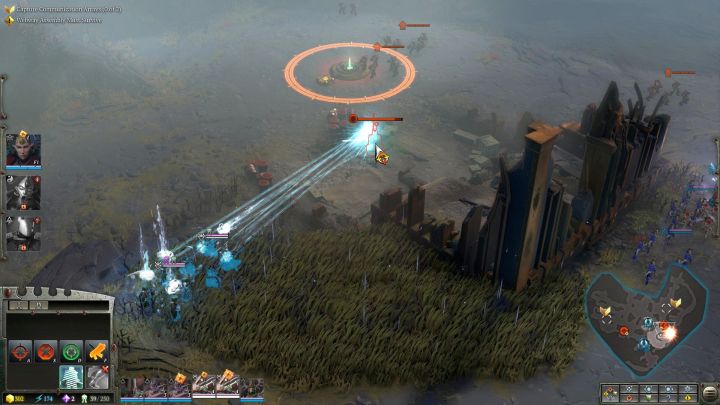
Now head toward the next resource point, which is located to the east of the point that you have just taken. Remember, however, to approach the point from the south, since it will allow you to place your Rangers in the bushes and begin firing from safety. As before, focus the troops on the alarm raiser and when it is destroyed, annihilate all the enemy troops stationed in the area.
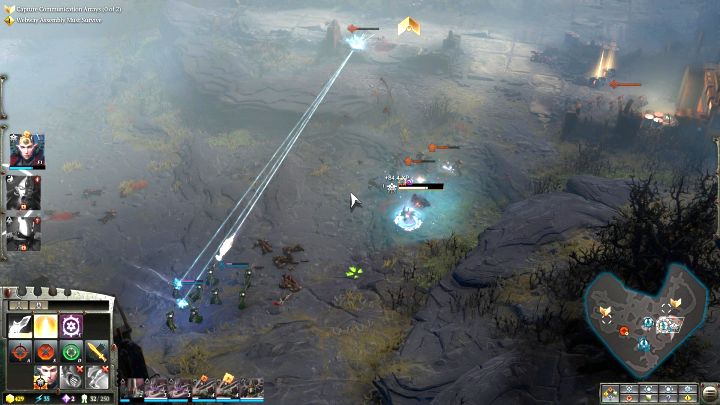
To the right of the point you will find two hostile units of Scout Snipers, and next to them you will see some resources you can gather - the Howling Banshees which you have trained beforehand will be the most effective at dealing with the scouts. When you go to this location, a secondary objective will be activated - Destroy Reconnaissance Outposts, eliminate the one in your vicinity.
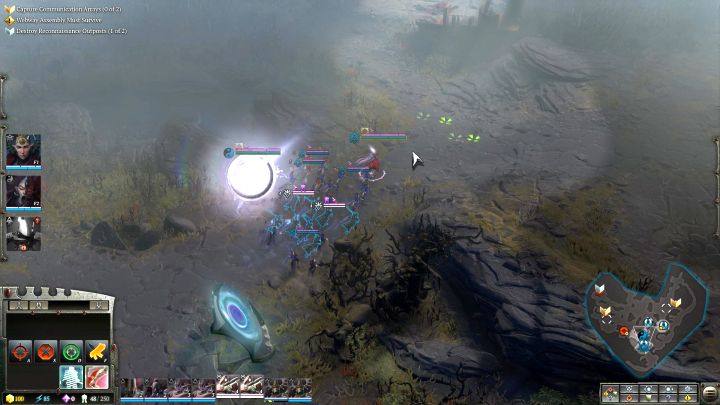
When the battle is over, capture the resource point and build a Listening Post and all possible resource generators on it. Send the units to the base, or teleport the buildings close to them and reinforce any losses, while also constructing additional troops if possible. Soon you should be able to call on a new elite unit - Jain Zar. This is simply a much stronger version of the Howling Banshees. The hero deals enormous damage in melee combat and is also incredibly fast, she also has abilities which can decimate troops squeezed into a tight formation.
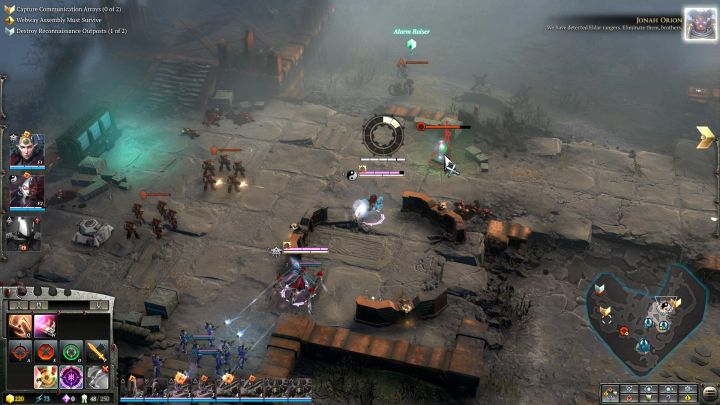
When ready, head to the mission marker in the north-east of the map. Remember to approach from the south as this will give you the easiest access to the alarm raiser - you must make sure to destroy it, even at the expense of one of your units, as the alarm will send a truly powerful enemy detachment your way, and you will have a hard time eliminating this force. When you destroy the alarm raiser, deal with the rest of the enemy soldiers. Remember to use the heavy cover (located just behind the alarm raiser you just destroyed) to protect your ranged infantry. When you get rid of all enemies, go to the array indicated by the marker to occupy the structure.
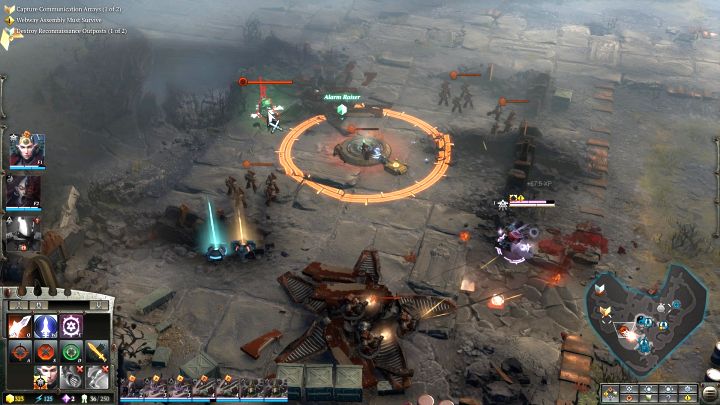
Now return to the base and reclaim any lost units, train new ones and issue upgrades. When you are ready, head west of the base towards a resource point. As before, there is an alarm raiser here - it is located right by the resource point. Destroy it before the enemy can set off an alarm and then eliminate all enemy units in the area. Now take the resource point and build a Listening Post and the generators here, then gather the resources that are located next to the point. As per usual, before you set off towards the next engagement, reclaim any lost units.
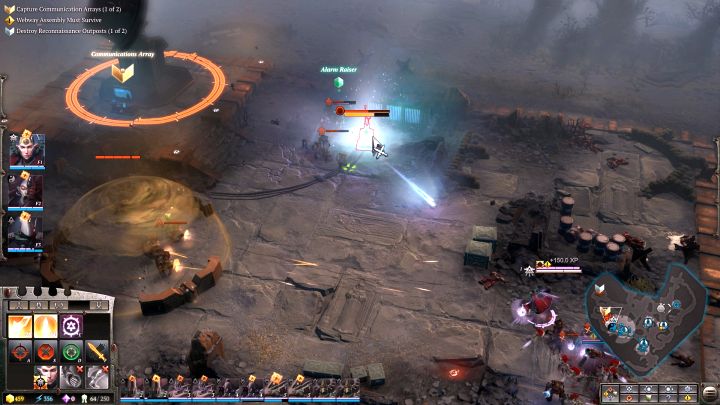
Now head towards the main objective marker. Like before, sneak up on the enemy position from the south, where you will find bushes that can conceal your army. The alarm raiser is quite far to the north, just by the array, which makes it quite difficult to reach, but you will not be able to hide while coming from the north as there are no bushes on that path. Ignore the enemies and try to destroy the alarm raiser, but if you feel that you may fail, move away and wait until the enemy summons the reinforcements. Regardless of the situation, destroy the alarm raiser, knock out all enemies in the vicinity of the array and send any nearby unit to capture it and complete one of the objectives of this mission.
Draw out Gabriel
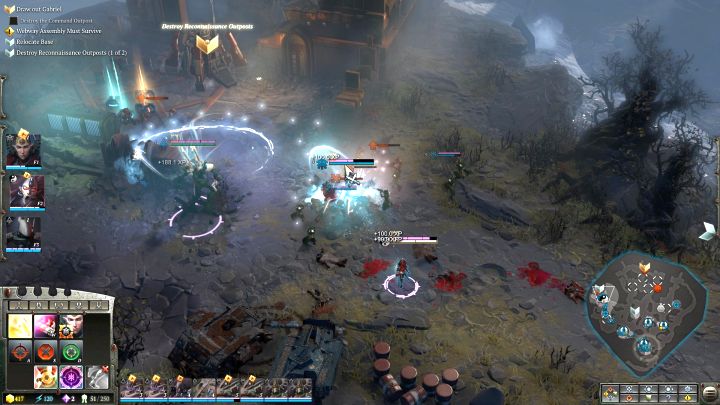
After taking over the second array you will receive a new task, which will require you to attack the enemy defences, in order to draw out Gabriel Angelos from hiding. This opens a new part of the map to the north. Before you go there, however, send your troops north of the second array, where you will find the second reconnaissance outpost connected to the side objective. Kill all hostile forces there and destroy the outpost and the task will be completed. You will also find quite a few extra resources there.
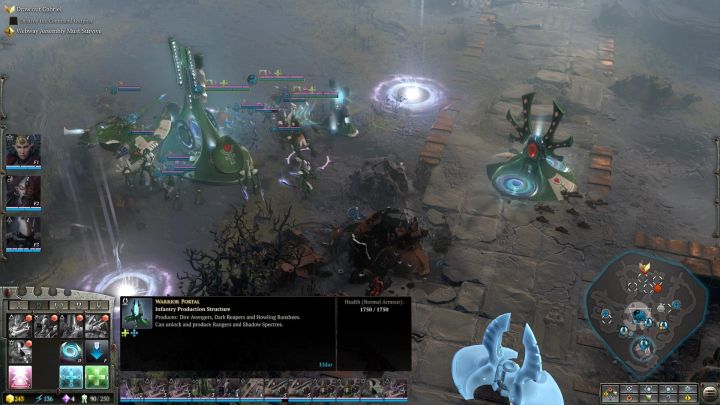
Before you set out to attack the base of the Space Marines, pay attention to the newly acquired objective that will instruct you to relocate the base to an indicated location. Select consecutive buildings and teleport them to the indicated point, which is north of the previous location of the base. Take a moment to build additional buildings for unit training and then hire more troops, you should also make sure that you have replaced all losses within the rest of your squads. It is worth investing in a Fire Prism and in Shadow Spectres - both units are well suited towards dispatching enemy armoured targets, such as the hostile Dreadnoughts.
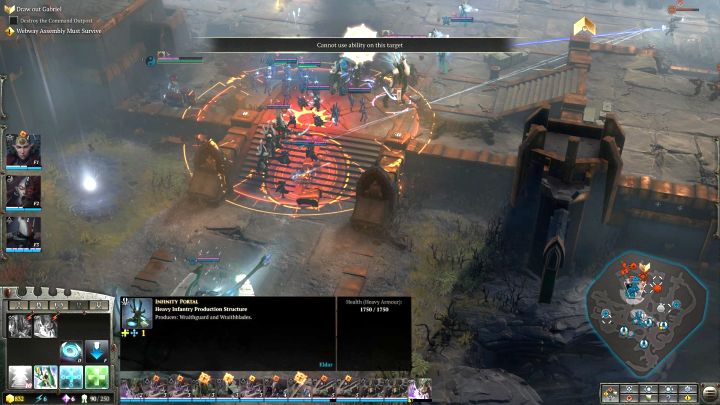
When your army is ready, head over to the north. At the entrance to the enemy base you will encounter a small group of Space Marines. Knock them out quickly and then take care of the Dreadnought that will come to their rescue. At this point, the enemy will issue a command to begin an artillery barrage. When a red circle appears on the ground order the units to withdraw from its area, because after a few seconds it will be barraged by the enemy, causing severe damage to all your troops. Fortunately, there is a lot of time to react, you just have to keep an eye on the situation at all times.
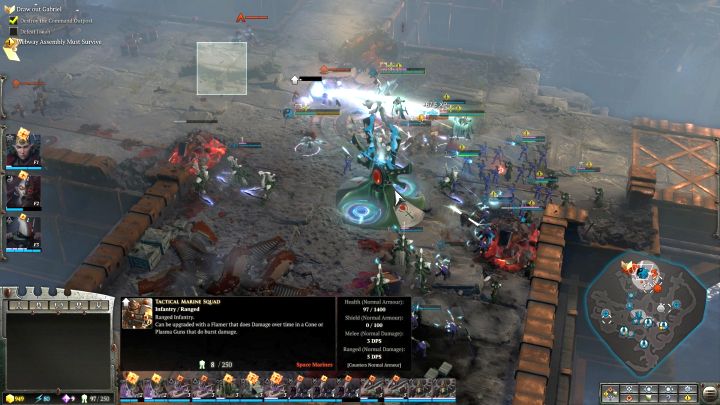
When the barrage is finished, it will take several seconds before the enemy can call one in again. Your goal is the main building of the Space Marines, which is indicated by a marker on the map. Break through the enemy's defences, destroy the building and withdraw from the area immediately, since enemy reinforcements are about to appear on the battlefield together with an elite unit - Librarian Jonah Orion. This enemy does not do much damage by himself, but he does a great job of supporting nearby units, so it is better to just get out of the fray and attack again in a moment.
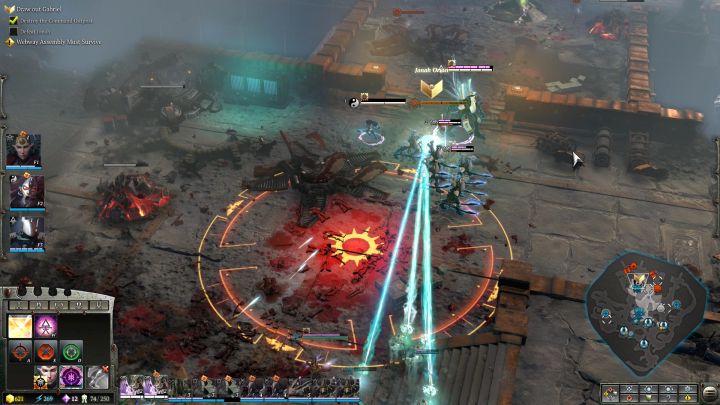
If you lost a lot of troops during the battle, retreat to your buildings and replenish your forces and create additional units. There is no time limit here so you do not have to hurry. When you are ready, go back to the enemy base and head towards the marker on the map where Jonah is waiting. Once again, beware of the artillery fire, and when that is over, attack the hostile troops, focusing your attention on Jonah. When his health drops to about a quarter a cutscene will begin and you will have finished the mission.
- Warhammer 40,000: Dawn of War III Game Guide
- Dawn of War 3: Game Guide
- Dawn of War 3: Campaign Walkthrough
- Dawn of War 3: Mission 1 - The Defense of Varlock Keep
- Dawn of War 3: Mission 2 - Destined for Greater Fings
- Dawn of War 3: Mission 3 Beware False Profits!
- Dawn of War 3: Mission 4 In Defense of Loyalty
- Dawn of War 3: Mission 5 The Social Climber
- Dawn of War 3: Mission 6 A Dangerous Proposal
- Dawn of War 3: Mission 7 - The Dark Arrival
- Dawn of War 3: Mission 8 - None Left Behind
- Dawn of War 3: Mission 9 - The Seer, The Trickster and the Brute
- Dawn of War 3: Mission 10 - Cunning and Wiles
- Dawn of War 3: Mission 11 - The Bloody Gambit
- Dawn of War 3: Mission 12 - Chasing Beauty
- Dawn of War 3: Mission 13 - Waking Giants
- Dawn of War 3: Mission 14 - In the Company of Friends
- Dawn of War 3: Mission 15 - A Clash of Leviatans
- Dawn of War 3: Mission 16 - The Storm Prince
- Dawn of War 3: Mission 17 - The Wayfarers
- Dawn of War 3: Campaign Walkthrough
- Dawn of War 3: Game Guide
You are not permitted to copy any image, text or info from this page. This site is not associated with and/or endorsed by the developers and the publishers. All logos and images are copyrighted by their respective owners.
Copyright © 2000 - 2026 Webedia Polska SA for gamepressure.com, unofficial game guides, walkthroughs, secrets, game tips, maps & strategies for top games.
